
Beginner embroidery tools 101

Happy New Year!
We managed to have a lovely family Christmas with our usual annual trip to Mousehole lights back after last year’s gap and a nice cold wake up on Christmas day with almost the whole family (eldest son and Ash the whippet stayed home in the warm!). There was plenty of eating and plenty of board games (an especially fun game was blockbuster for anyone who loves films and fun).
After the hustle and bustle of Christmas came the lovely calm of betwixtmas with some quiet stitching time (alongside a little bit of knitting time) and then a very quiet New Year’s Eve at home with a good film, my favourite way to spend New Year’s Eve.
I hope you have all had a peaceful and enjoyable time over the winter (or summer) festivities.
We are about to take a trip to London for a long weekend and, as we are taking the train I have packed up my stitching to pass the time on the journey. As I was packing the essentials it struck me how little you need to start stitching and so I am writing two blog posts on tools. This first one is the bare minimum that you need to begin. The second post next week will go into some of the extra tools that make life easier but are not necessary to start stitching.


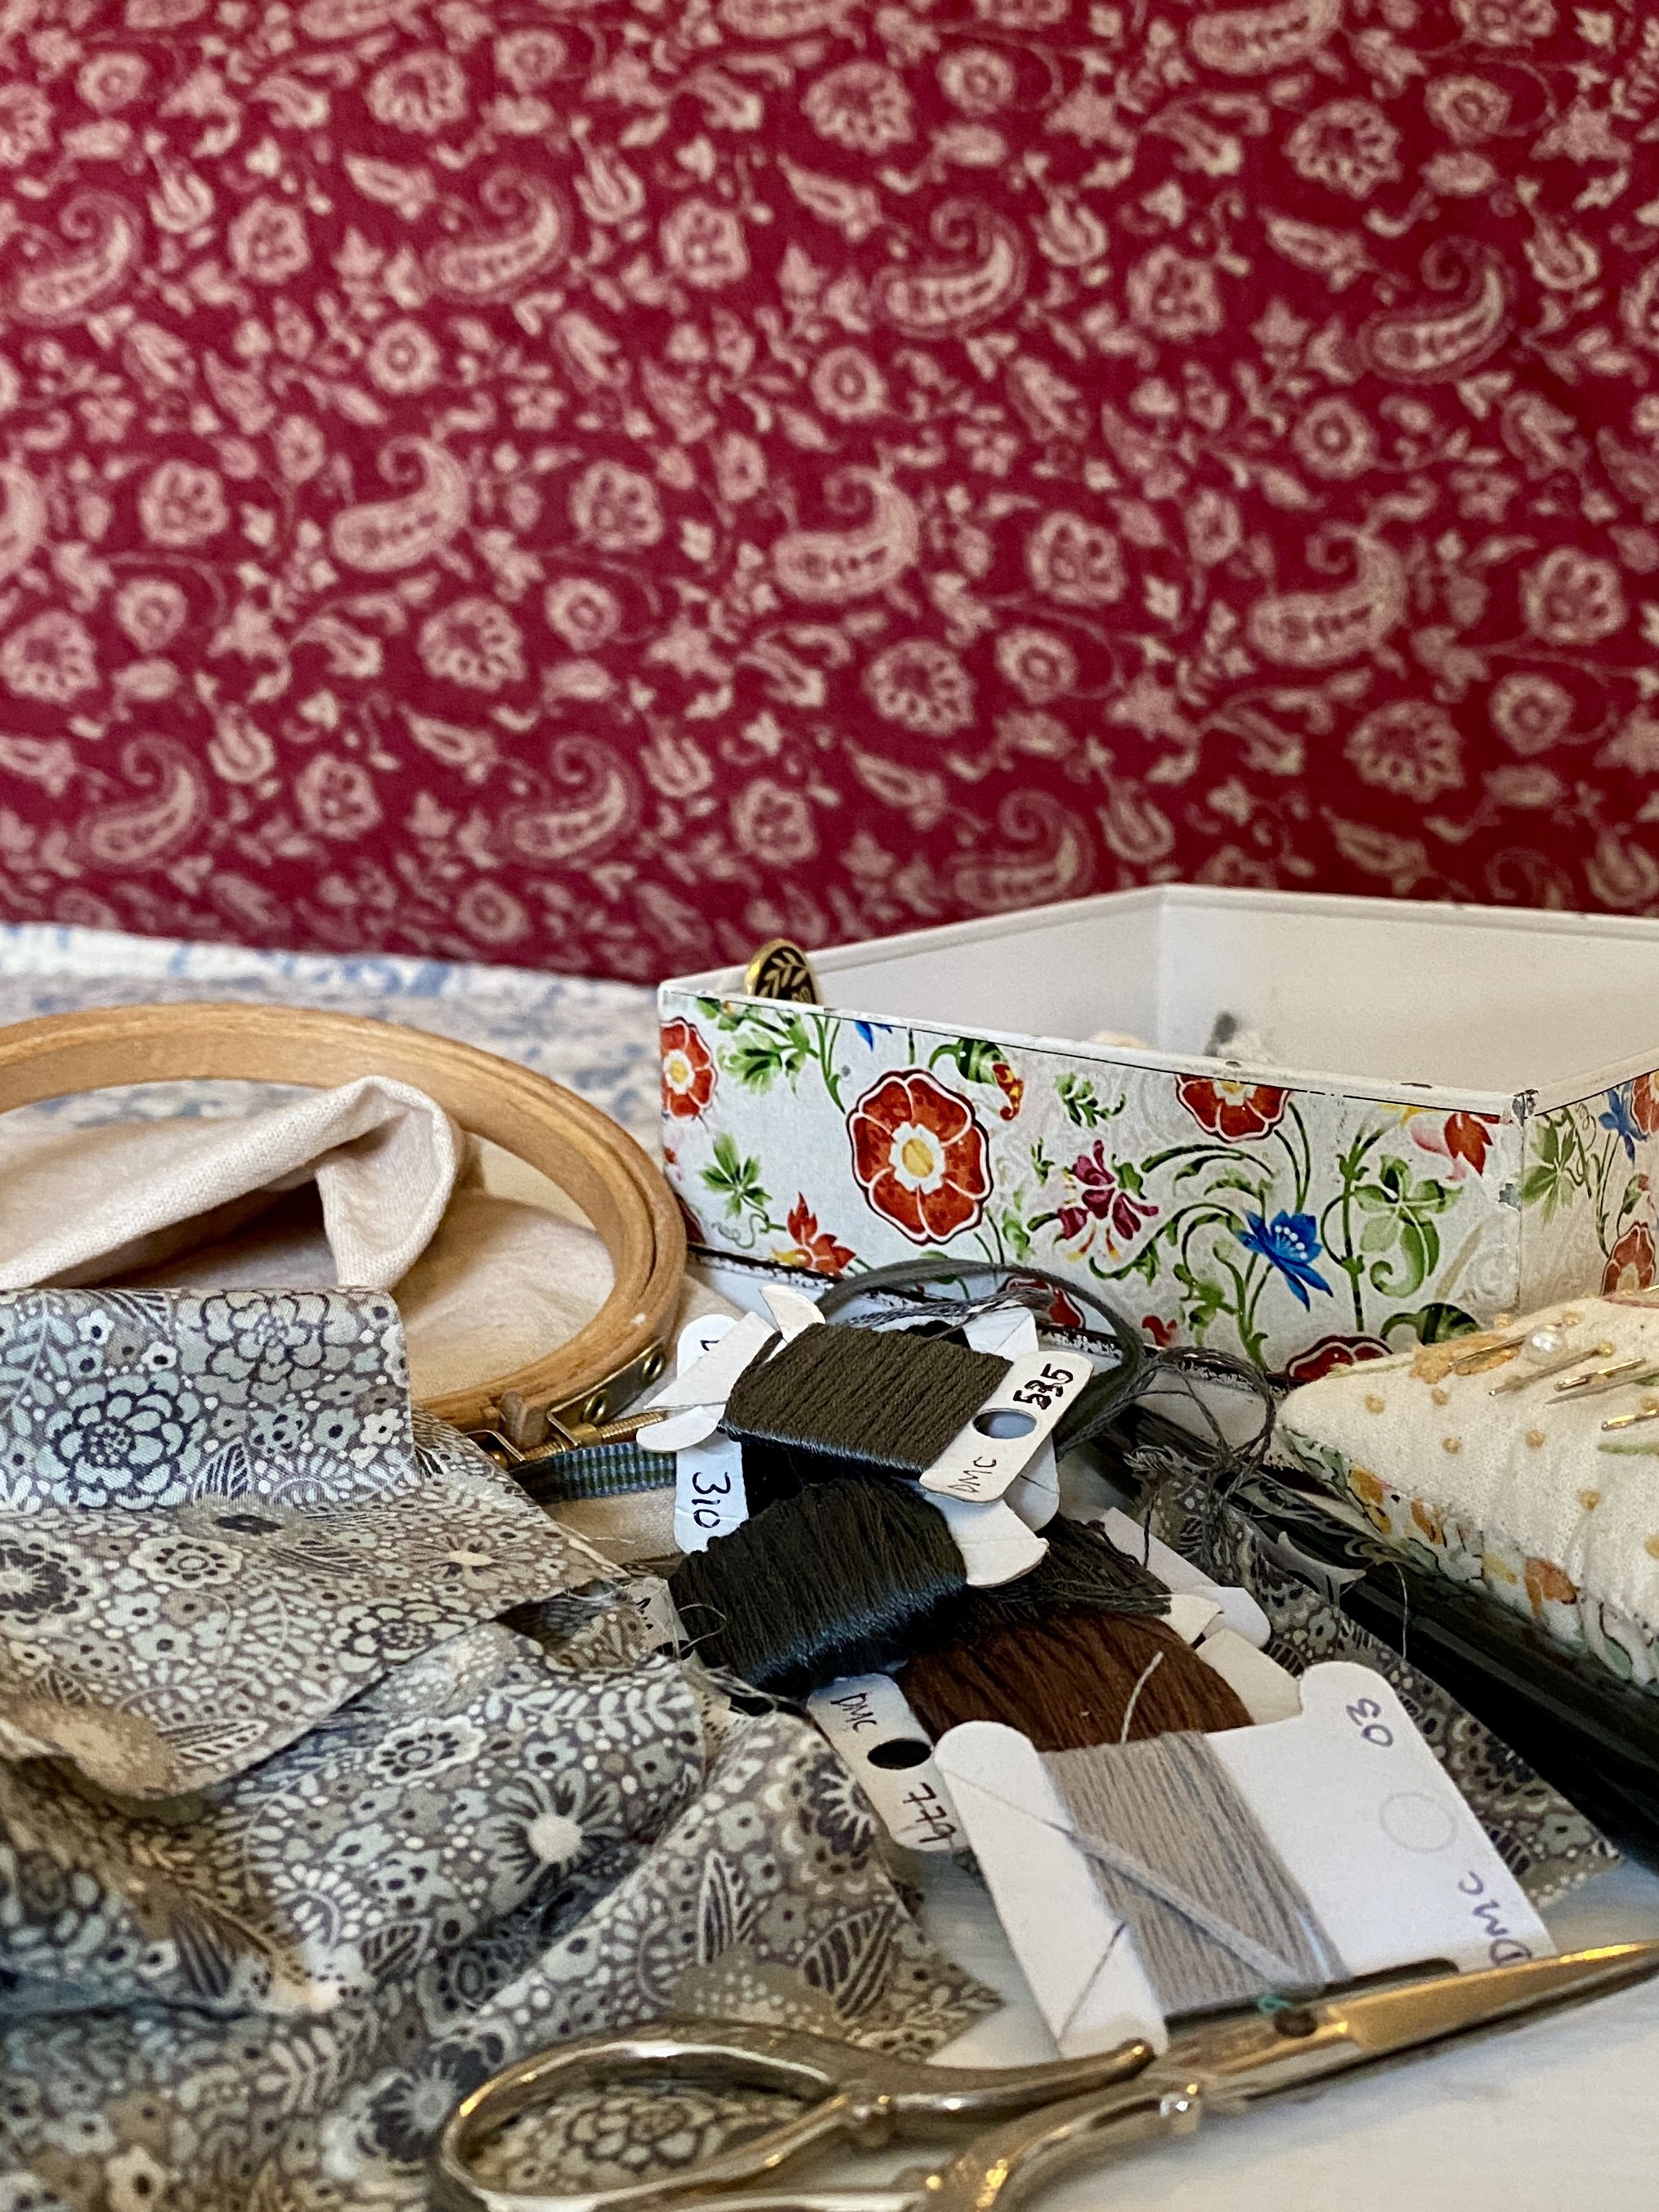
The photographs show everything you need to begin stitching any of my pdf patterns.
I’ll begin with embroidery thread.
You can use any thread at all for embroidery and it’s fun to experiment with different types of threads but for my patterns you will need 6 stranded embroidery thread. I use DMC stranded cotton for the patterns. I also love Anchor and Weeks dyeworks so if you are happy to choose your own colours these are also perfect.
When I want individual threads I am lucky enough to have a fairly local sewing shop, Truro fabrics, so I can go look at the threads but I also buy online from Lovecrafts if I know the colours I want.
This thread comes as six strands and you will need to cut the thread to the length you want (I recommend the length from your elbow to your wrist). Next you need to split the strands. I like to work with two strands for the most part but some patterns (mother nature) use just a single strand and sometimes I use more strands for french knots.
Next is the needle, this is fairly simple, I use a crewel needle. These come in different sizes, the lower the number the thicker the needle. I use a number 7 or 8 needle. The number 7 has a slightly bigger eye to feed 2 or 3 strands through and the number 8 is a little finer for a single strand but can still take 2 strands. I particularly love Bohin needles but there are lots of other needles that I use. You can buy needles in a pack of mixed sizes or a pack of a single size (I tend to buy a pack of number 7s as I lose needles all the time!)
I buy Bohin needles from cotton patch
You can also buy your needles from Lovecrafts
You will need a pair of small sharp scissors for embroidery. As always don’t cut paper with them, not even when you can’t find your paper scissors and your embroidery scissors are sitting there in front of you and you only want to cut a tiny bit of washi tape. Any small embroidery scissors are perfect.
I always work with a hoop as it keeps the fabric taut and my stitching lines are less likely to wobble. I prefer wooden hoops on the whole but some people prefer the grip of plastic hoops. I have a couple of lovely old anchor hoops but they are hard to come by now. It’s always worth keeping an eye out in charity shops for old hoops but otherwise any embroidery shop will sell them. The ones in my kits are mainly elbesee which are made in the UK.
Hoop size can depend on your project. If you want to frame your embroidery in the hoop then you will need the size that you want to use for framing. Otherwise you can use the size hoop that you feel most comfortable with and move it around your piece. My personal preference is for a 4” hoop for smaller projects and a 6” hoop for larger projects. I find that larger hoops are more cumbersome to hold and stitch in.
Elbesee hoops are available at lovecrafts
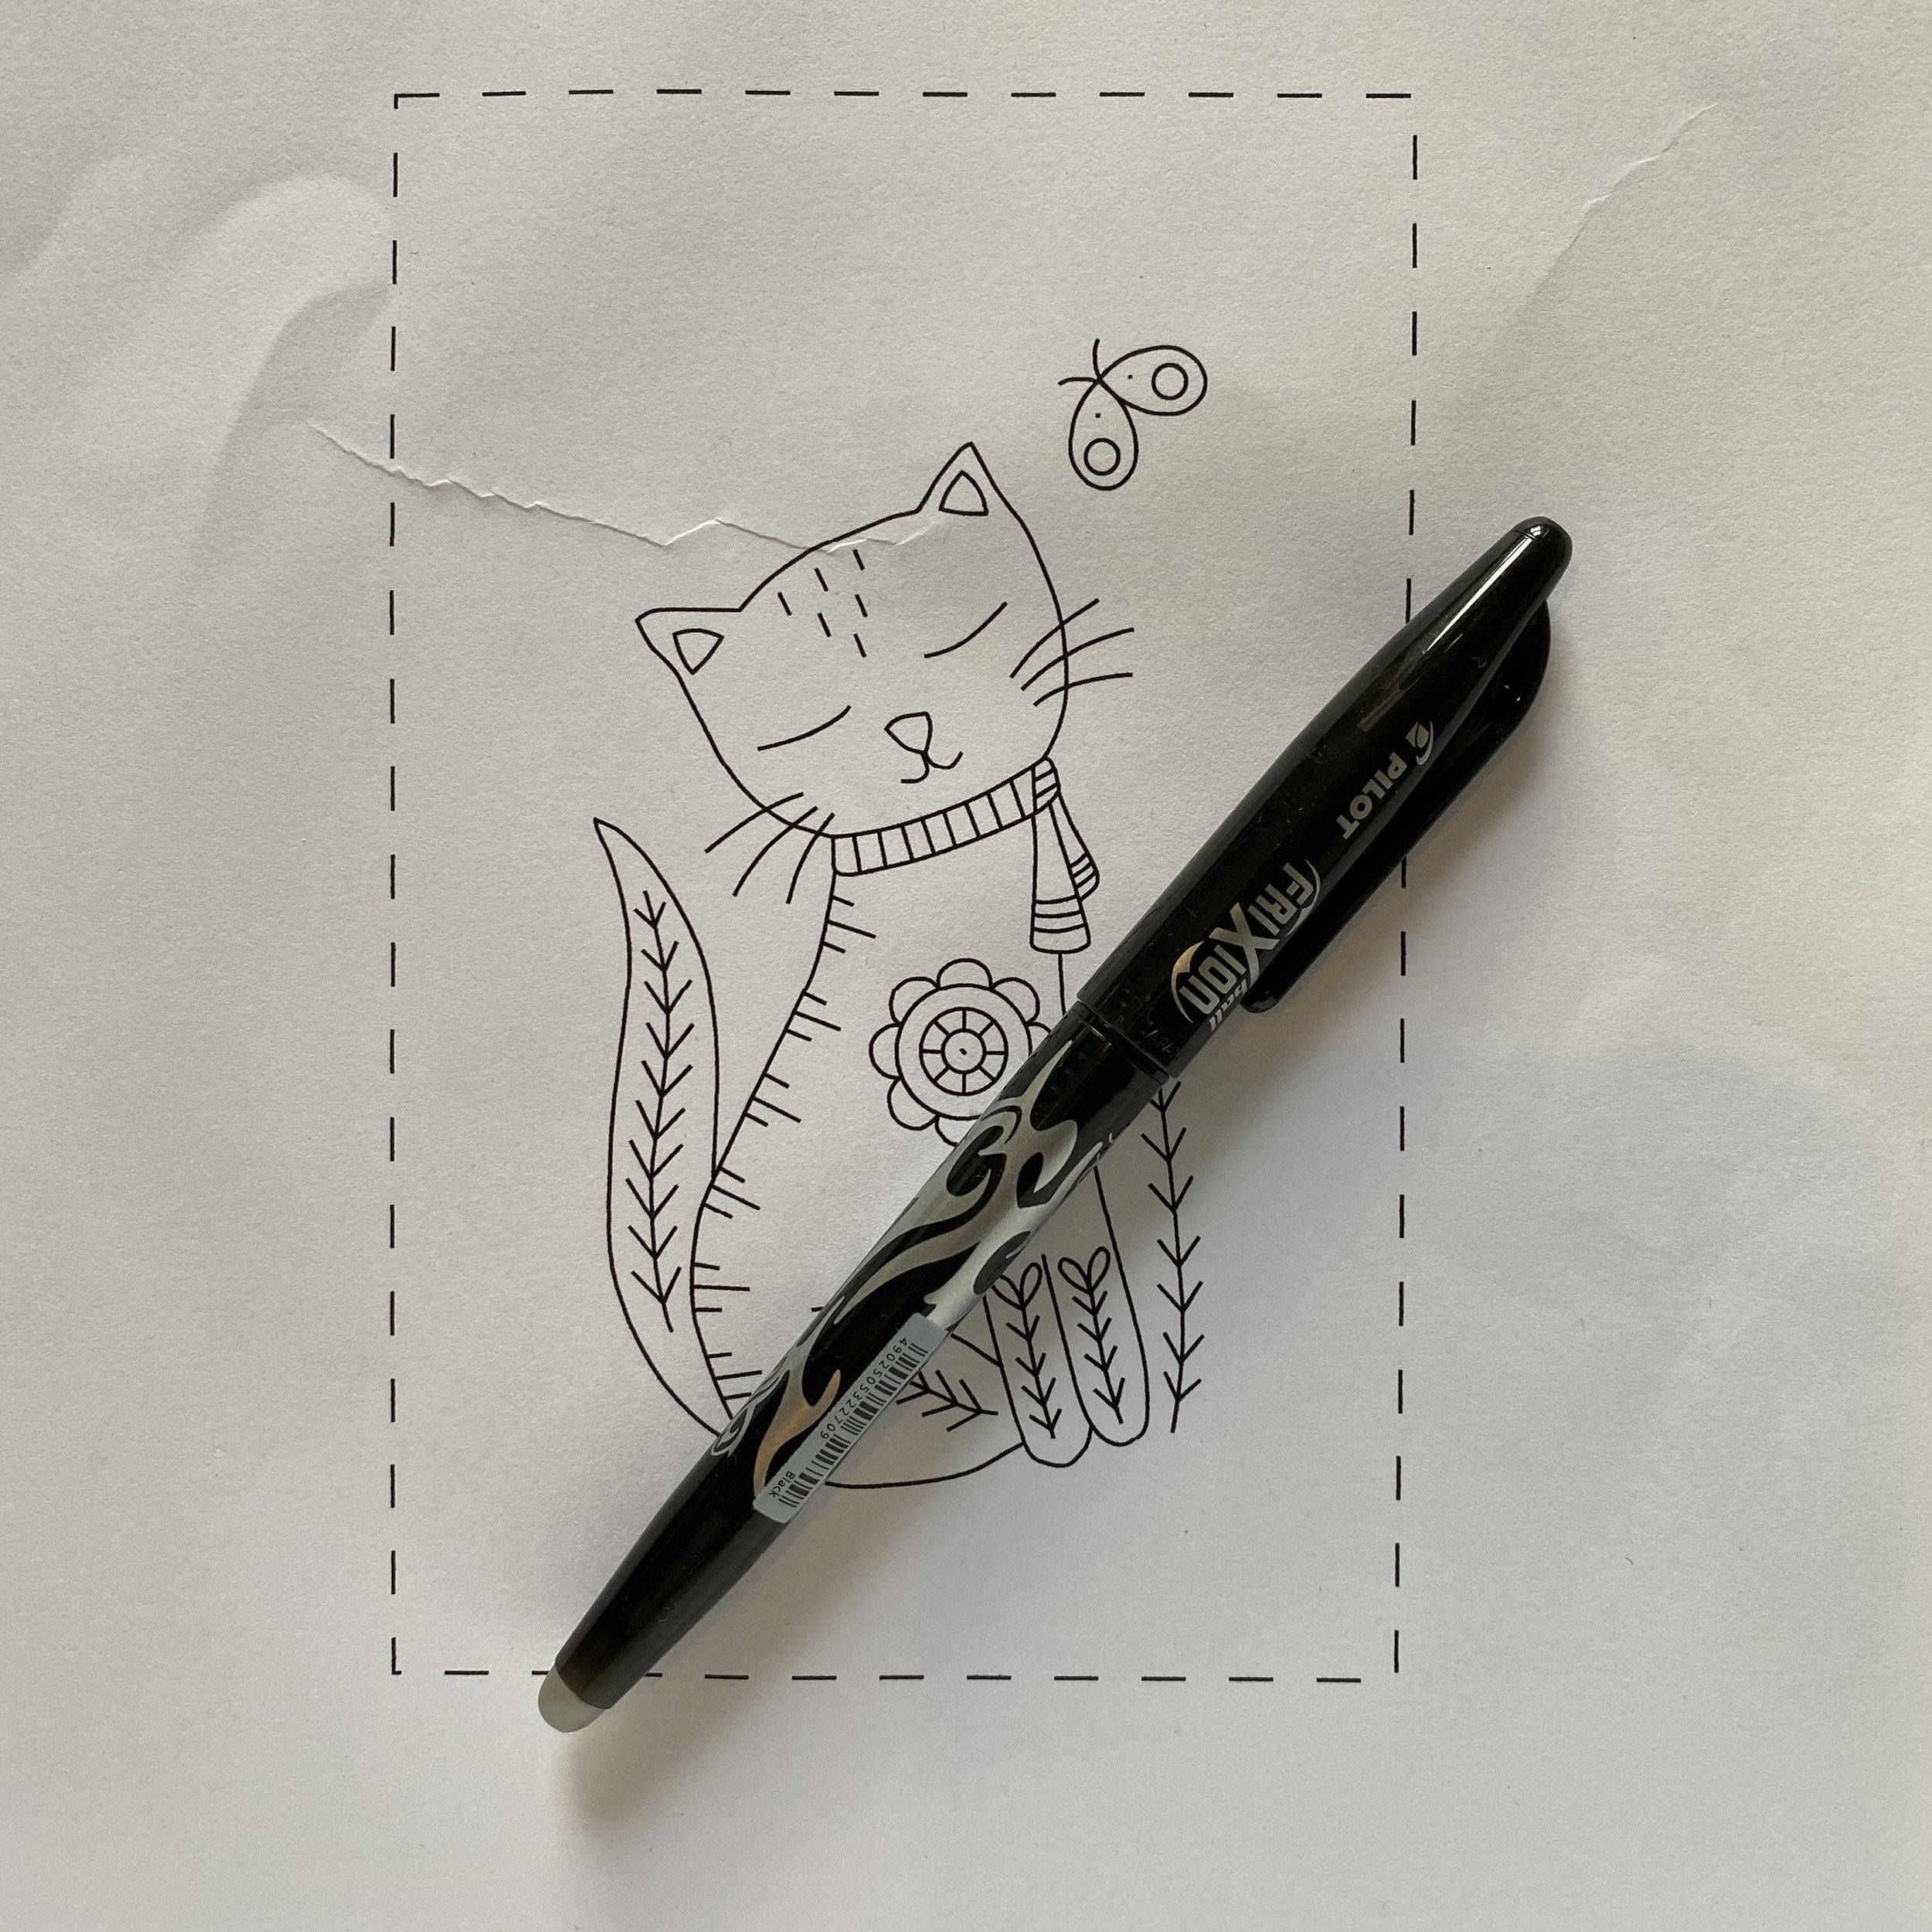
You will need some sort of pen or pencil to trace your design onto the fabric. You can use a pencil if you use it lightly and are sure all the lines will be covered by stitching. I use a pilot frixion pen which can be removed by a hairdryer or iron once you have finished stitching. These pens are easy to come by in stationery stores or here
I have included a stitch unpicker in the photo as it’s something I use a lot! It’s not necessary but a little easier than using the tips of your scissors.
And of course you will need fabric. I am asked all the time about the fabric I use and my most common answer is Robert Kaufman essex linen in natural This fabric is available in the US as well as the UK. I also love this organic cotton calico from Raystitch. It is creamy coloured and after a wash it is soft and textured. You always need to wash fabric before stitching it as it will shrink a little.
I have added a couple of cute extras to the photo because the cute extras make stitching even more fun. I have a beautiful Maggie Magoo needle minder from cloudcraft. It has a magnet on the back, you attach it to your embroidery and the needle is magnetized to the front. I also have my zip purse which is just big enough for a small 4” hoop project to take to London with me. I also have a very pretty tin that I keep smaller projects in and a basket for bigger projects. What better reason for buying or making pretty containers!
The pdf patterns that I sell are patterns for you to print at home. The individual patterns are instant downloads so once you have bought the pattern you can download and print it and get started straight away. You will need to trace the pattern. To do this you can use the window method if you don’t have a lightbox. You might prefer to use white fabric for this method (If you are worried about threads showing through with thinner white fabric you can always stitch through two layers of fabric rather than one).
I have also seen people trace the pattern directly from their ipads or tablets. This way you can adjust the pattern to the exact size you want easily by zooming in or out. Another method, if you have a glass coffee table is to shine a lamp up from underneath it and trace on the coffee table.
The links I have shared are all UK links but if you have stockists that you would like to share for your own country please feel free to comment and share them.
Next week, after our trip to the big city, I will share some of the extra equipment that you can add to make life easier.