Beginning embroidery
tracing the image
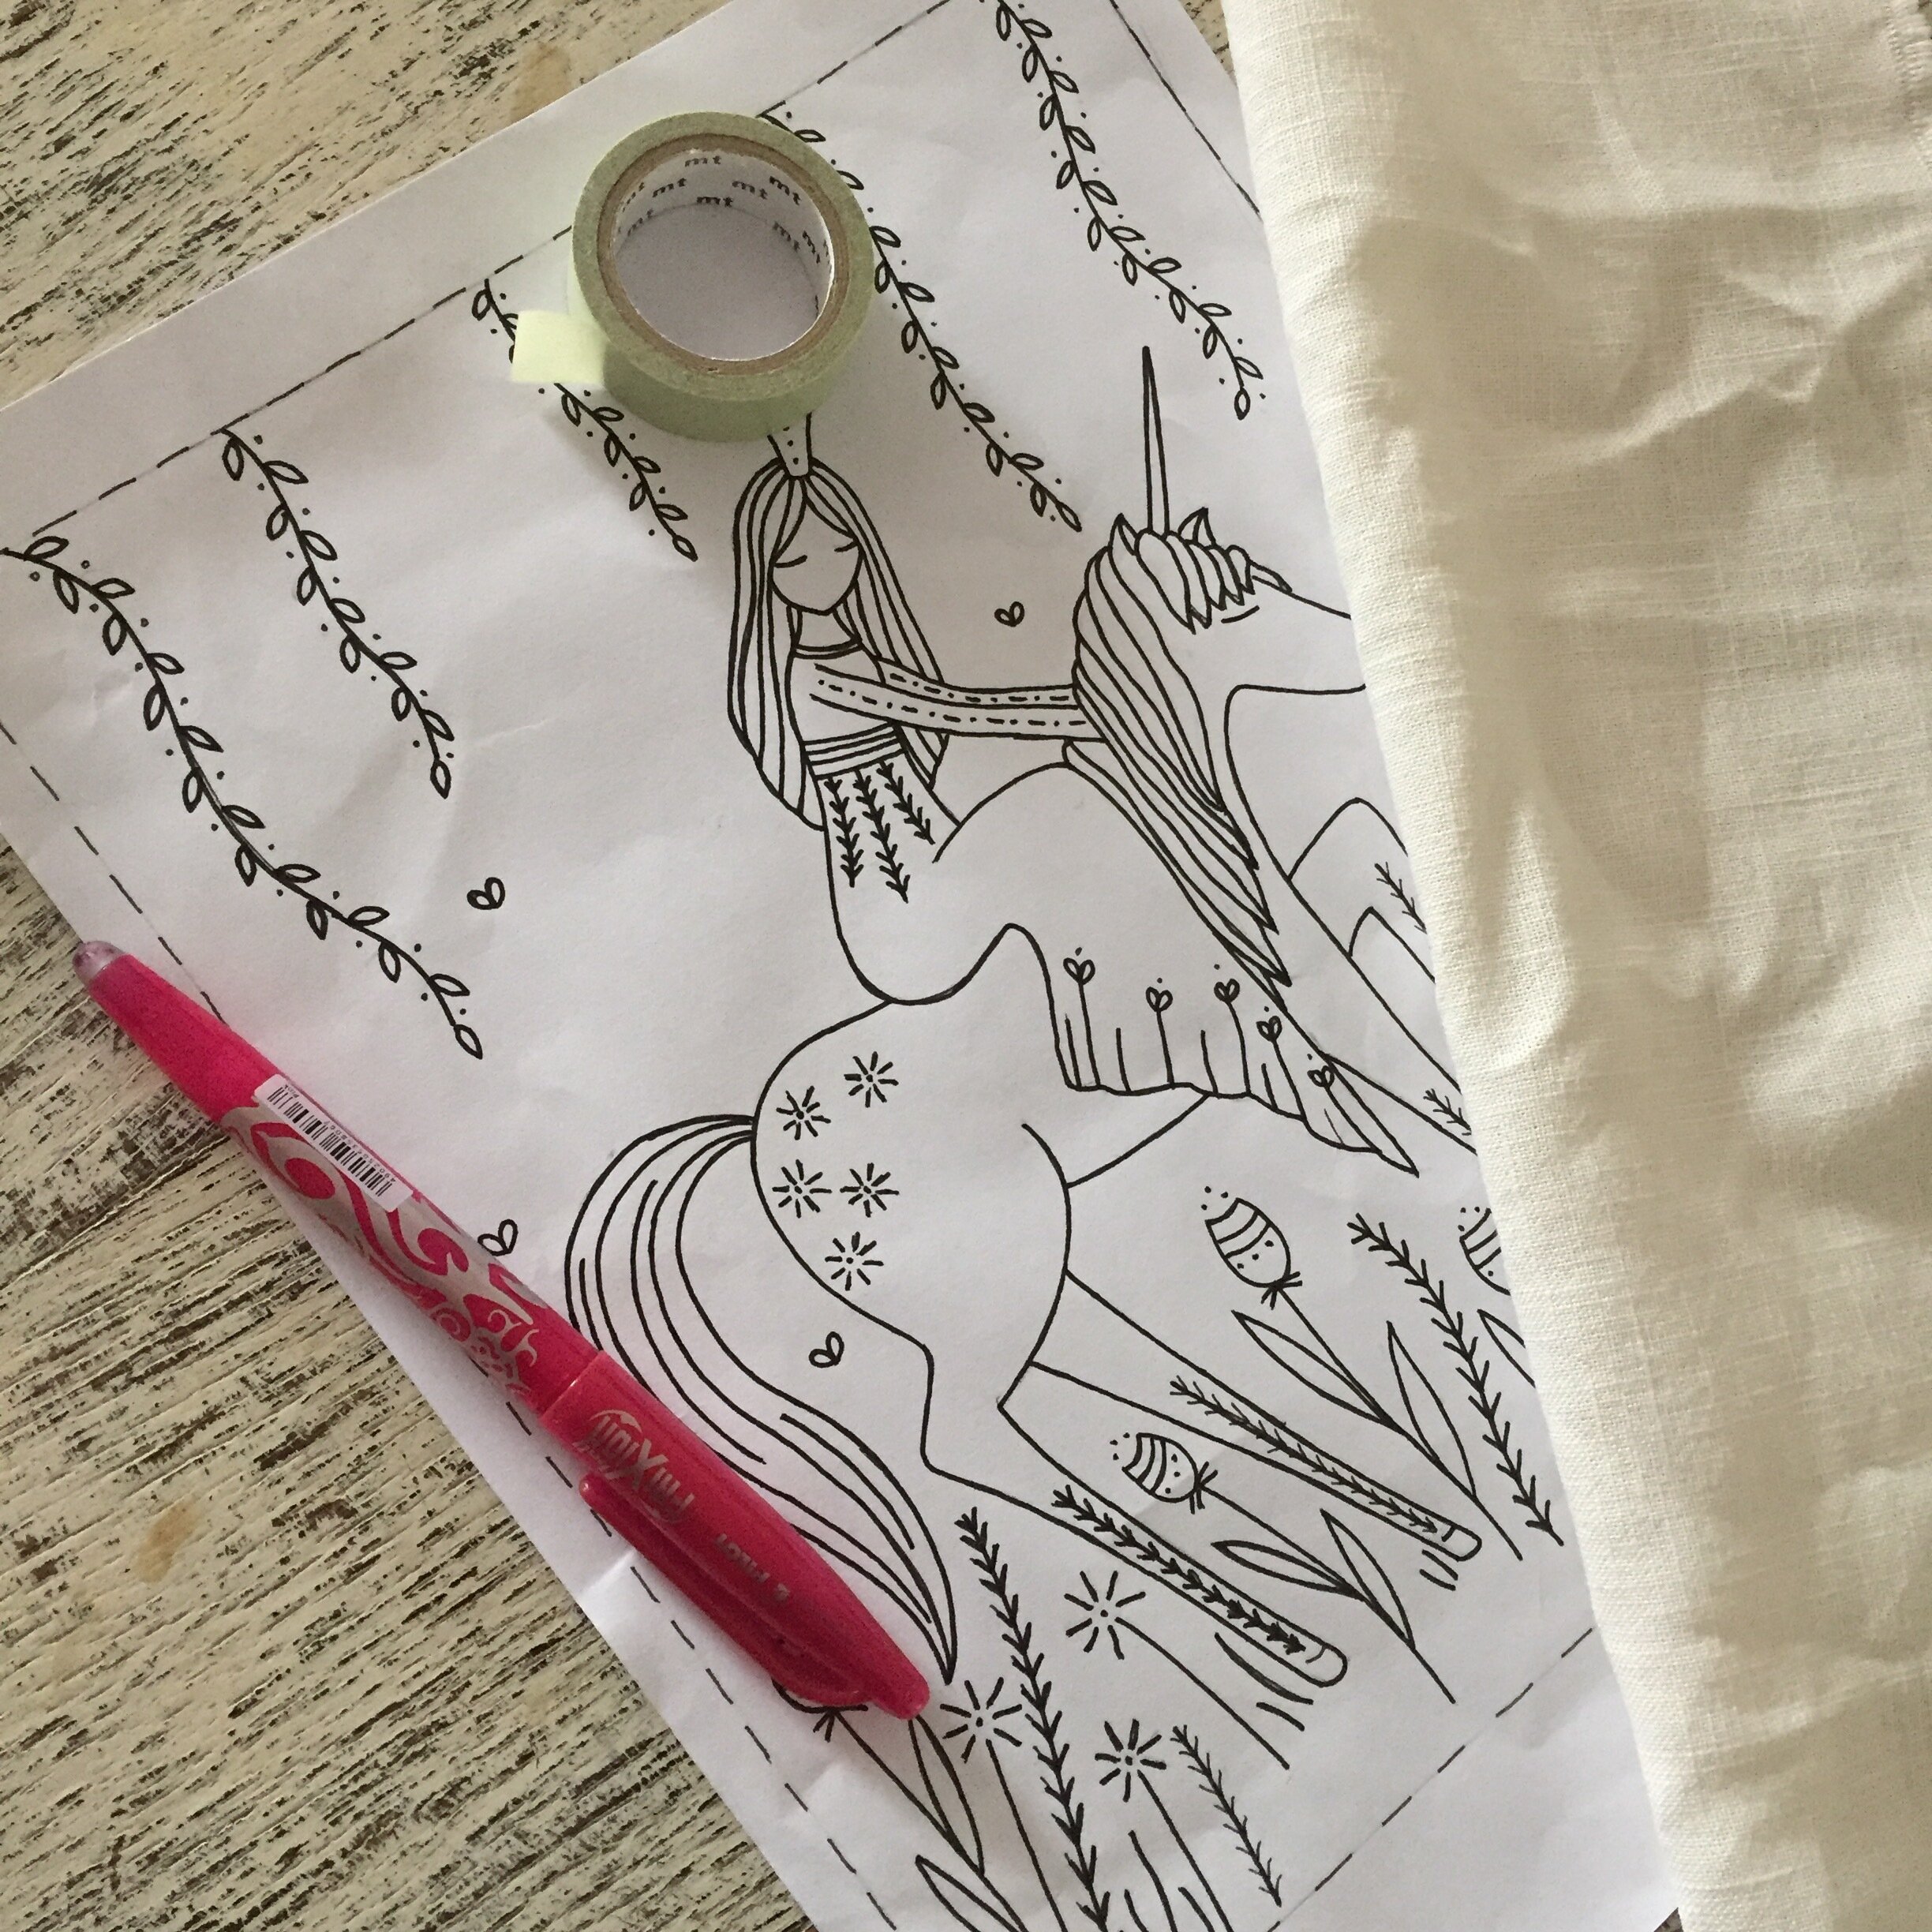
The first thing you need to do is cut your fabric to the size you want and trace the design onto it. Begin by printing the pattern image in black and white.
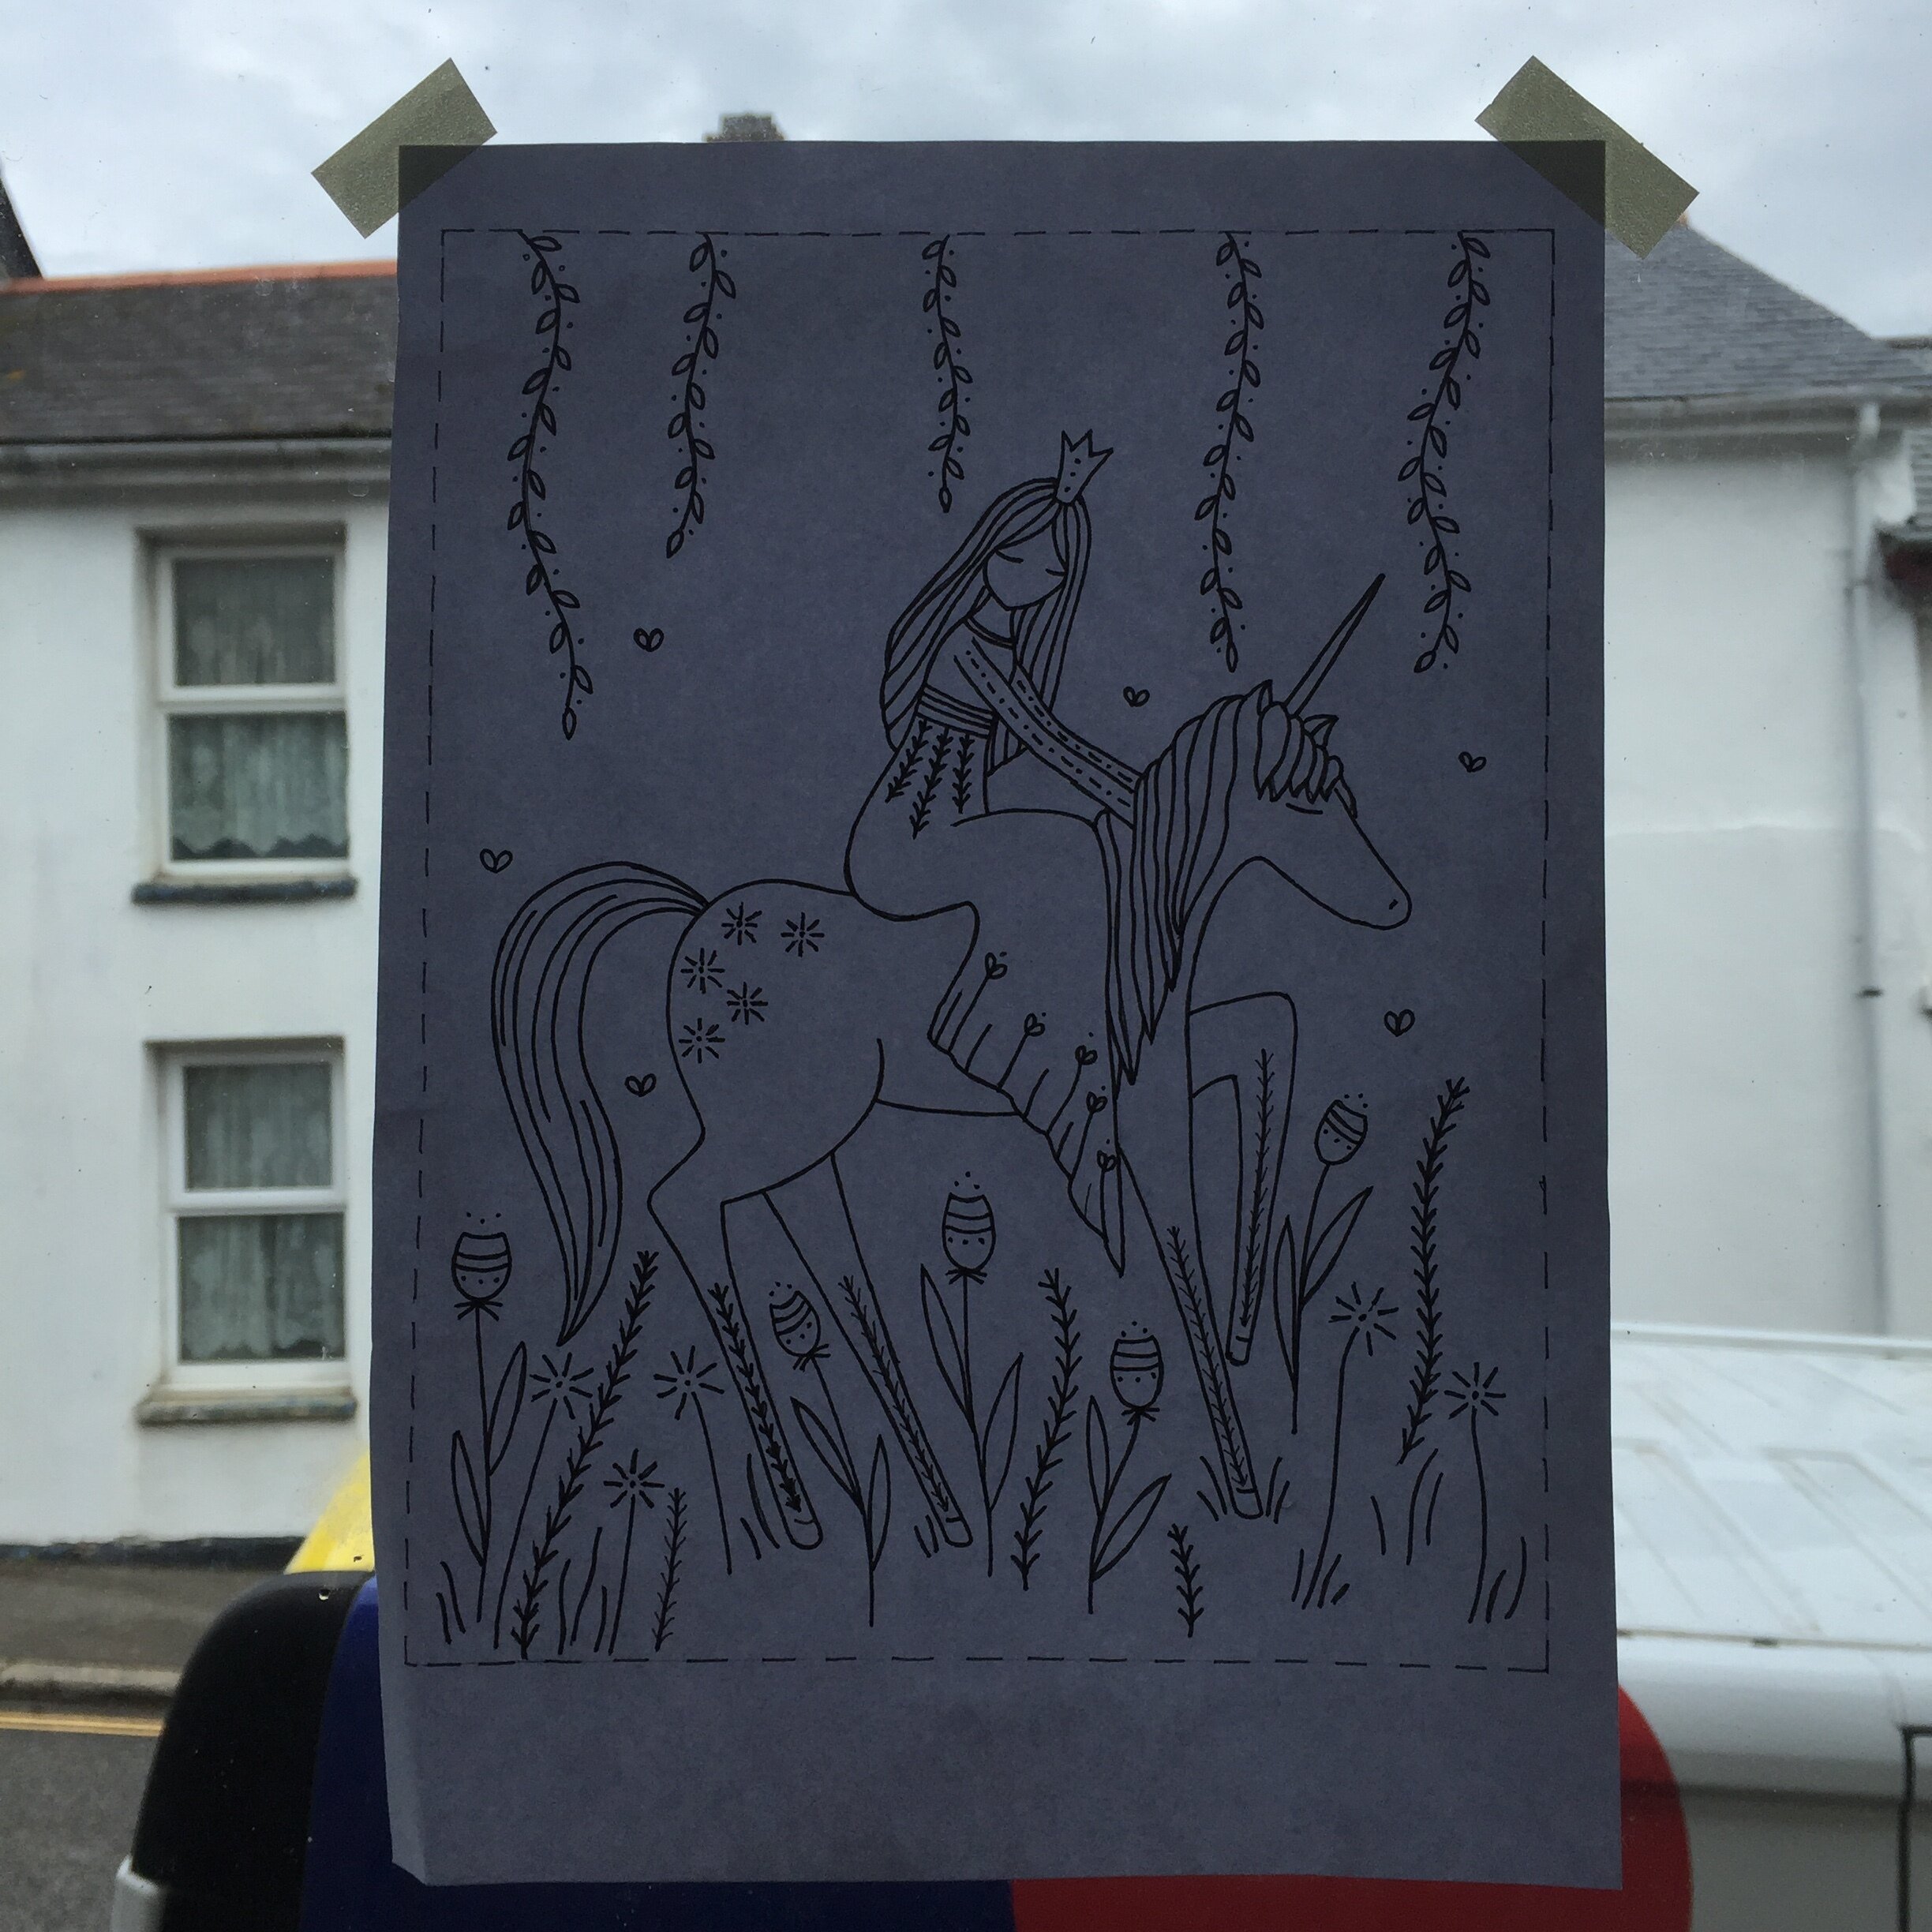
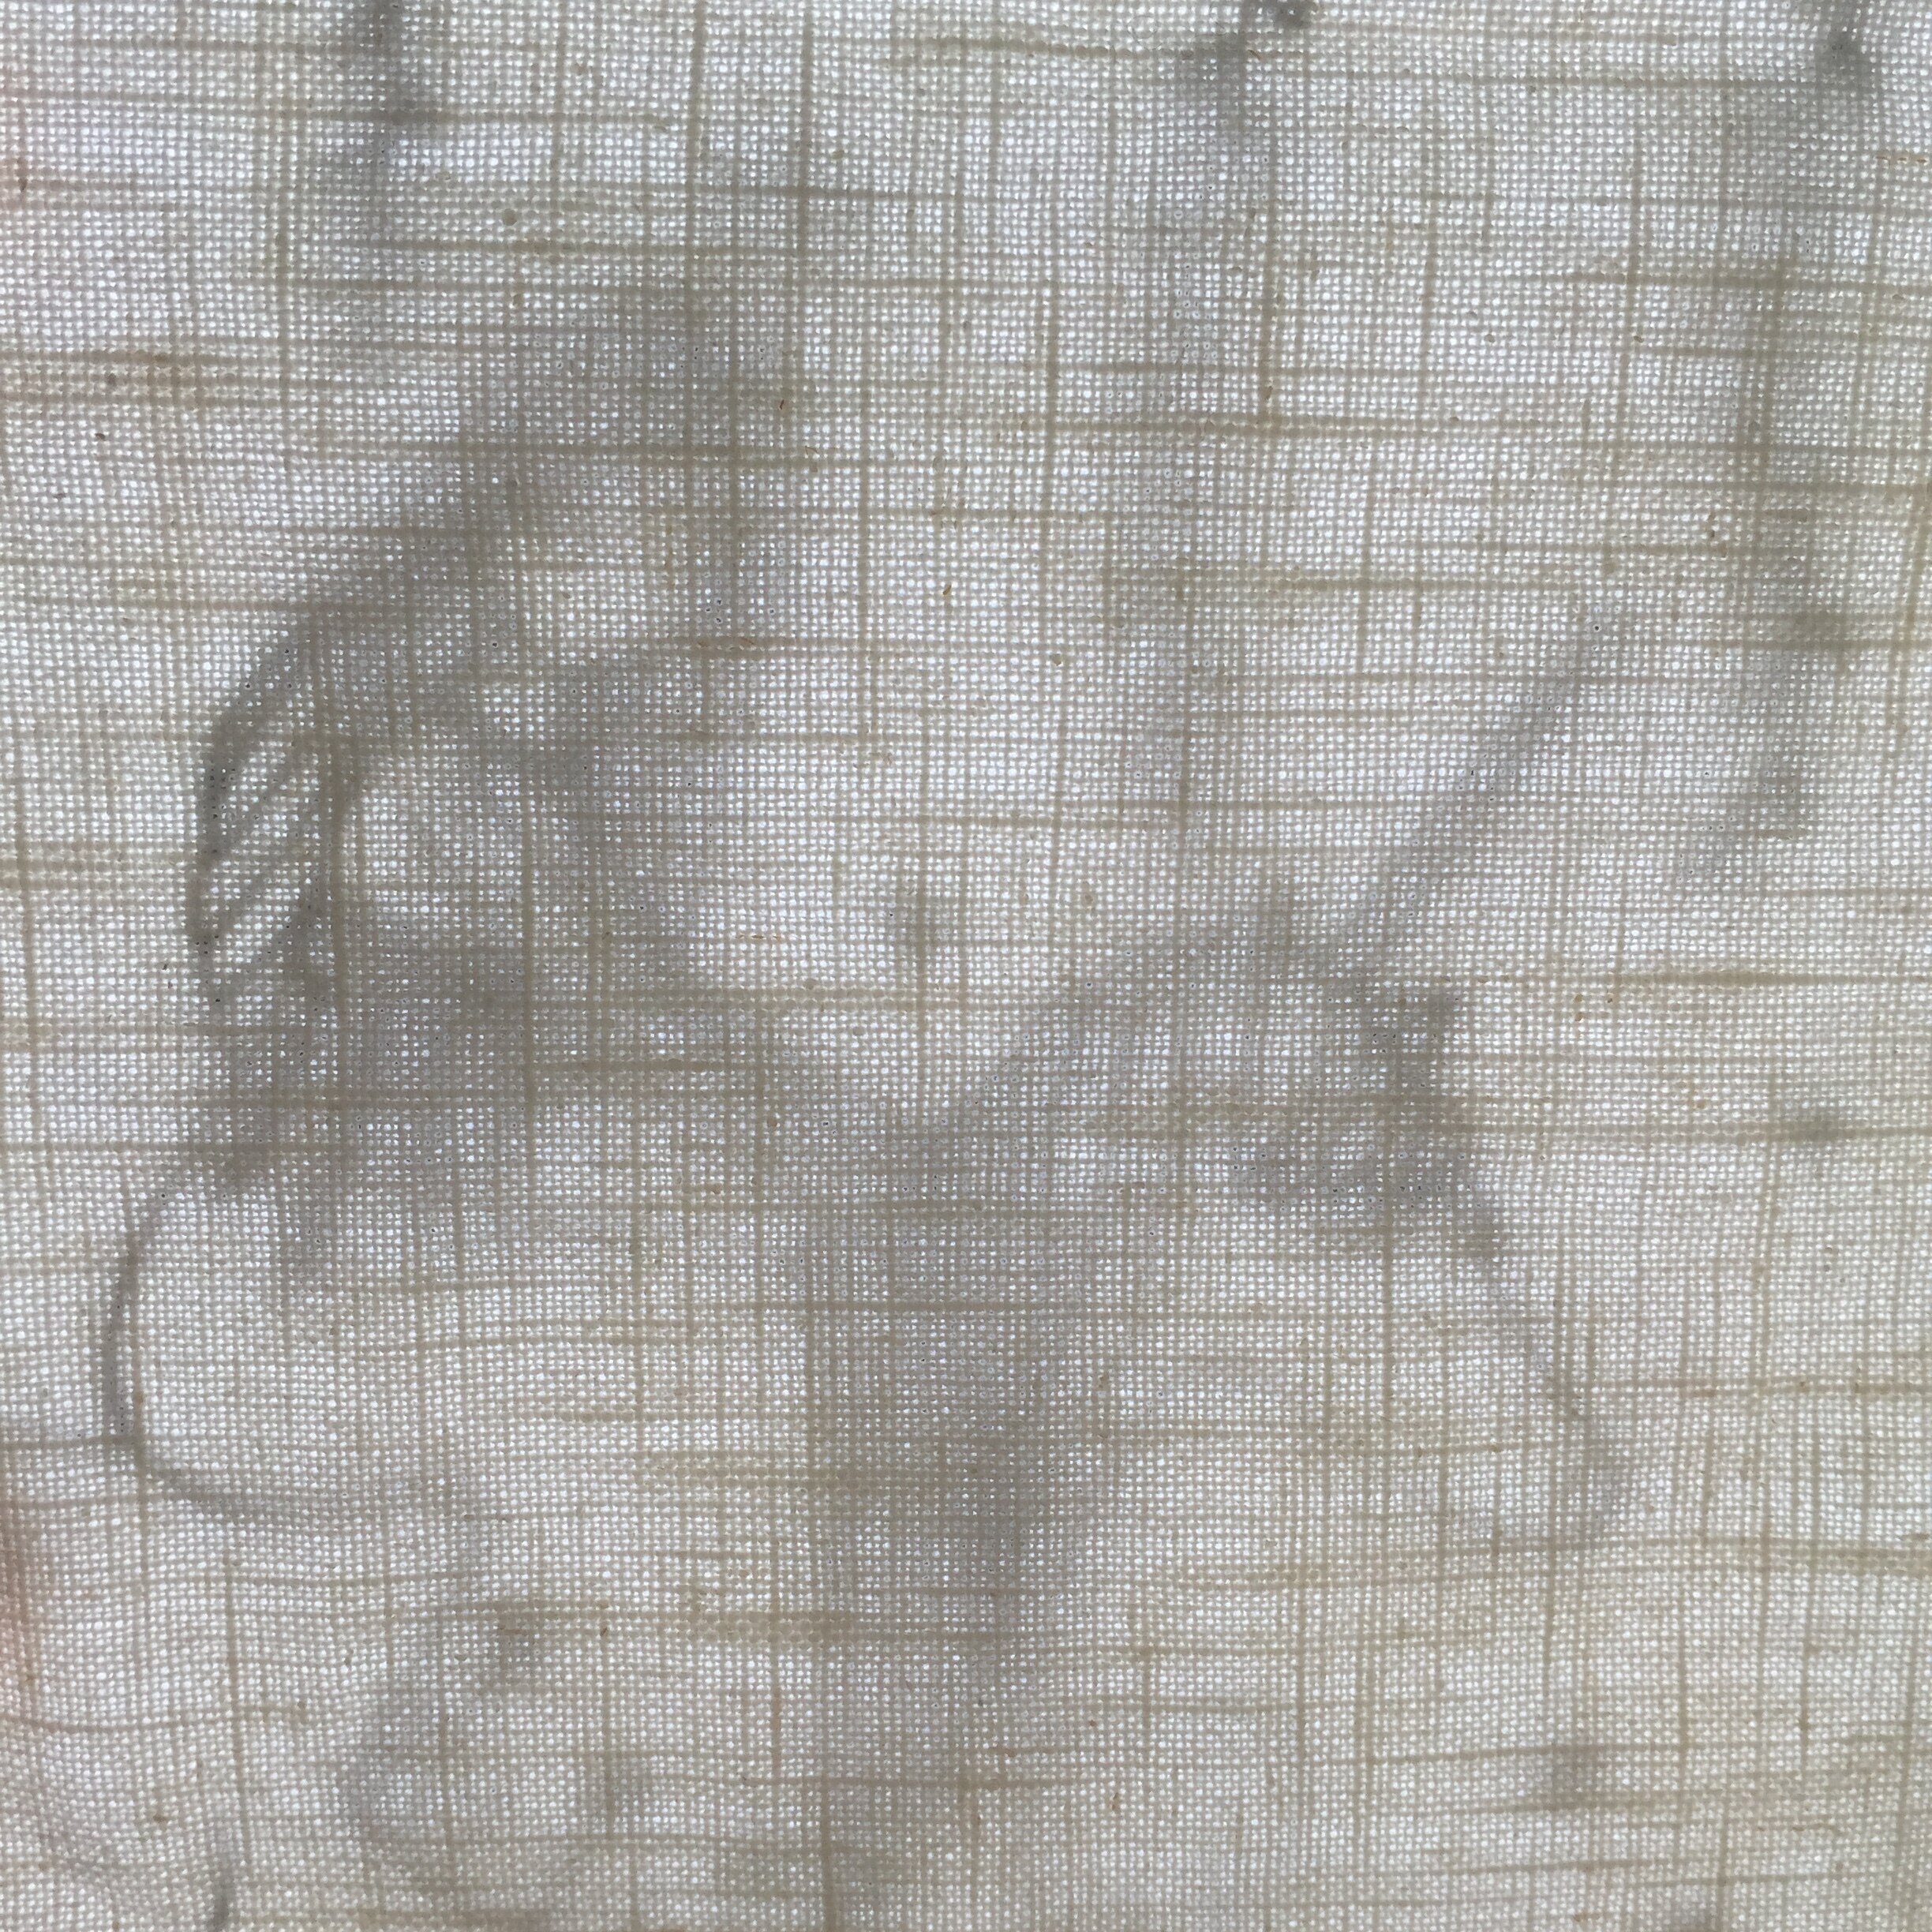
If you have a light box then you can use that but otherwise find a sunny window and tape your image to the window, tape your fabric over the image and you should be able to see the design to trace it. If the design isn’t clear enough you could try going over all the lines on the paper pattern with a black marker.
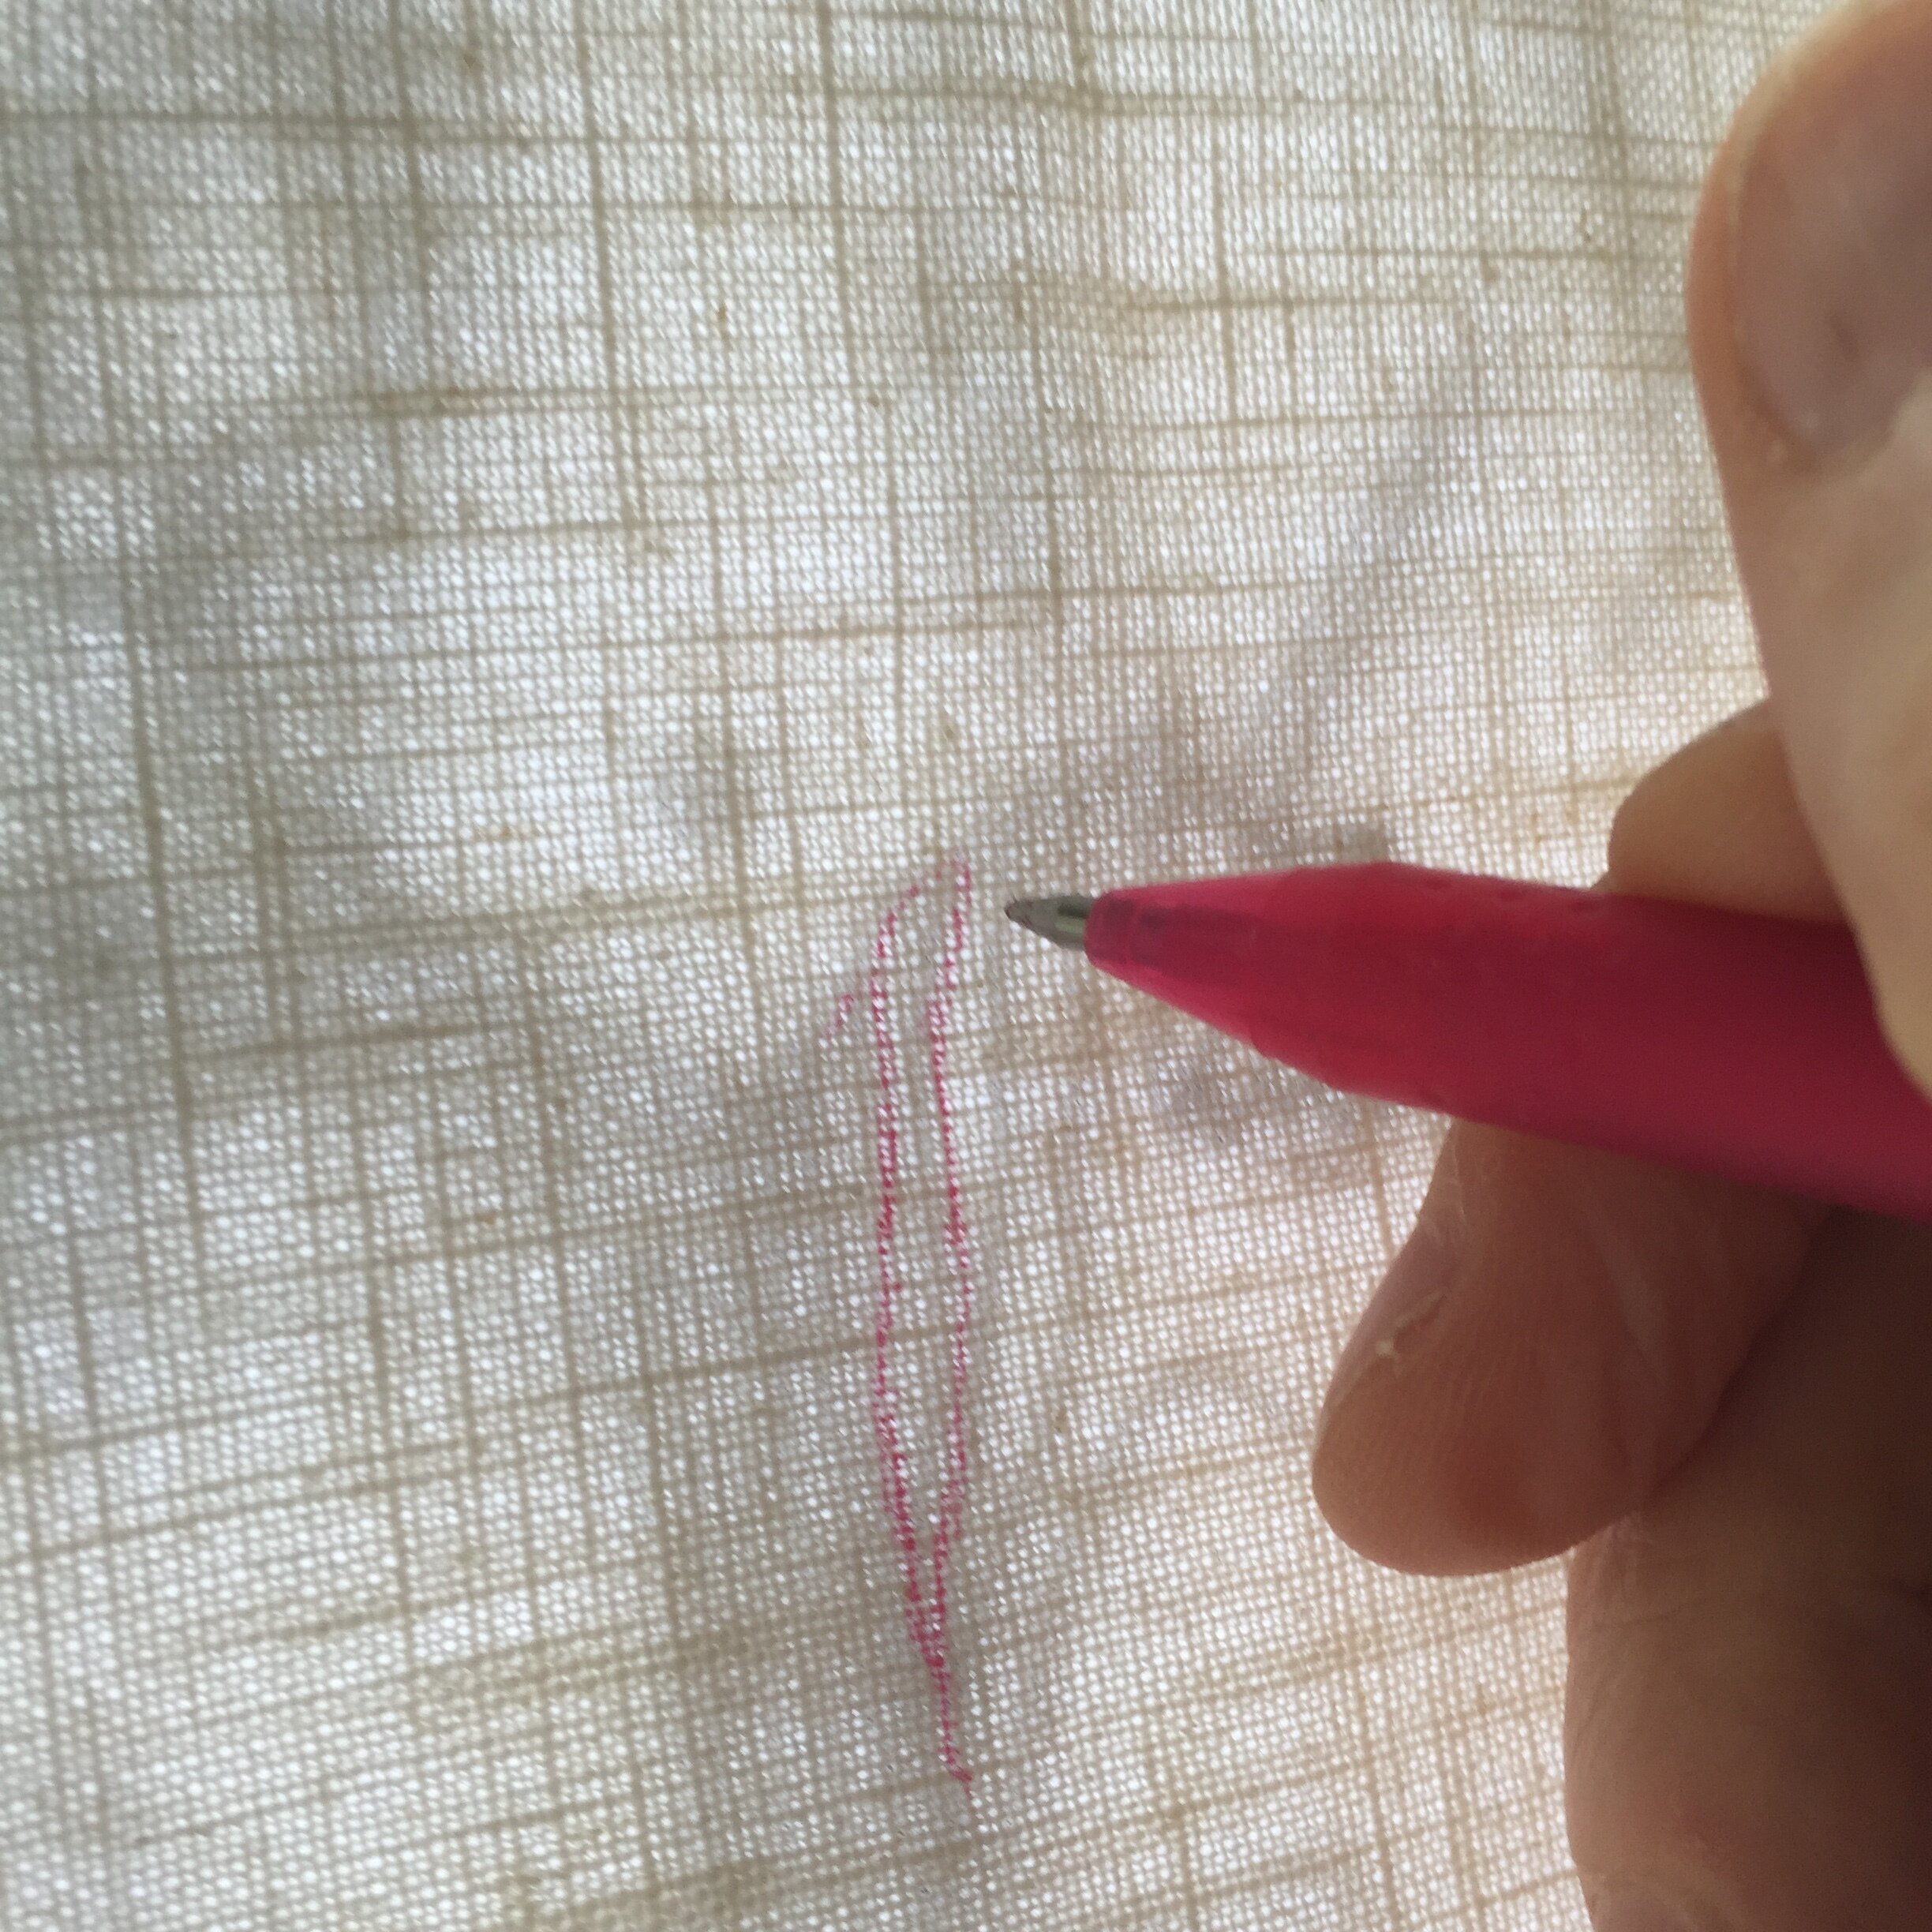
Now take your frixion pen (or other marking pen or hb pencil) and trace the lines onto the fabric.
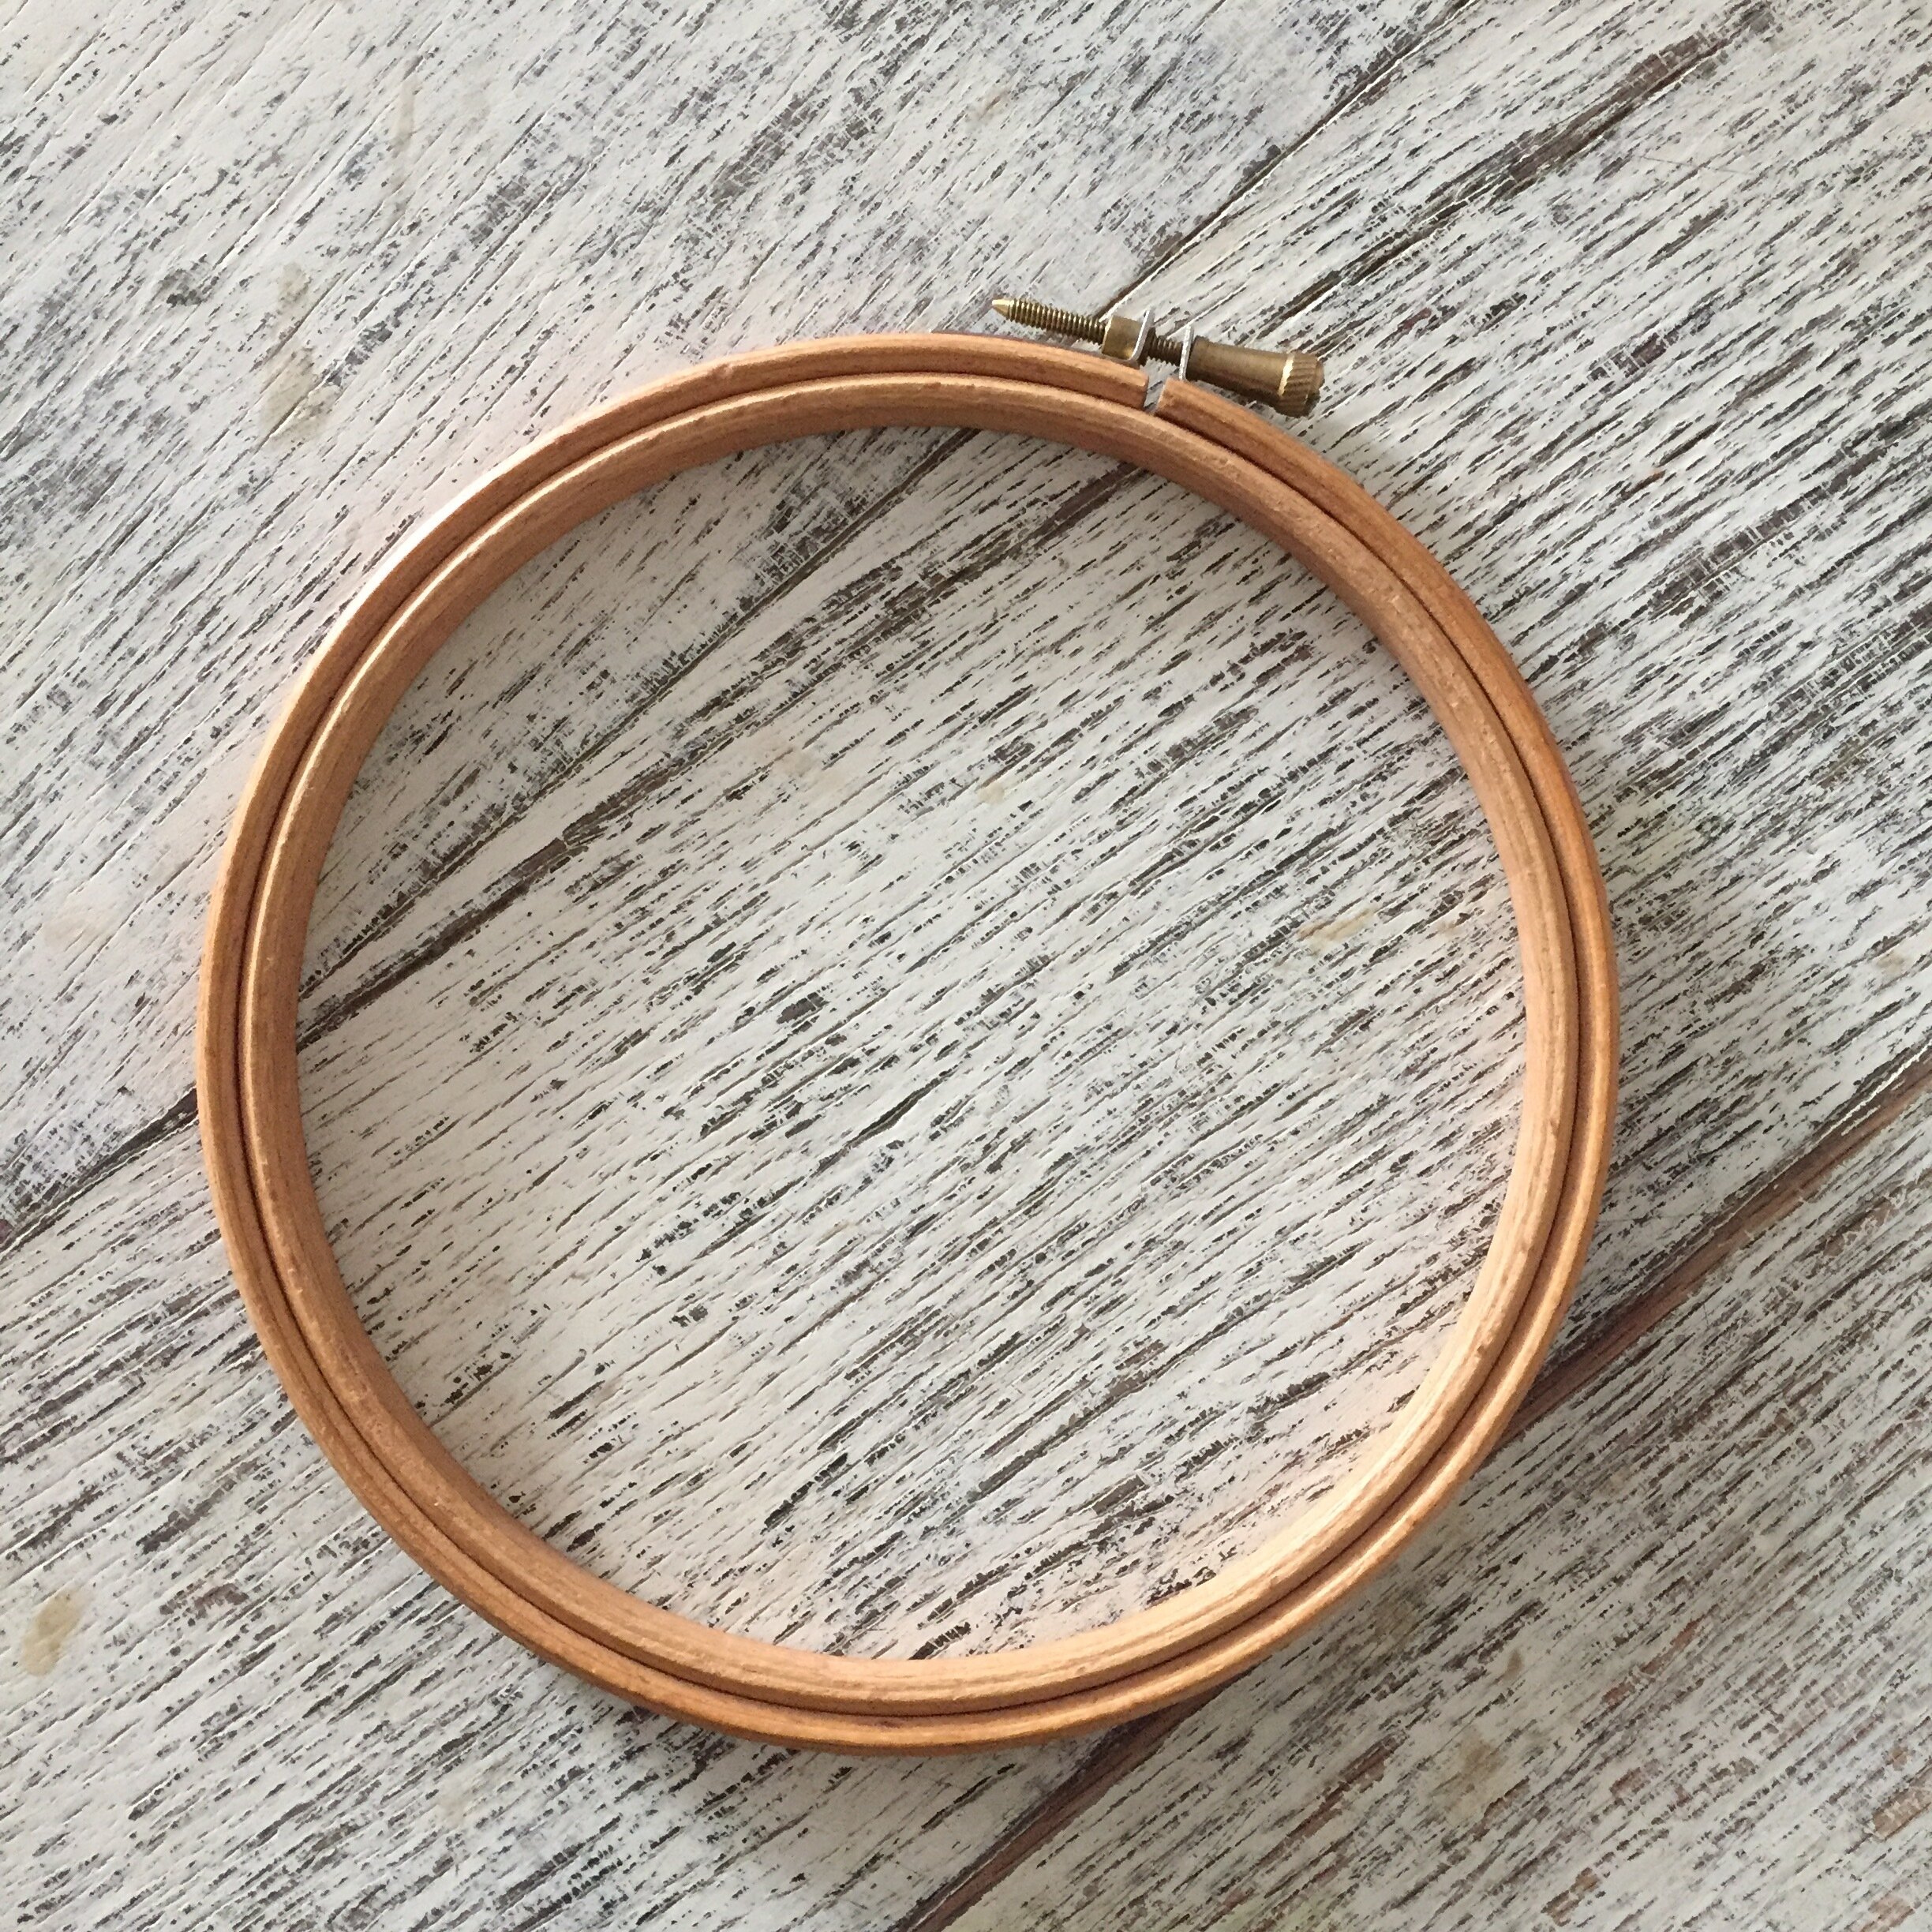
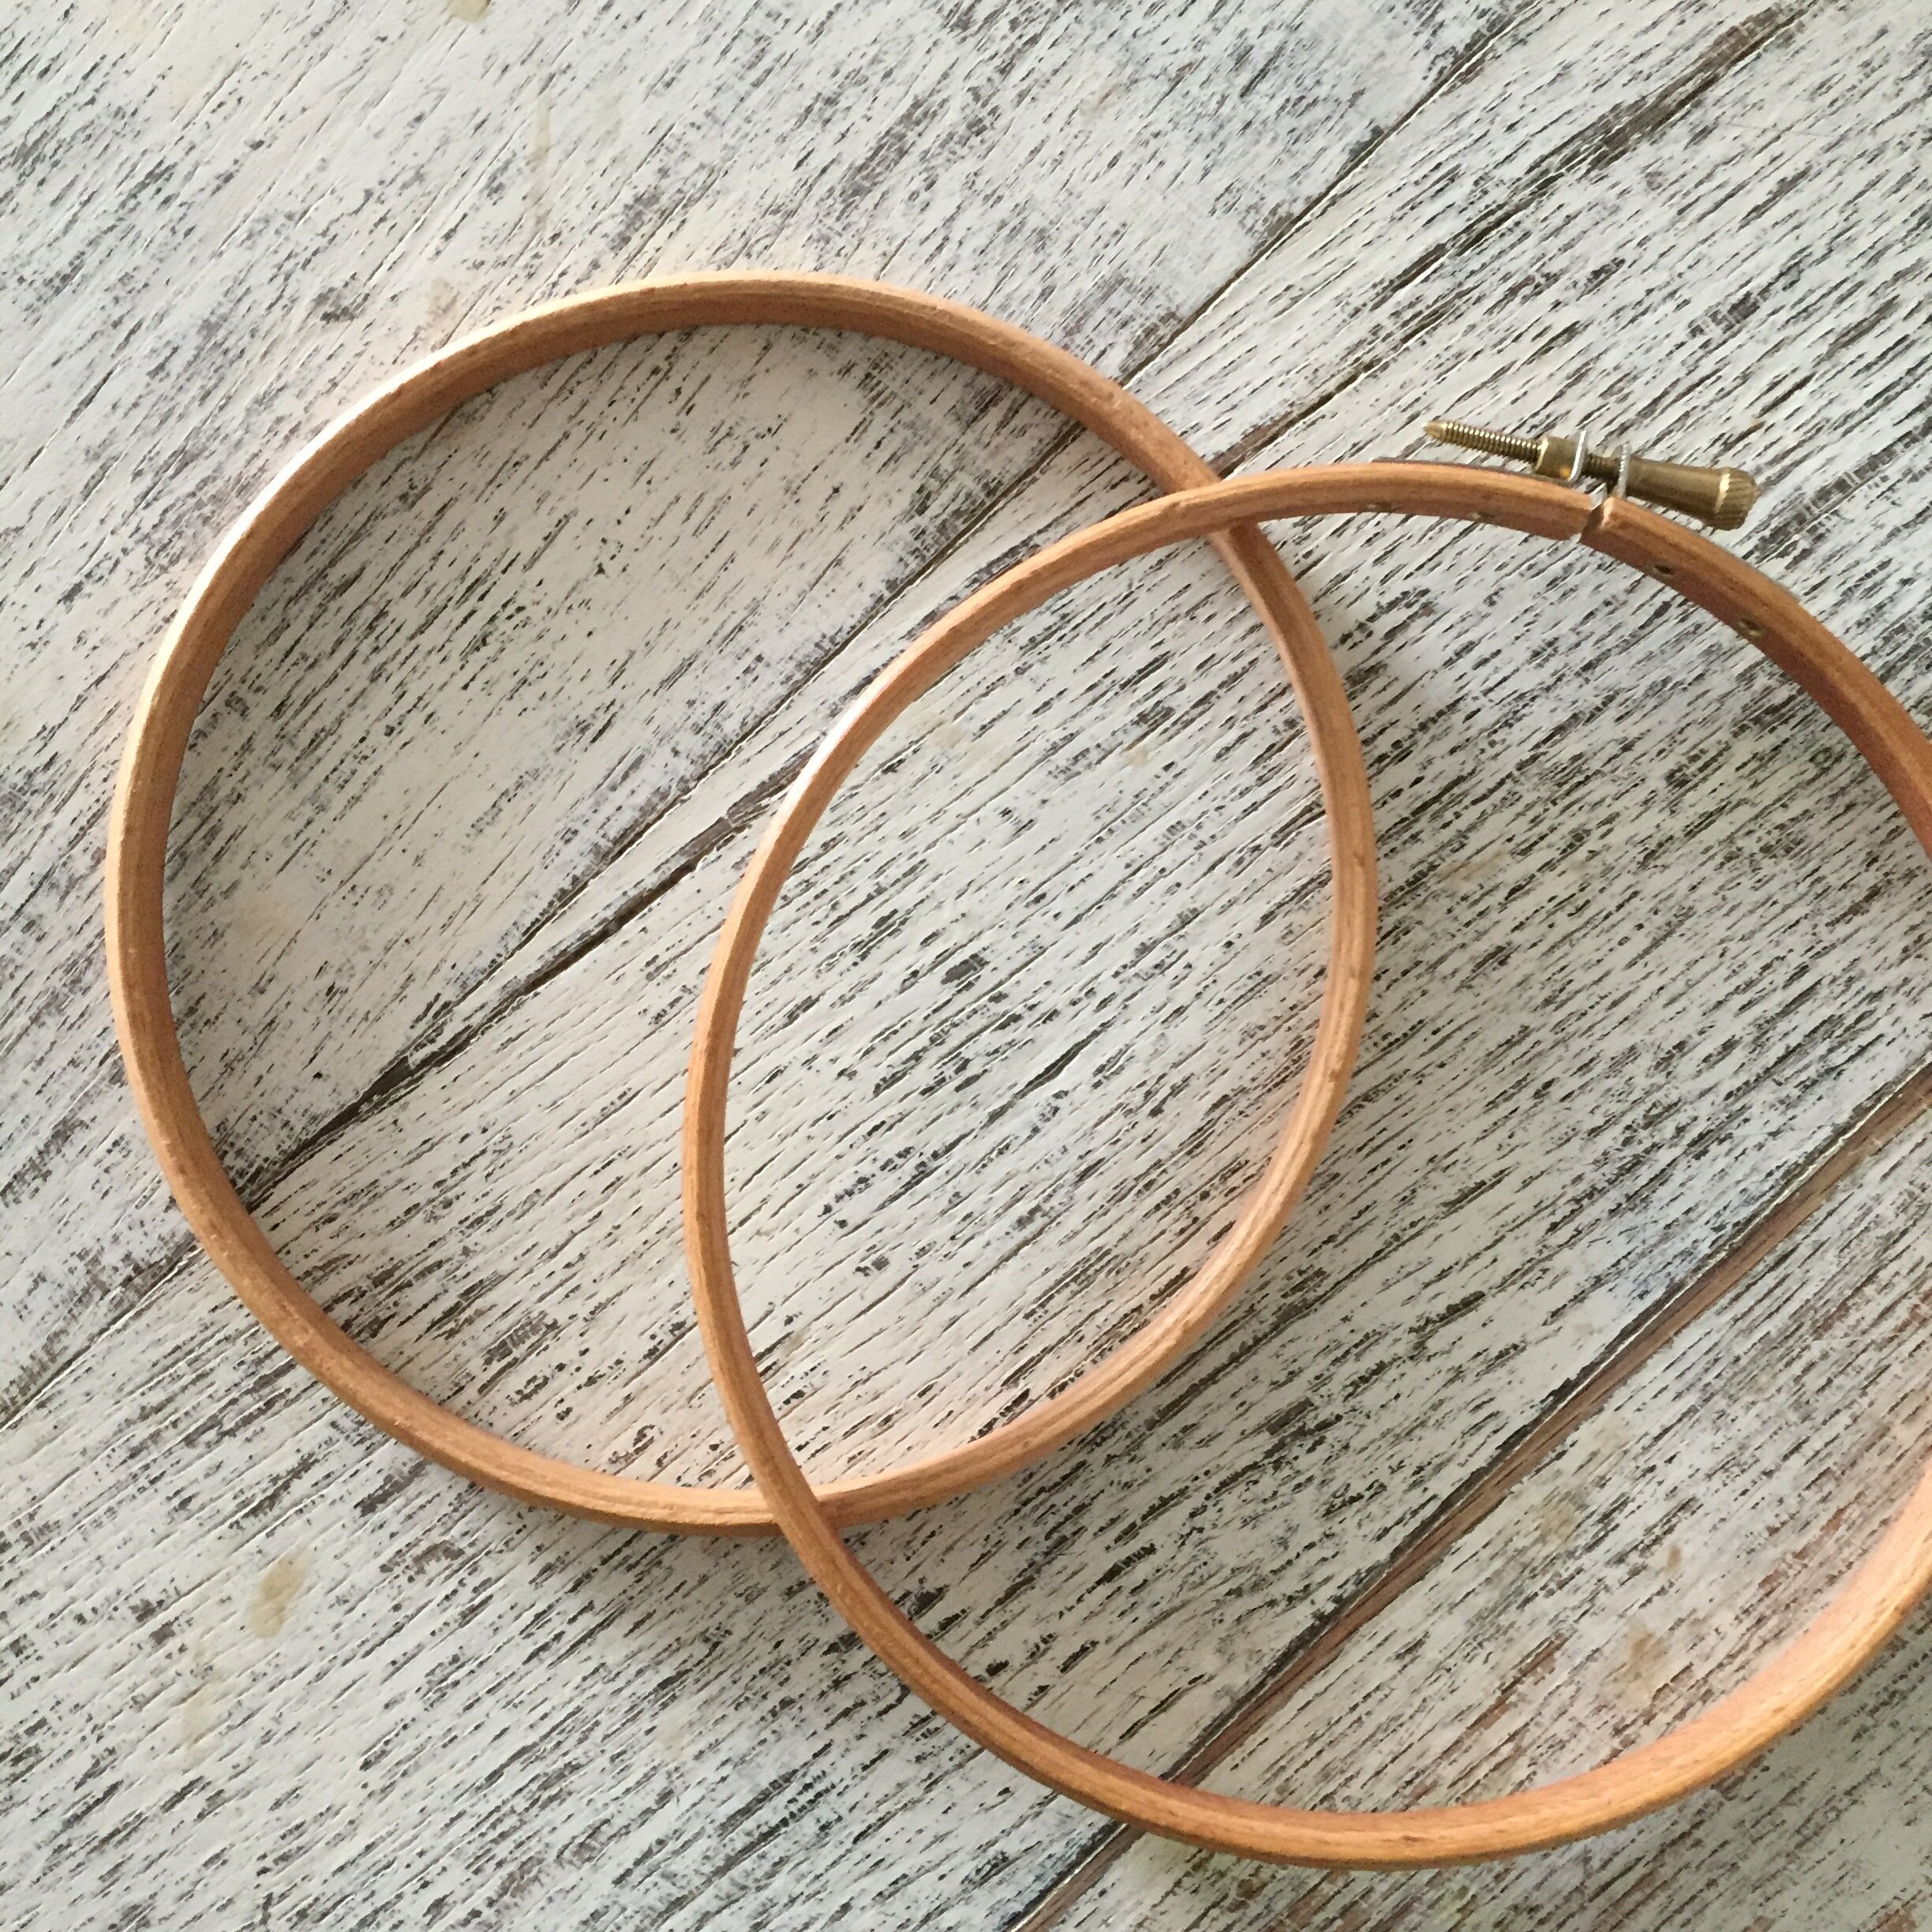
hooping up
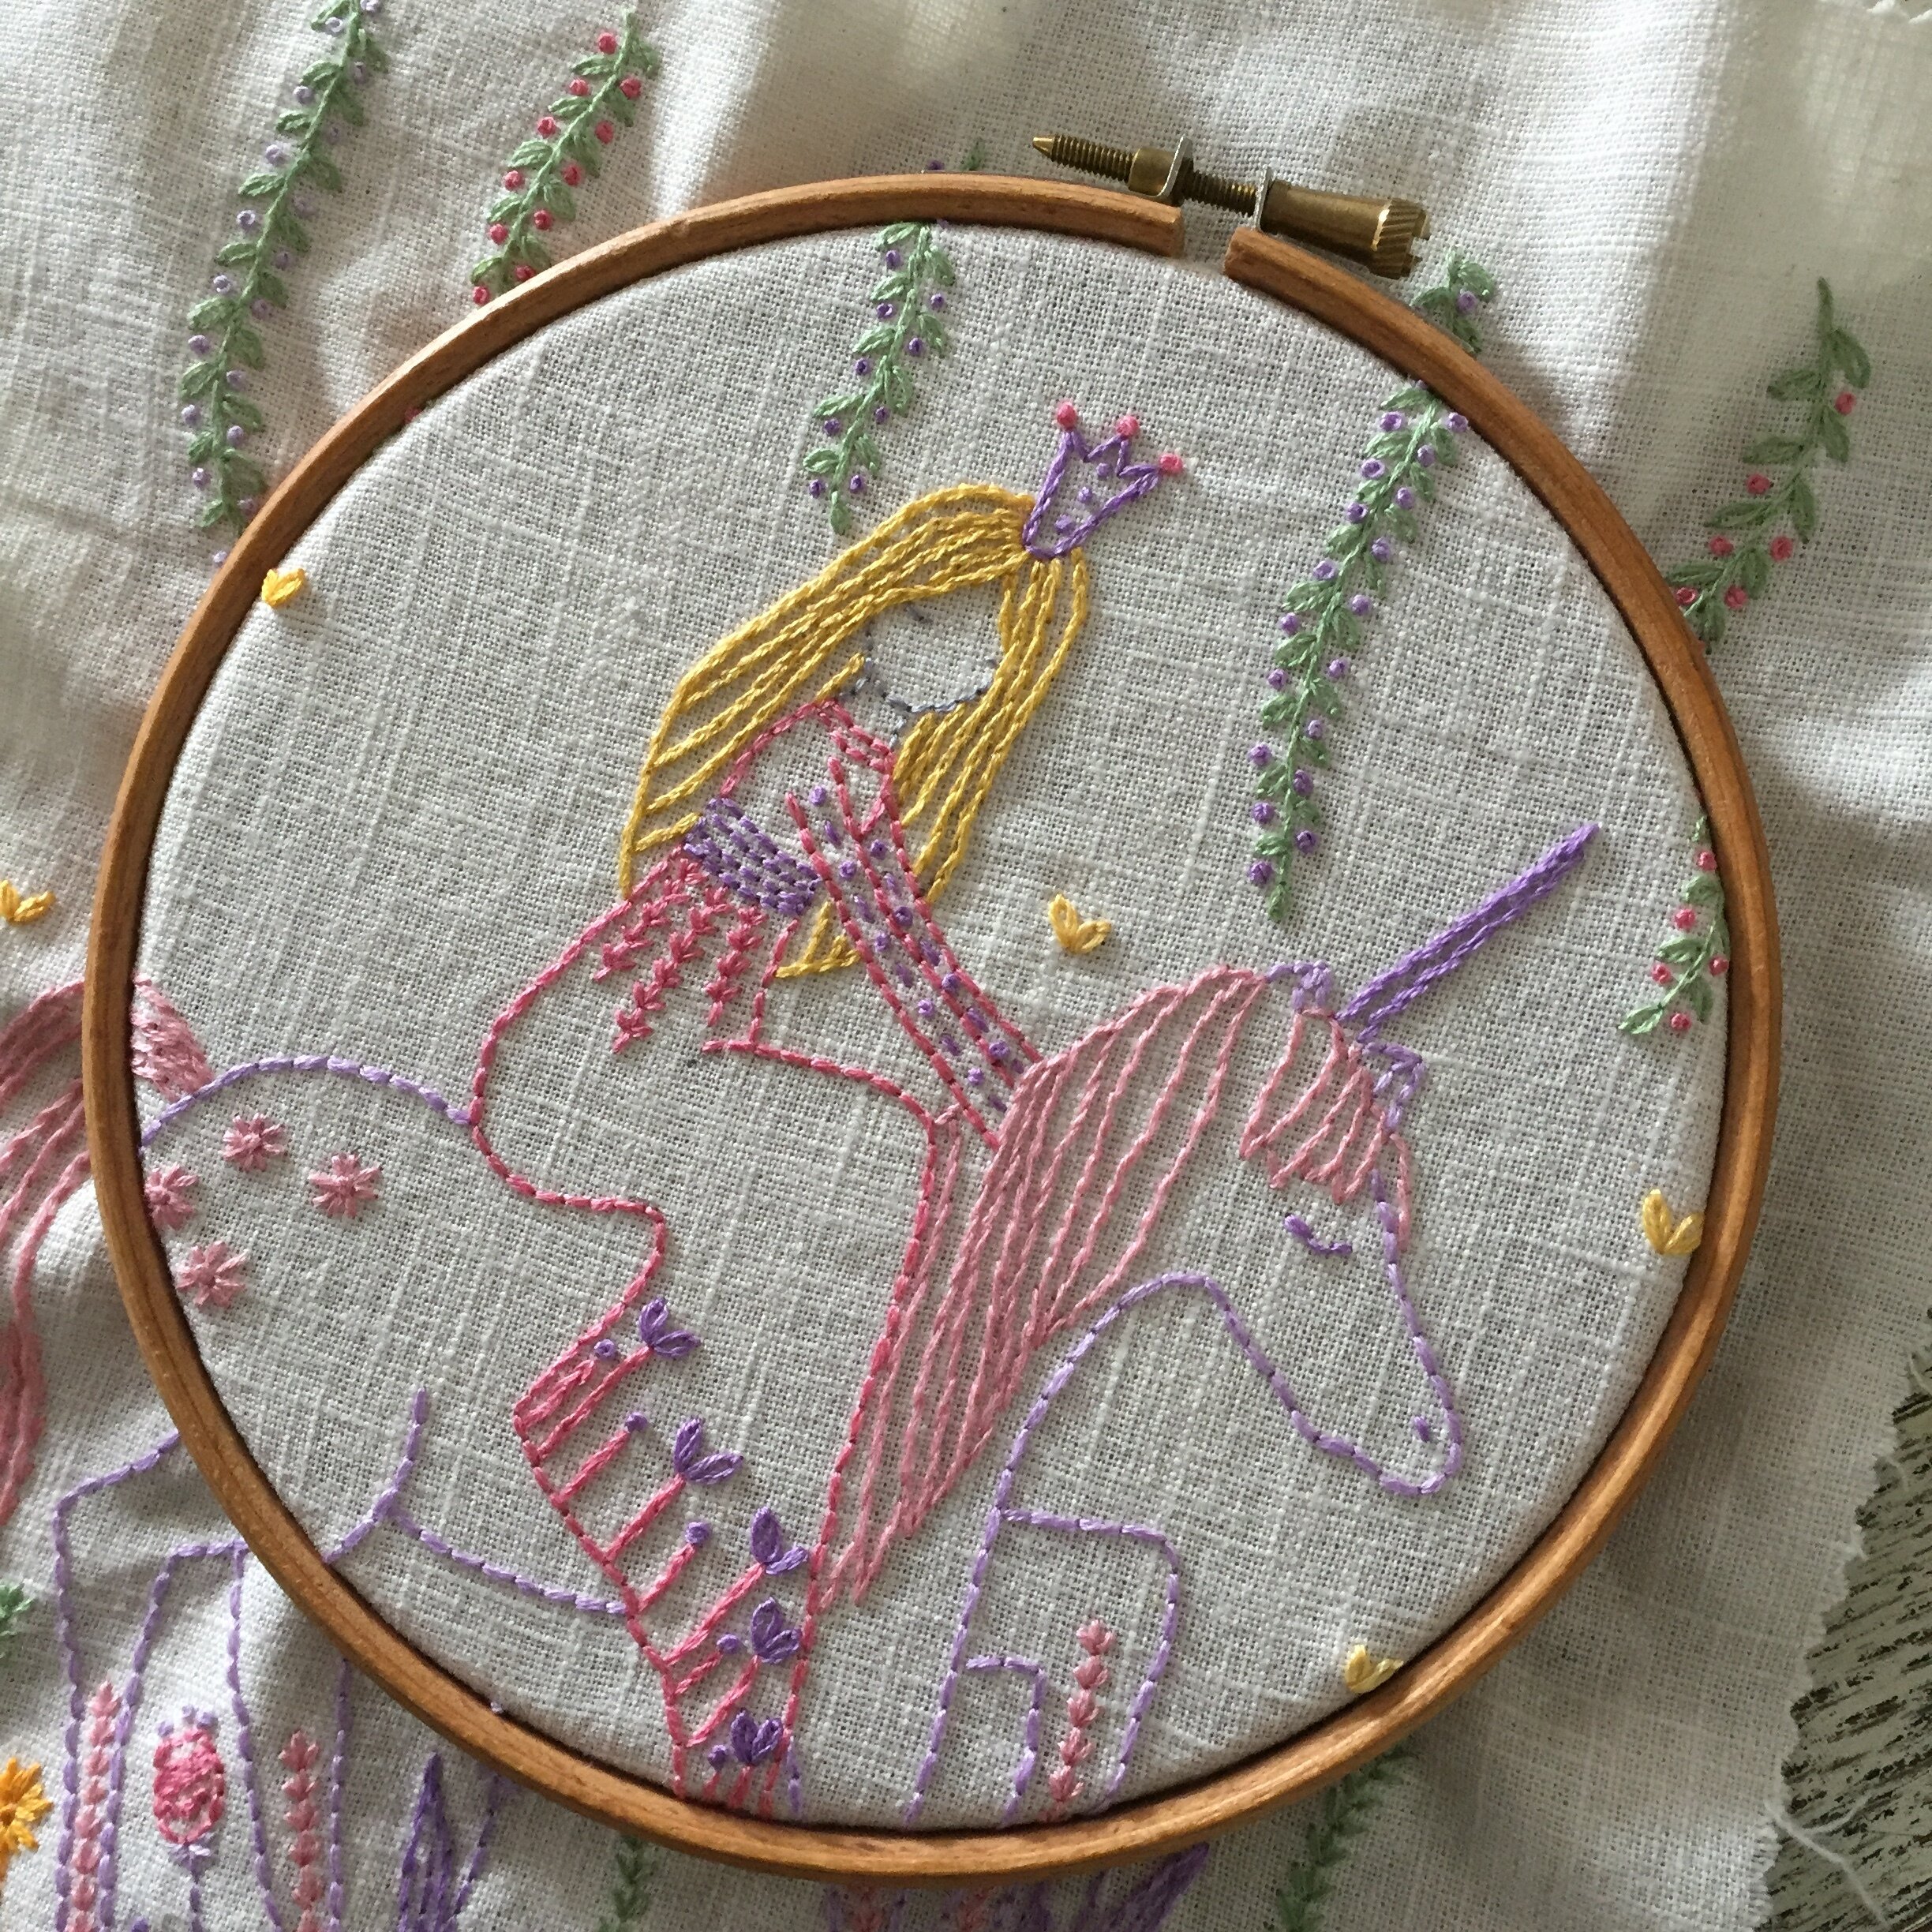
Next you need to hoop up your fabric. Your hoop comes in two parts, unscrew the hoop to loosen it and separate the two hoops. Place your fabric on top of the hoop that doesn’t have a screw. If the design fits into the hoop then make sure it’s central otherwise place the part you want to stitch in the centre. Now put the hoop that has a screw over the lower hoop trapping the fabric and gently pulling it taut (as in the final picture above). You want it to be a bit like a drum skin but make sure you are not distorting the image by stretching it too much. Tighten the screw as you go until you are happy that the fabric is firm and the hoops are tightly together. Now you are ready to stitch.
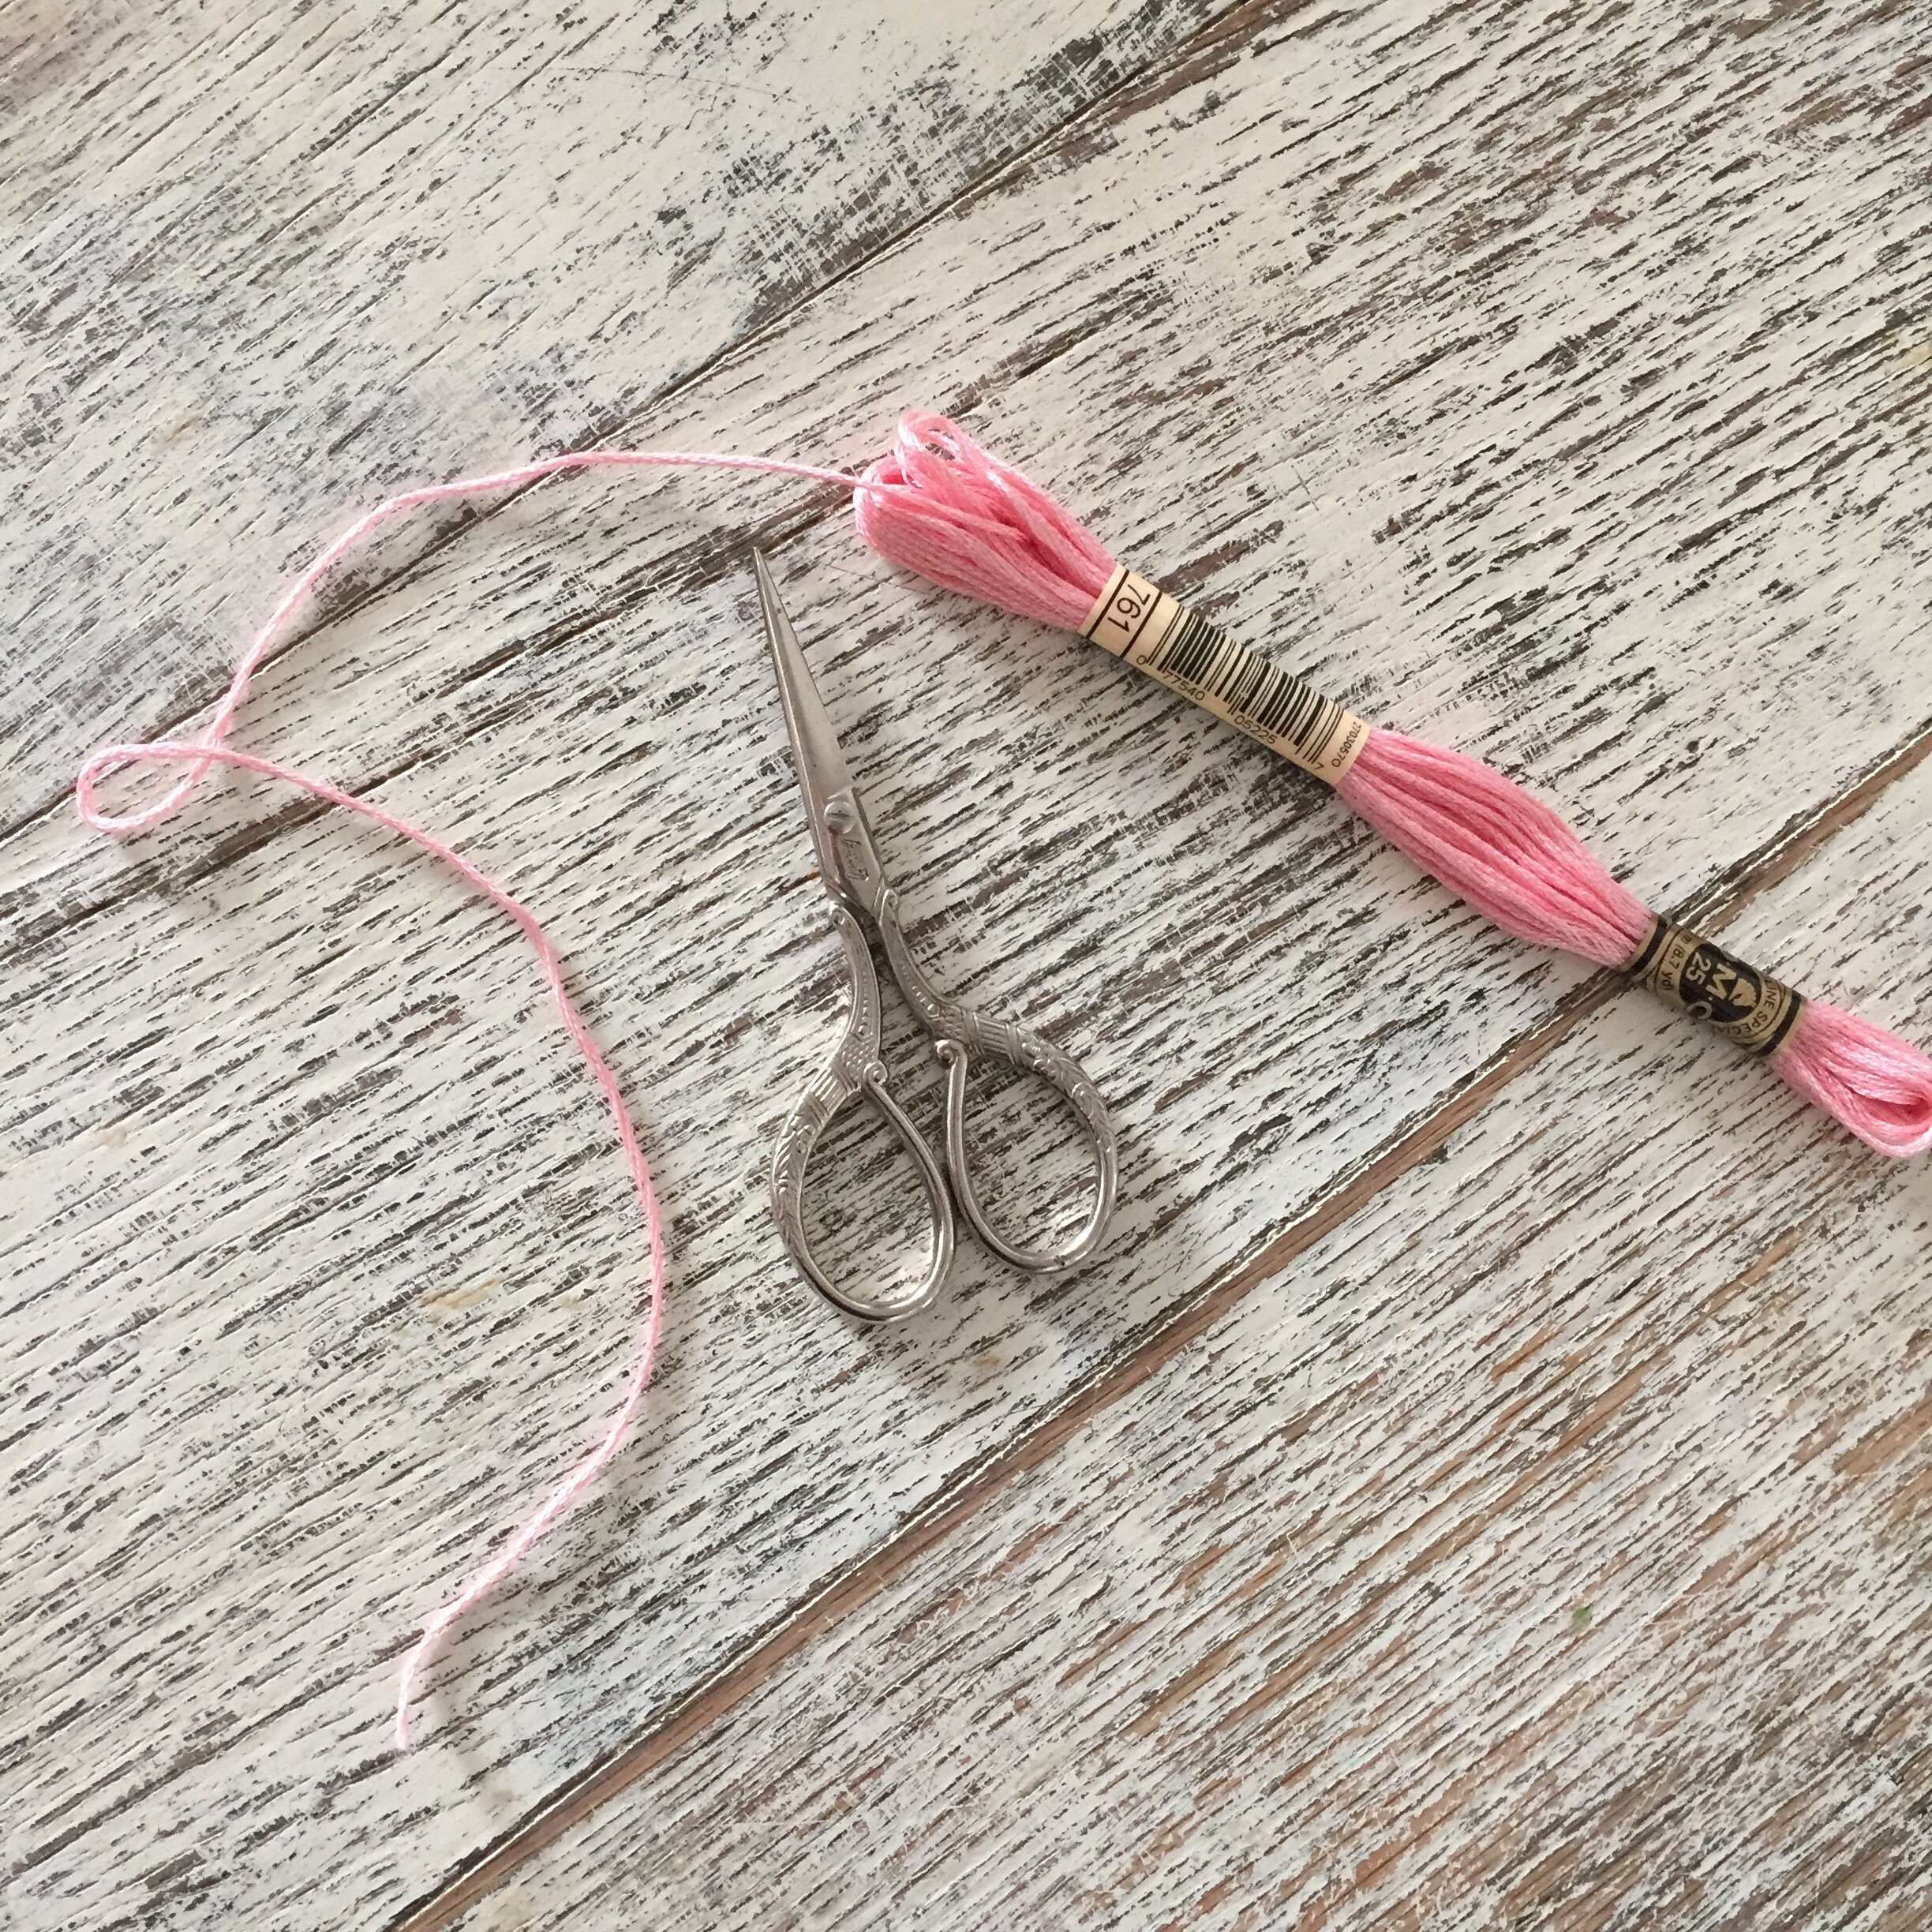

your thread
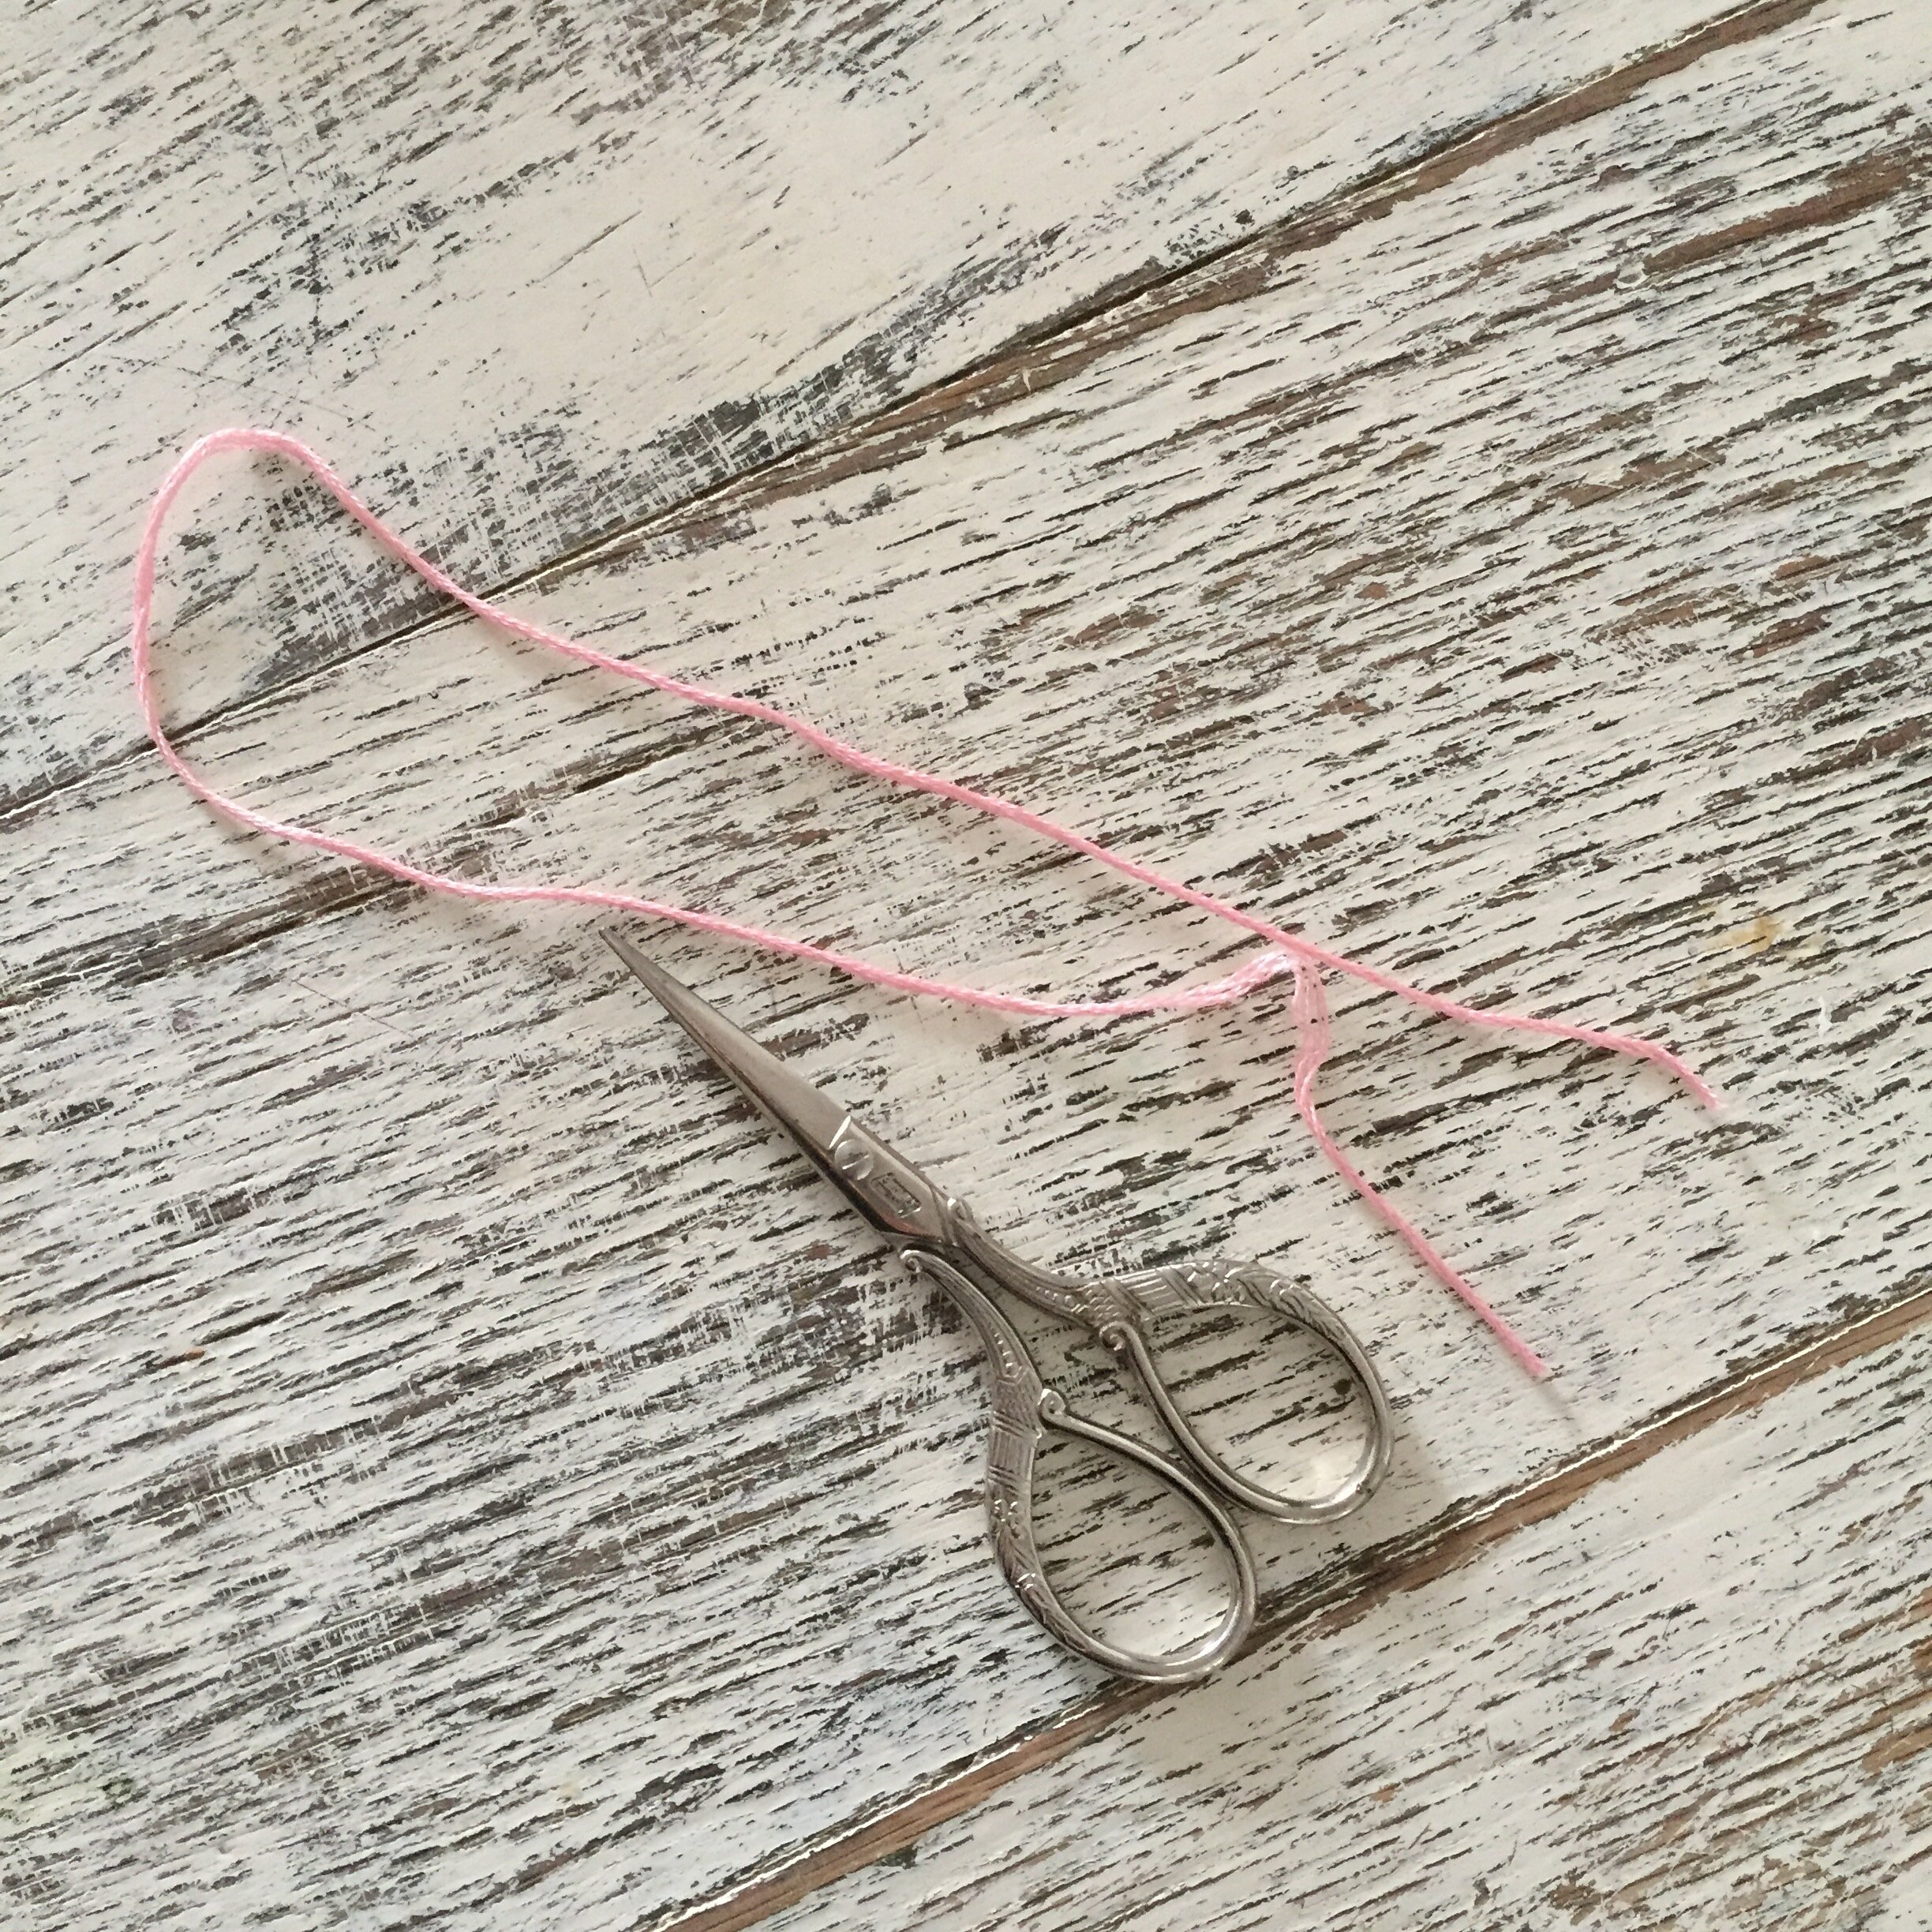
Firstly you need to cut a length of thread. My preferred length is from my wrist to my elbow (for me this is about 38cm). If you are using a satin or sparkly thread I would recommend a shorter length to avoid tangling.
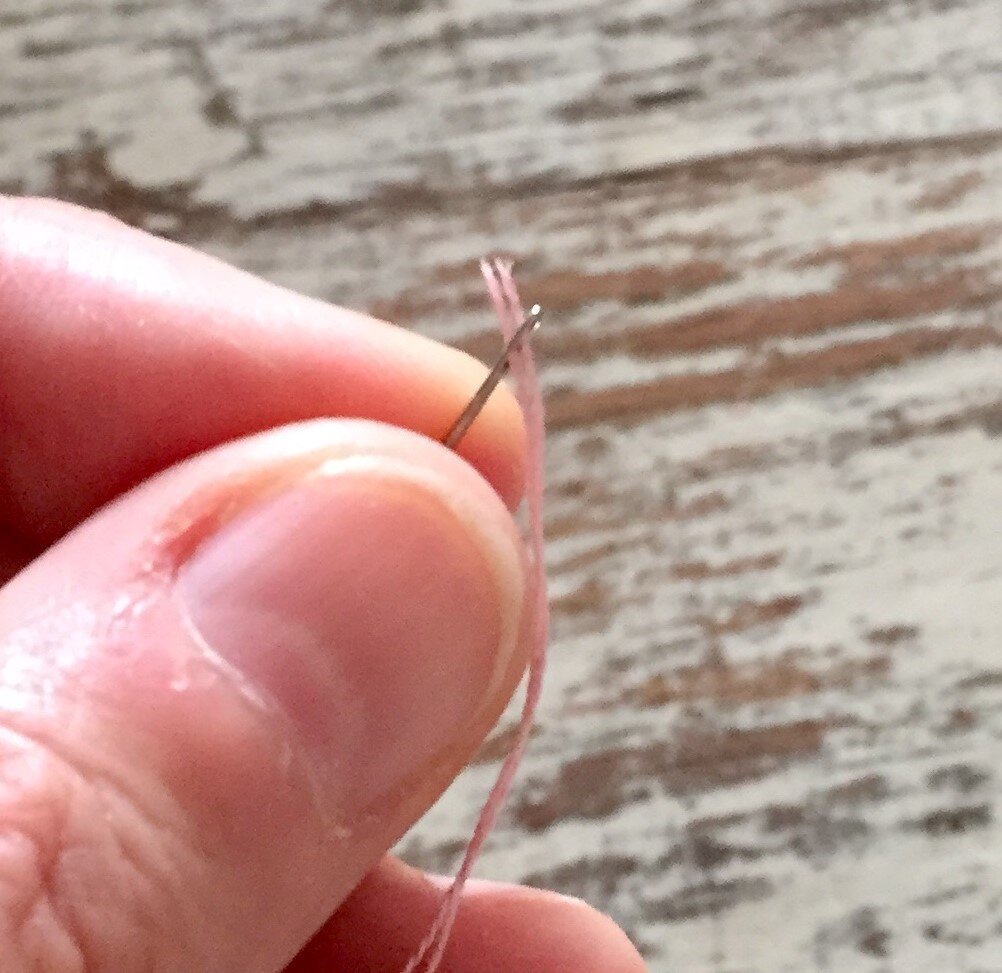
Once you have cut your thread you will see that it is made up of six strands. The pattern will tell you how many strands you need to use (often 2 strands). You need to separate off the correct number of strands and thread your needle.
To make threading your needle easier hold the needle steady in your fingers very close to the hole and bring your threads to the needle (rather than the other way around).
Now you are ready to stitch.
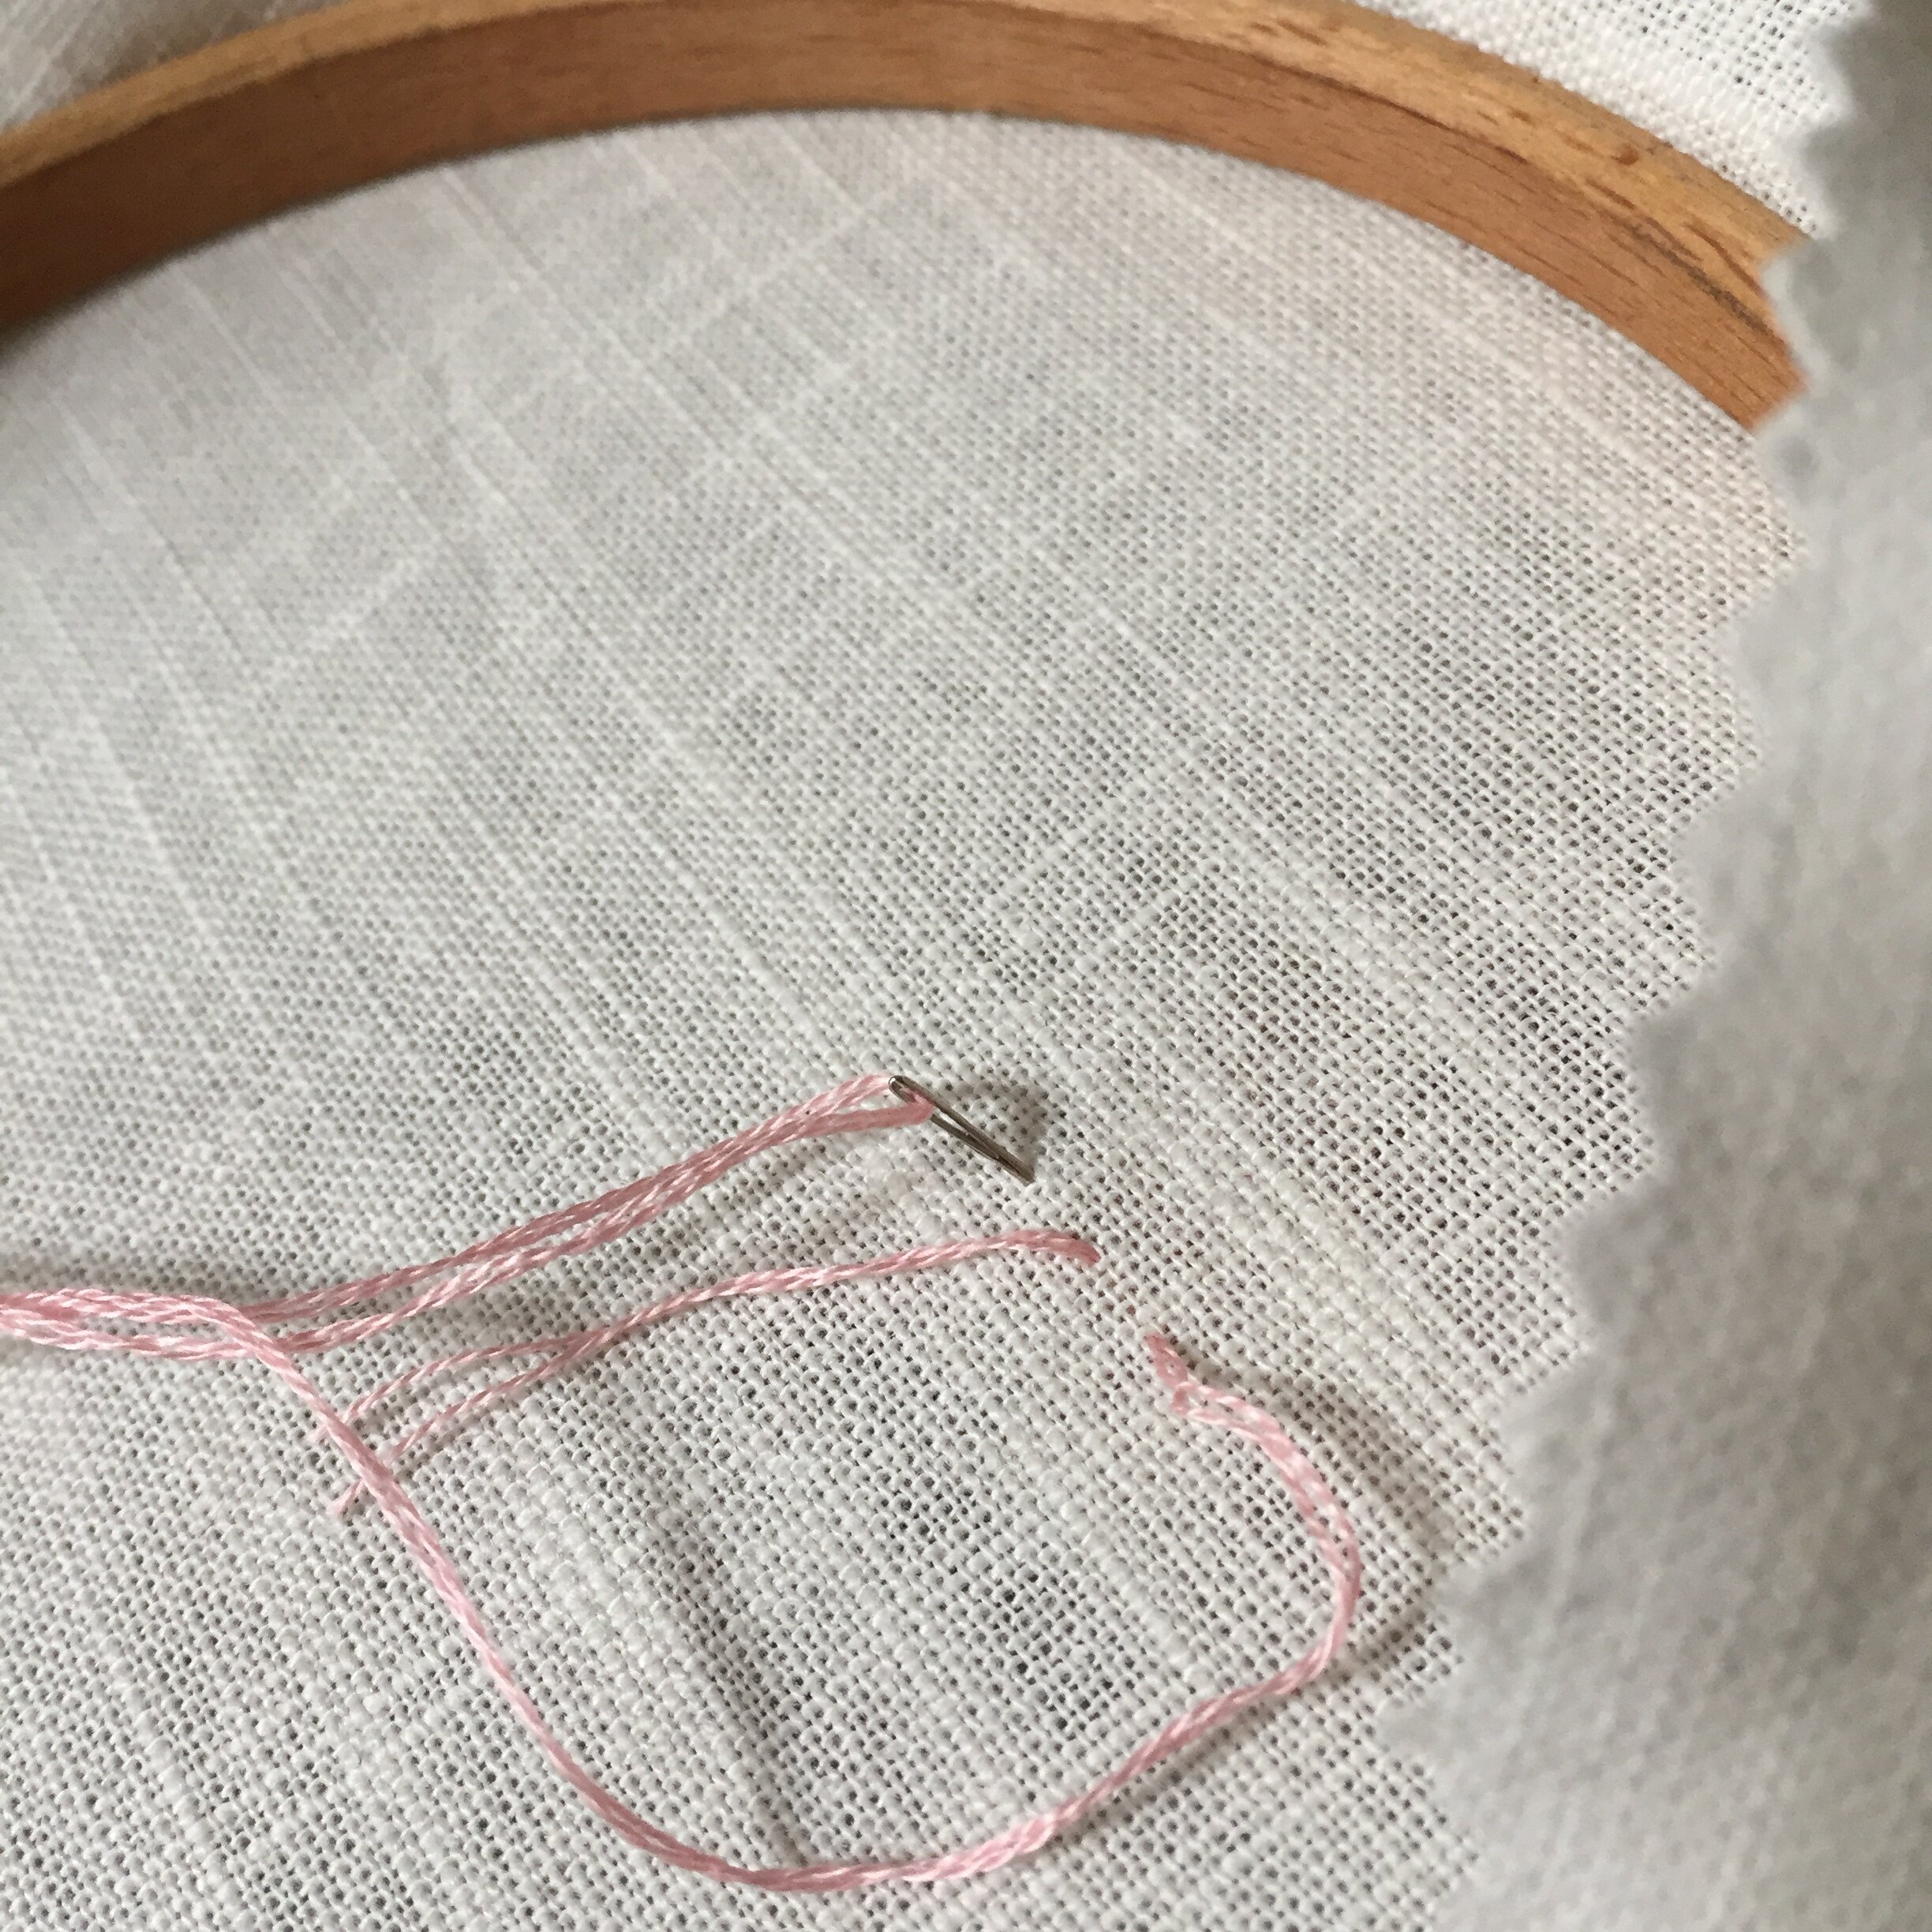
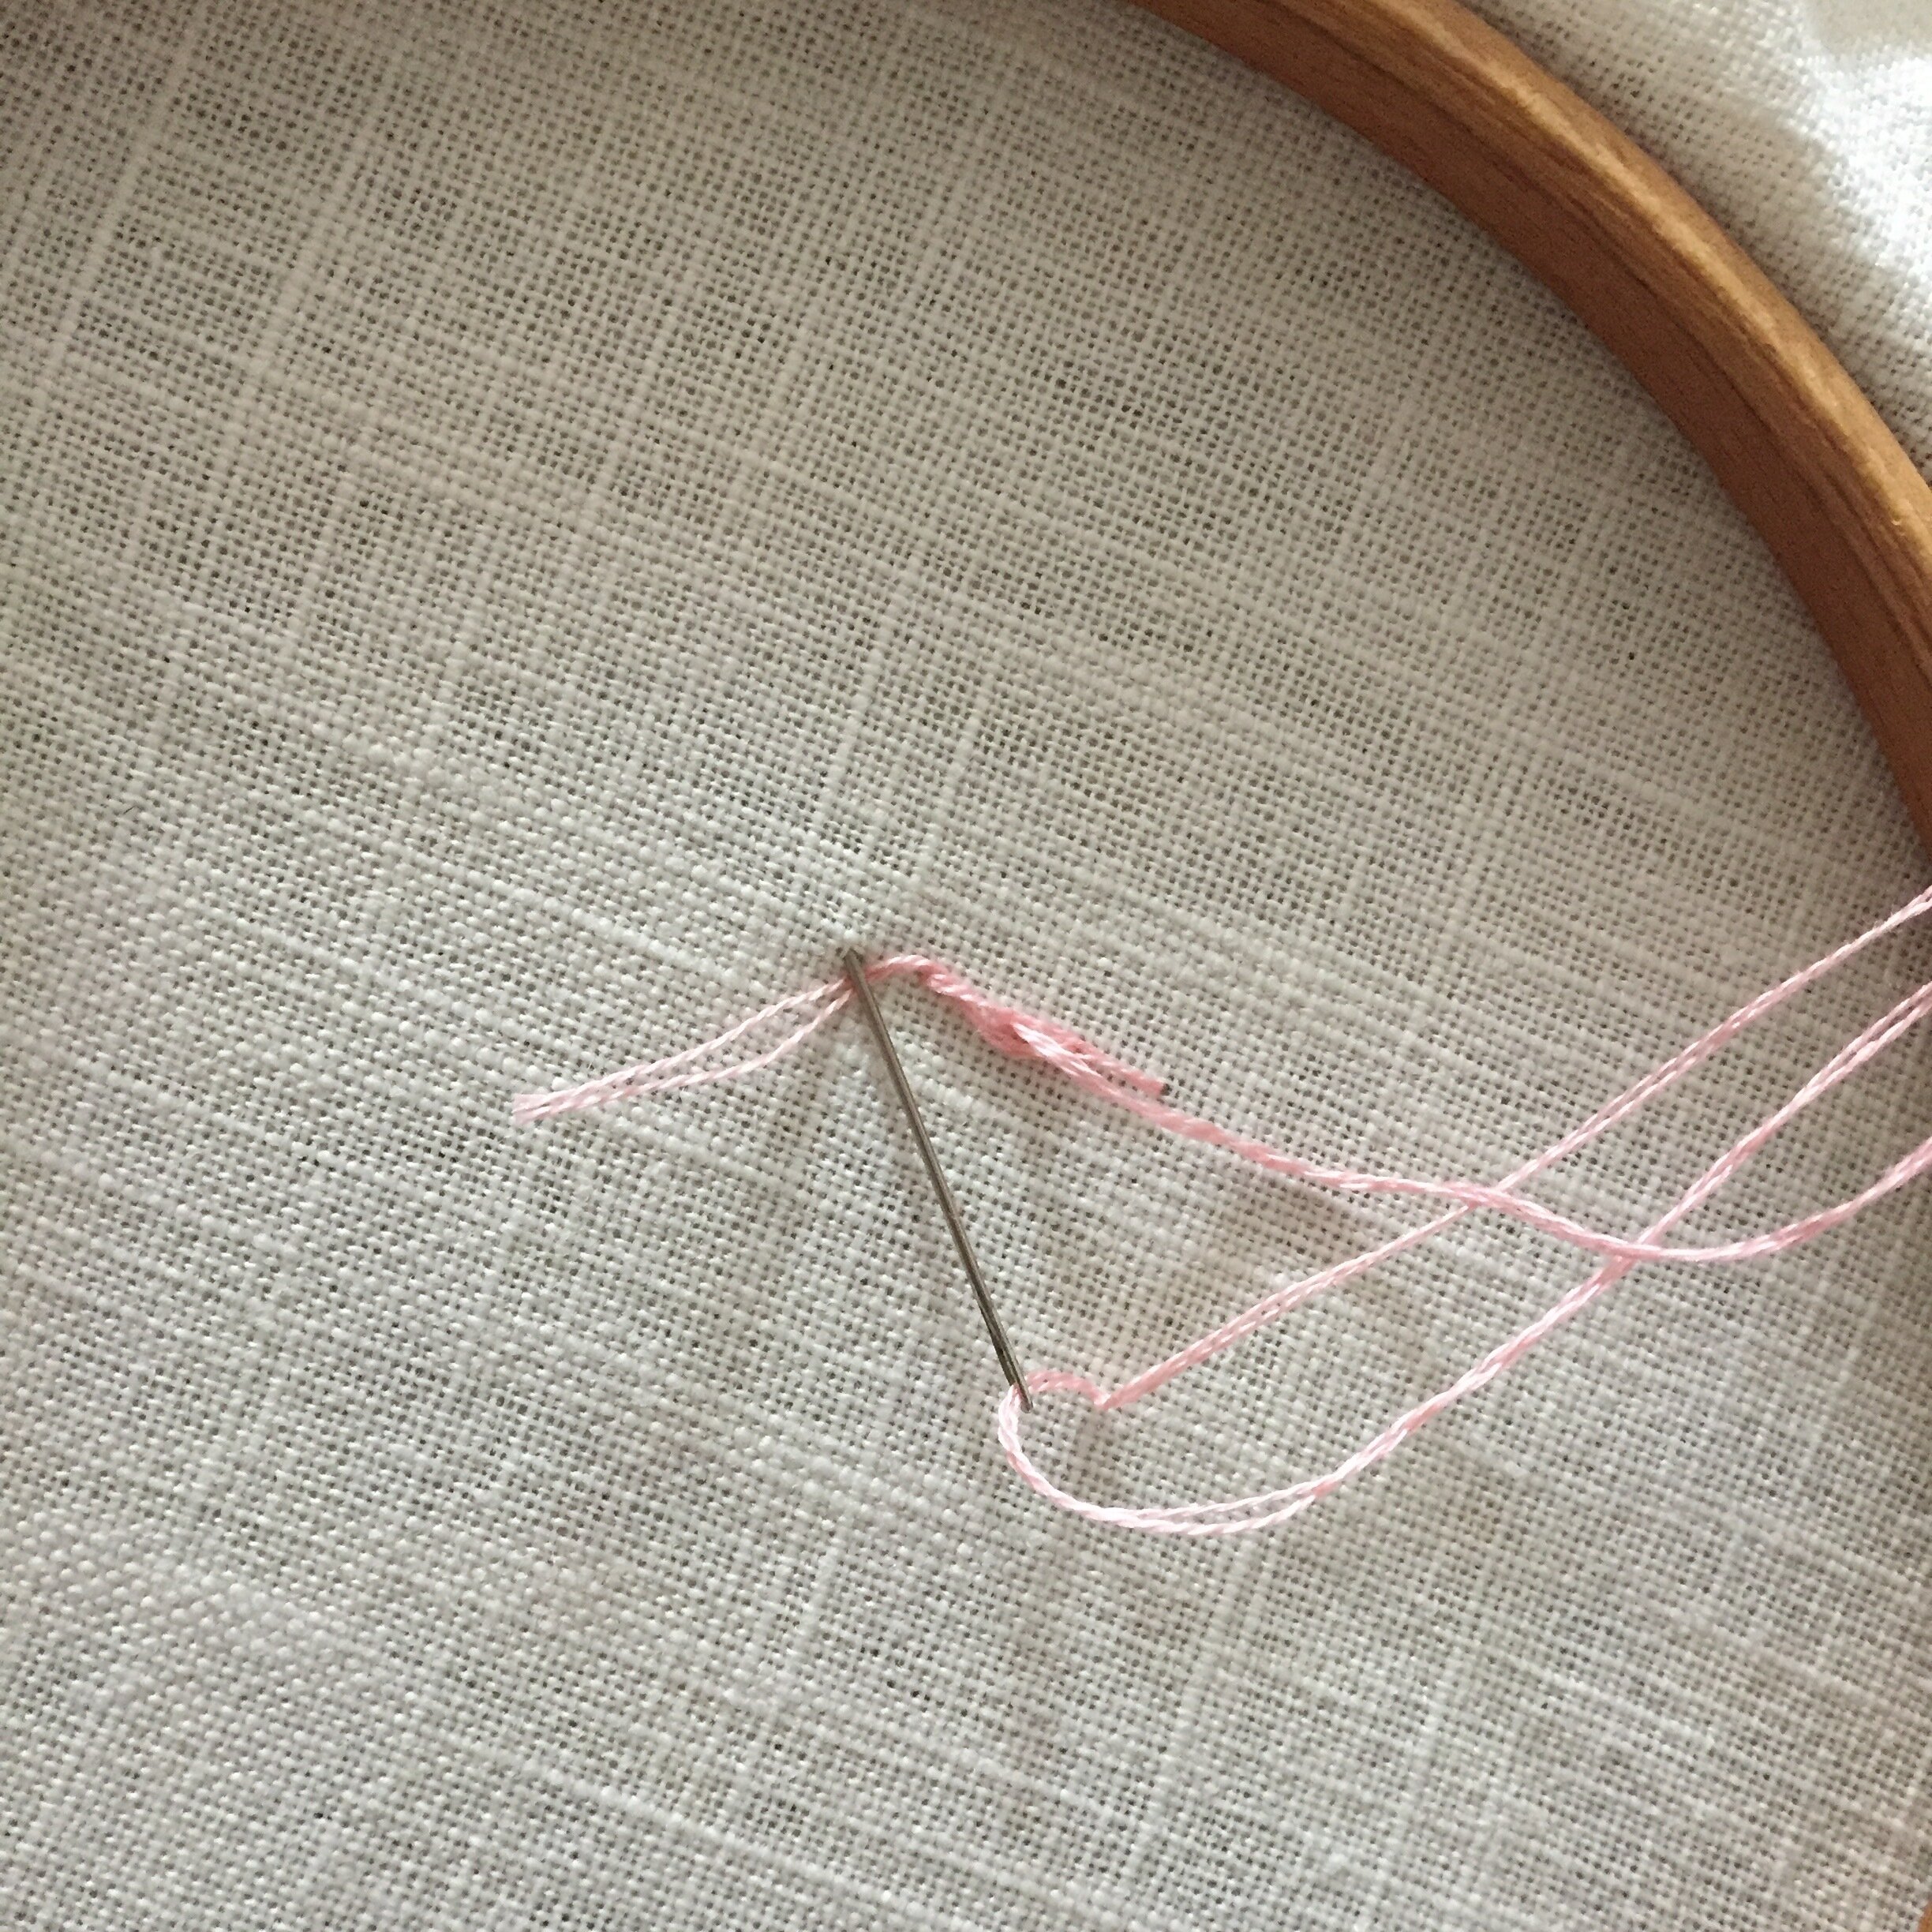
no knot
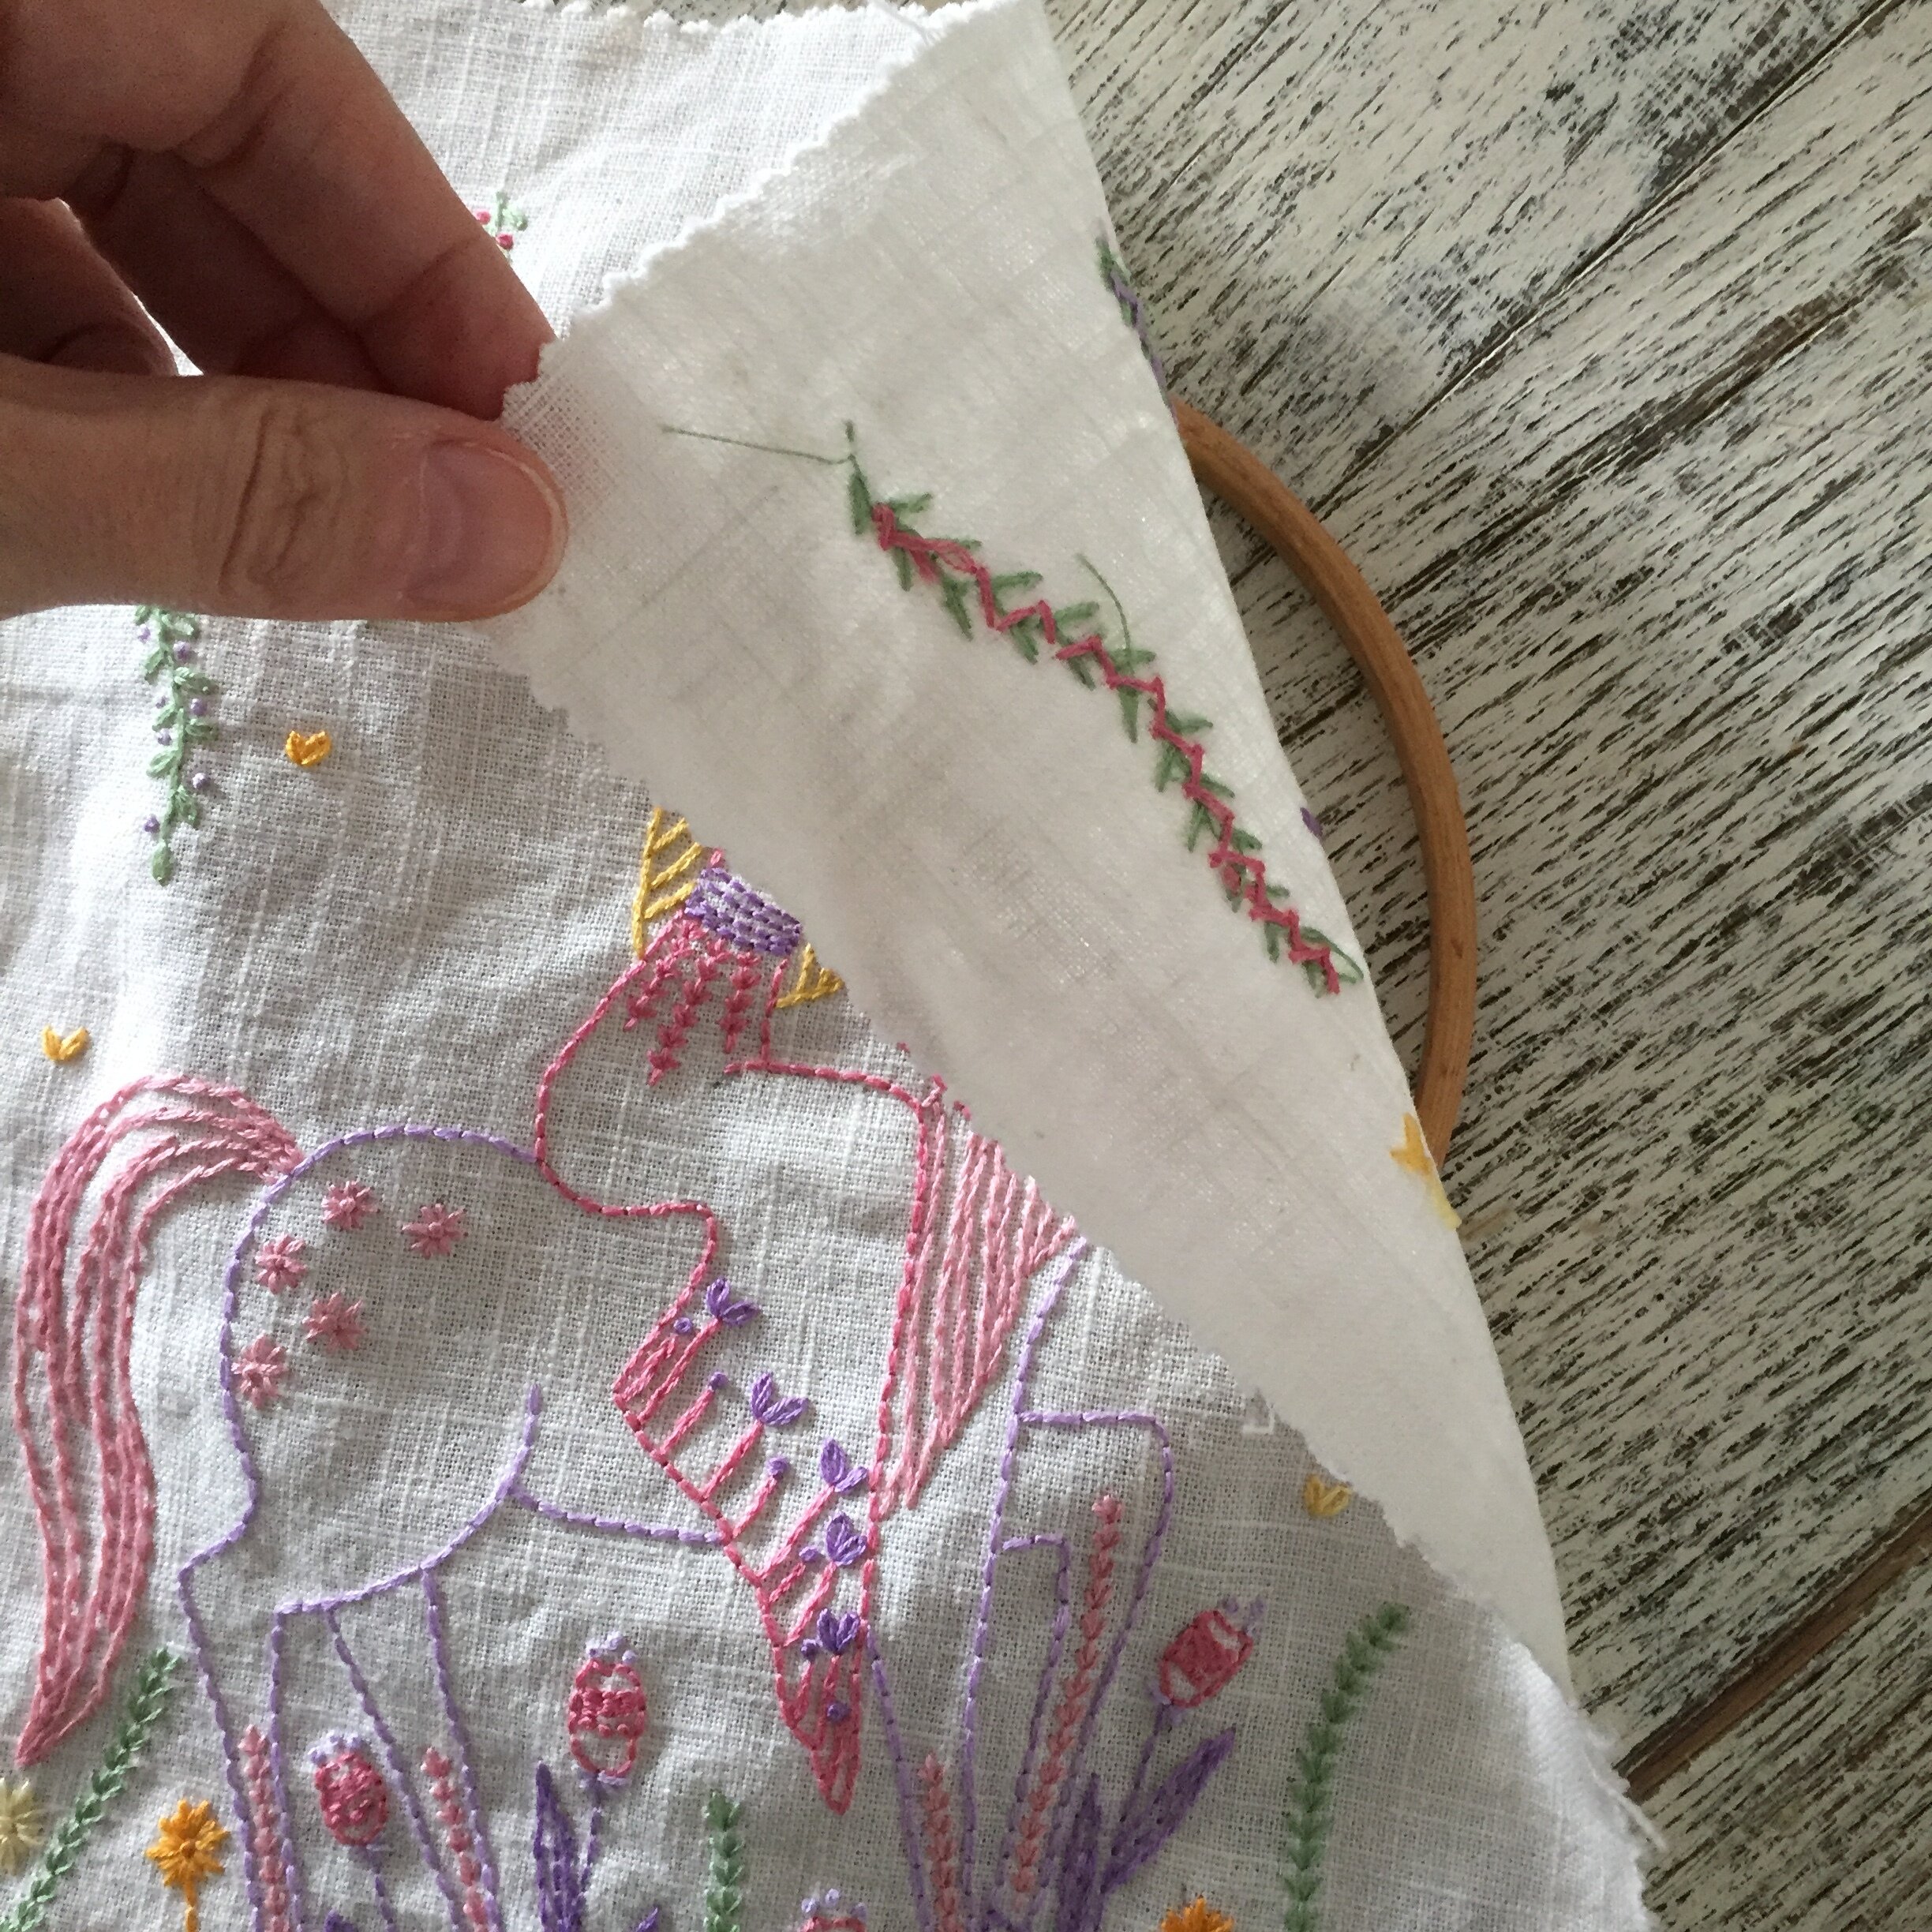
For the most part it is preferable not to have knots at the back of your fabric (I find there are always occasions when I have to!).
My method is to leave a tail about 1” long behind the fabric then as I stitch I trap the tail for the first few stitches. The images above are the back of the fabric
At the end of my stitching I weave the thread through the back of a few stitches before cutting it.