A quick hanging tutorial
I have been asked a few times recently for suggestions for my designs that are not created for framing in a hoop. Many of my stitchers use the panel as a centrepiece for a cushion (it could also be the centre panel for a tote bag). You could also frame your embroidery in a picture frame although I always find the glass detracts from the textures in embroidery. I have a pinterest board with some lovely ideas for what to do with your embroidery here. My own preference is for a hanging and so I have done a quick tutorial for the way I make a hanging using my angel embroidery.
Before I begin I should point out that I didn’t have time to stretch the embroidery before making the hanging. I would definitely recommend stretching it first. This can be done by spraying the fabric with water and pinning it into shape on a cork or foam board. I have used leftover scraps of calico I’m sure yours will look a lot neater!
I began by attaching my embroidery to some quilt wadding as I like the quilted effect but this step is not necessary. I simply stitched a few stars through the embroidered piece and the wadding to give a bit of a quilted effect.
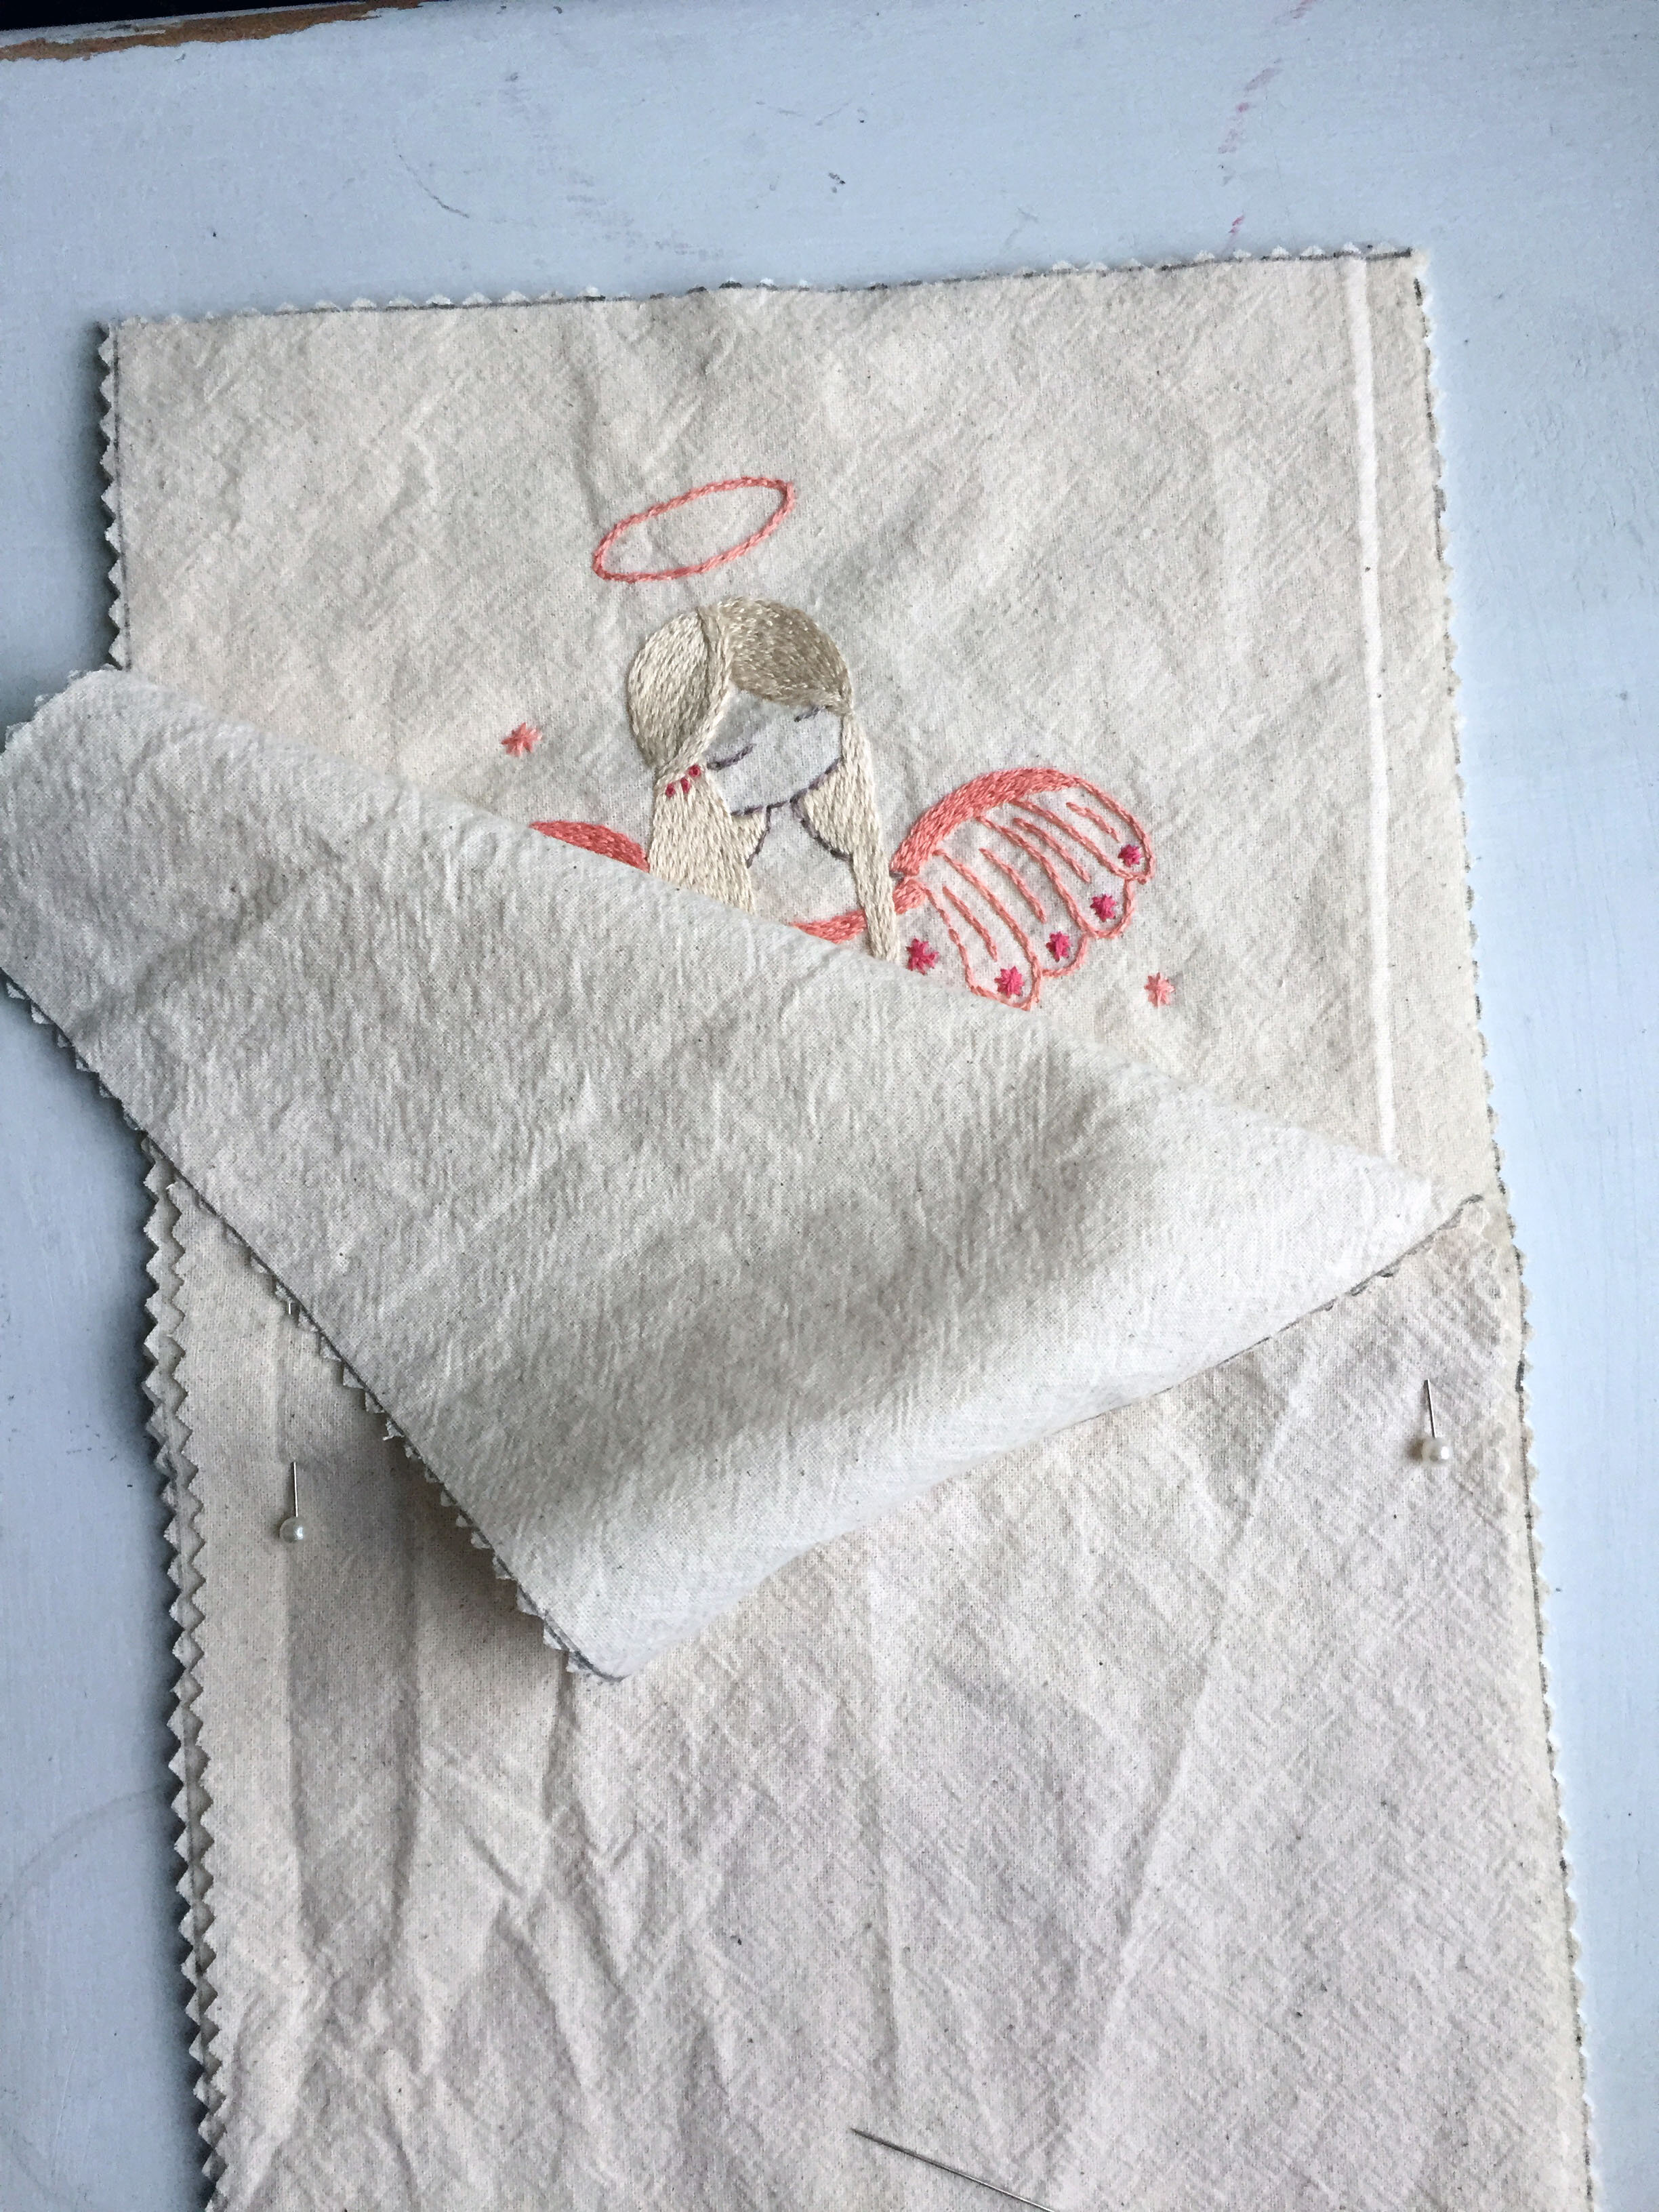
Cut a piece of backing fabric (you can choose a plain or printed fabric) the same size as your embroidered piece. Place the two fabrics right sides together and stitch a 1cm hem around all four sides of the hanging leaving a gap of about 6cm at the middle bottom for turning.
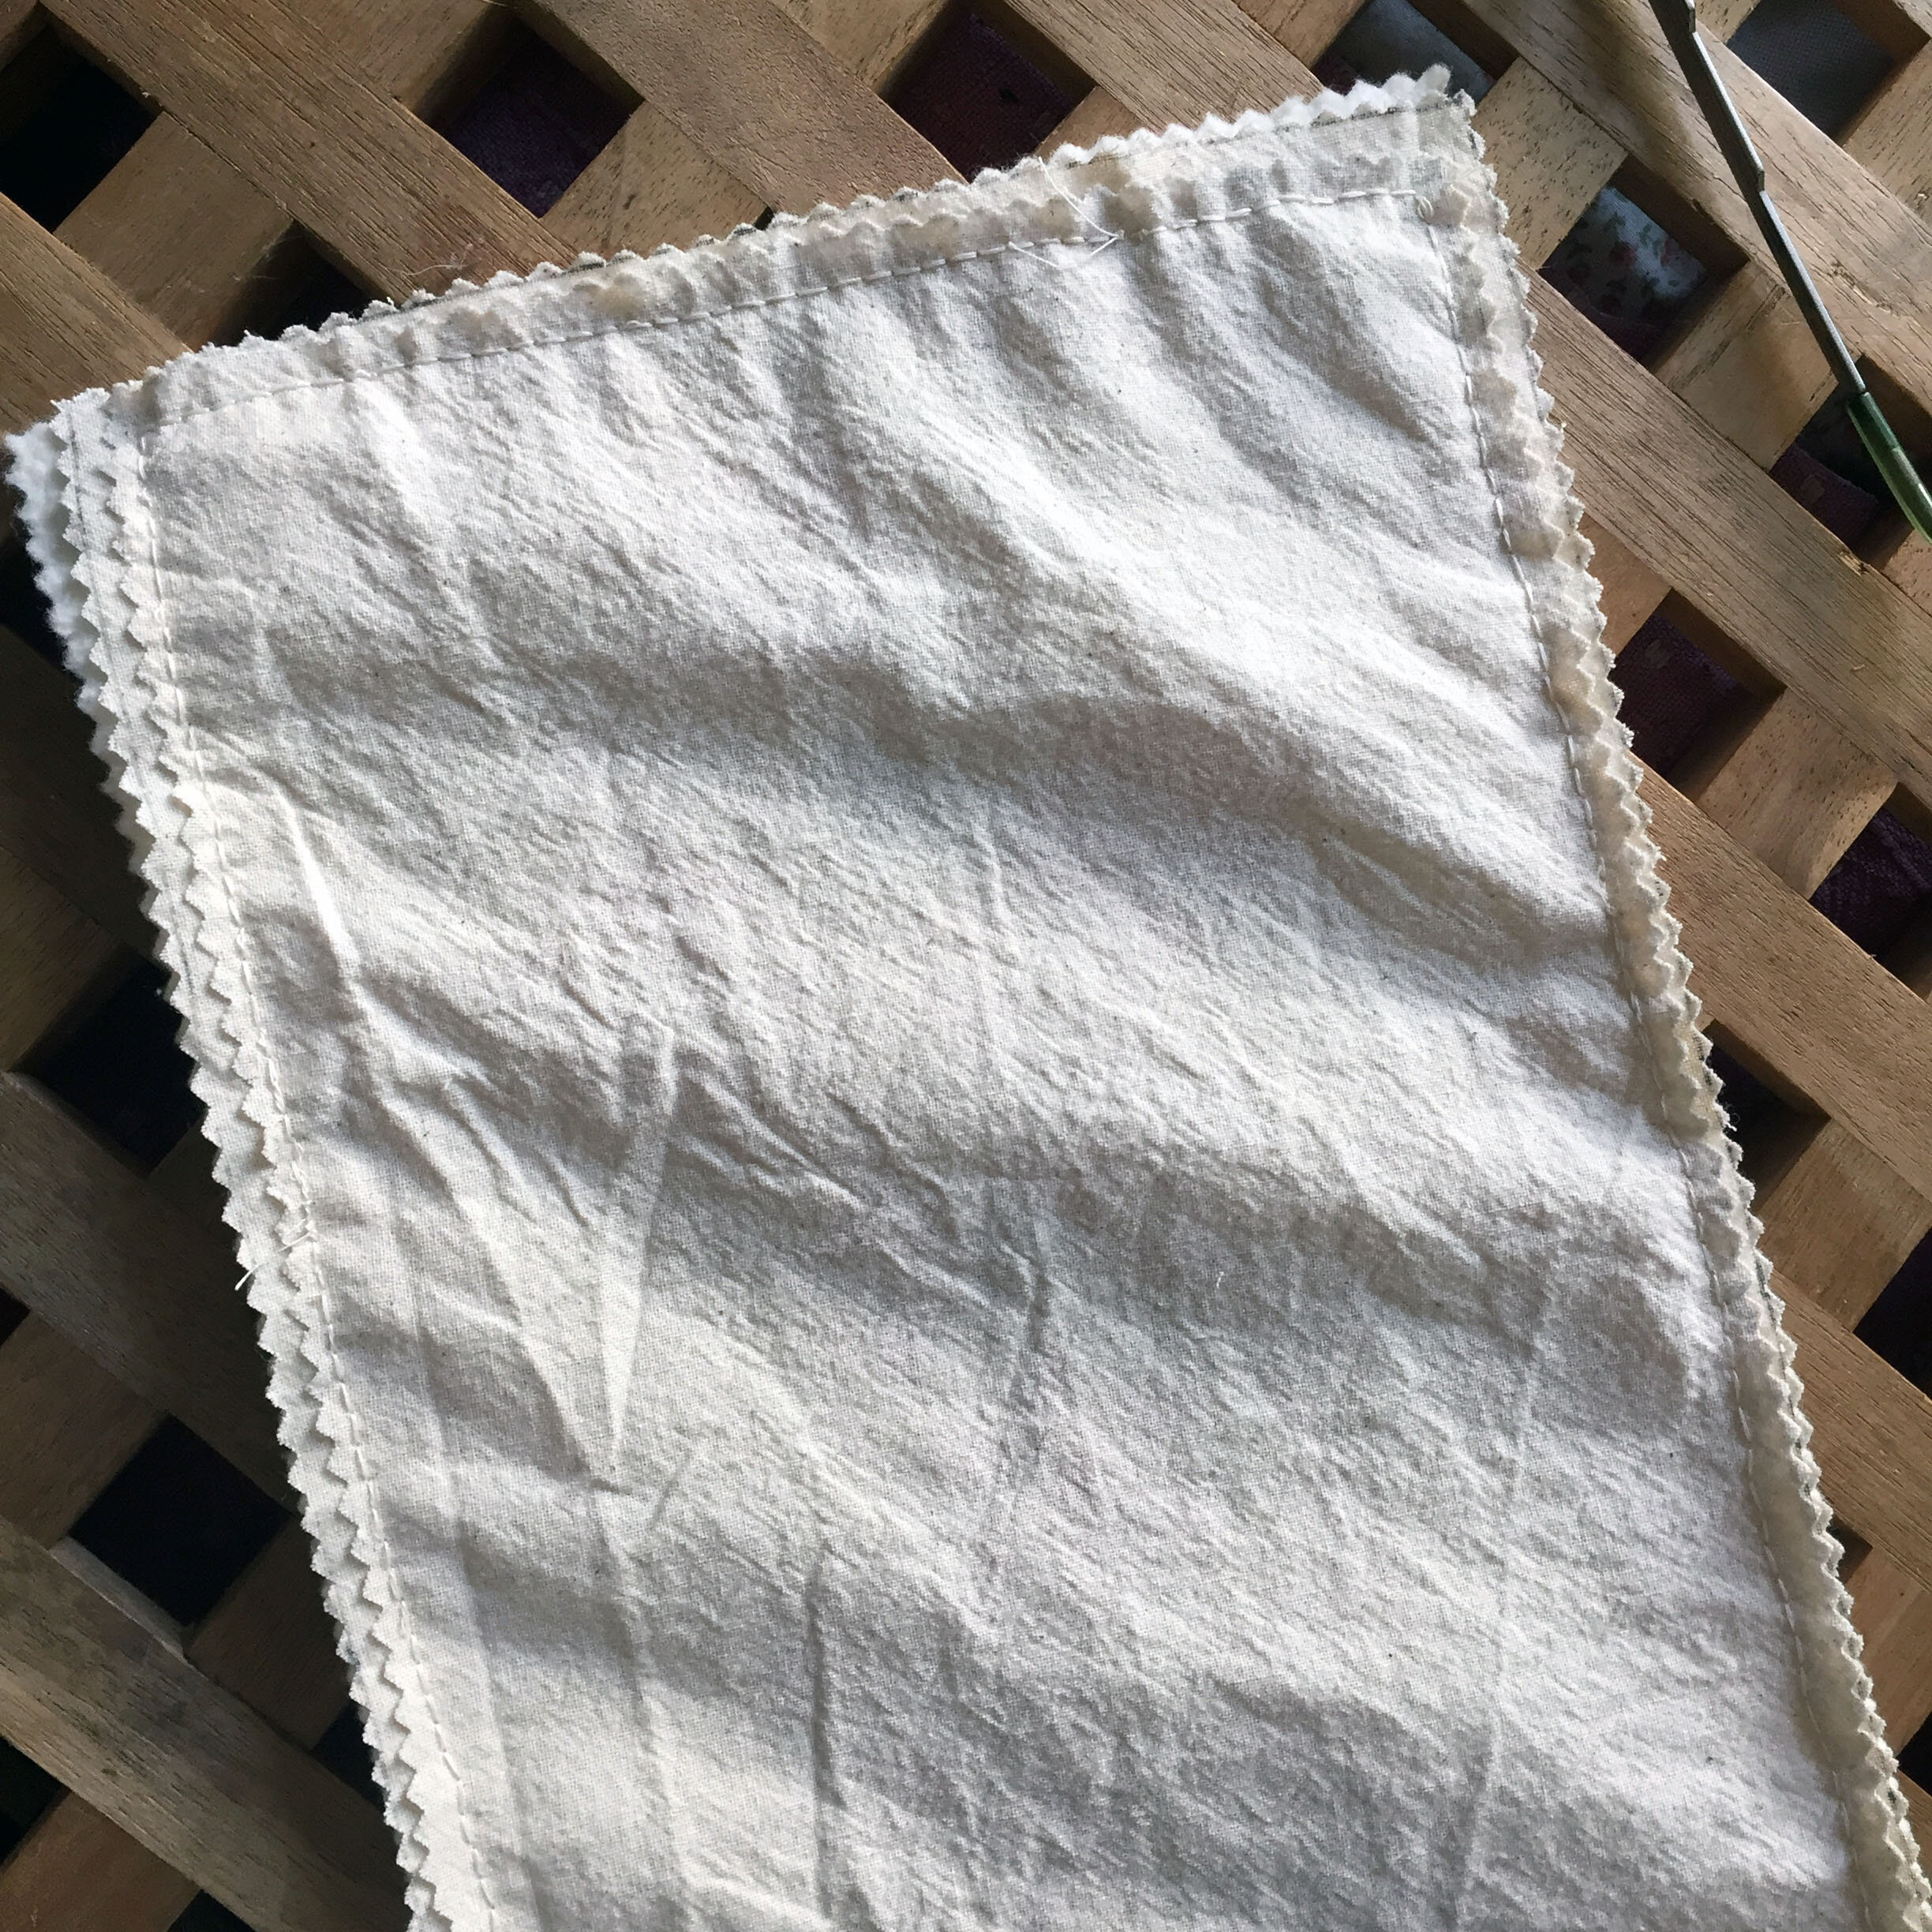
Trim your corners to make it easier to get nice corners when you turn it out. Then turn it the right way around pushing the corners gently into shape. Press and stitch the gap closed using a whip stitch or ladder stitch.
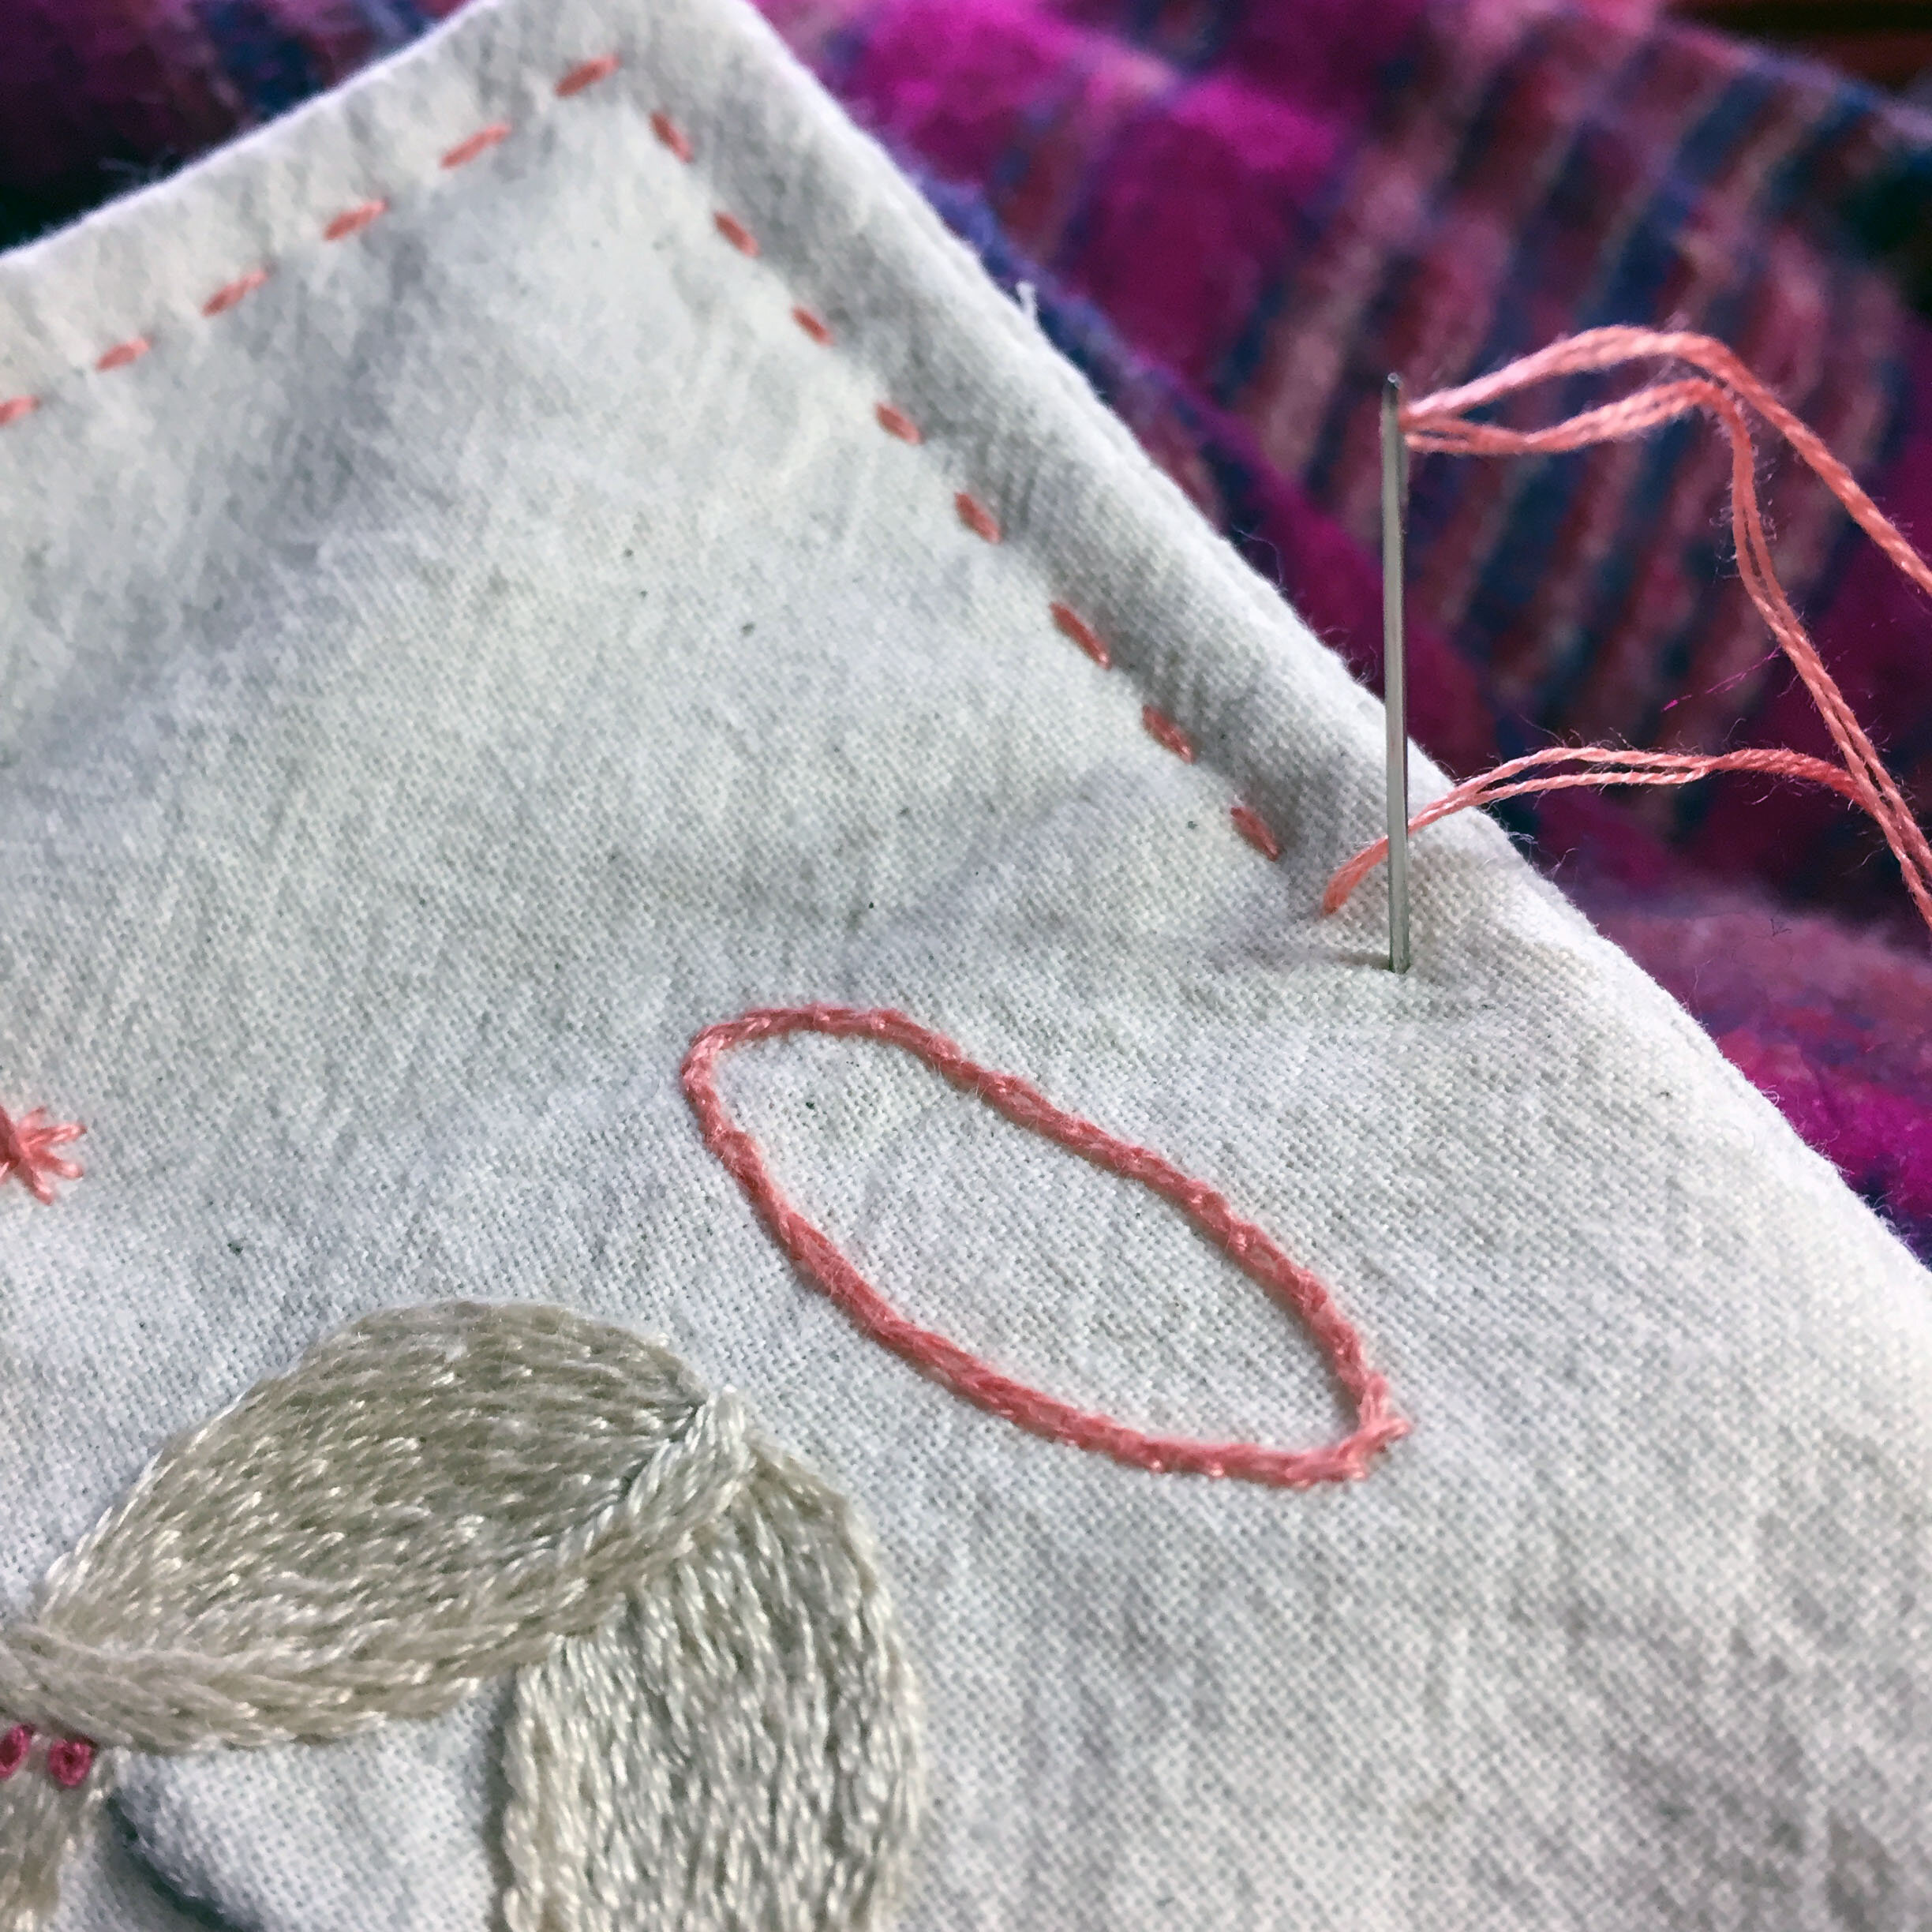
Next I chose to create a running stitch border around the whole hanging. Mine is in a contrasting thread but you could use a colour that is close to the colour of your embroidery fabric for a more subtle effect.
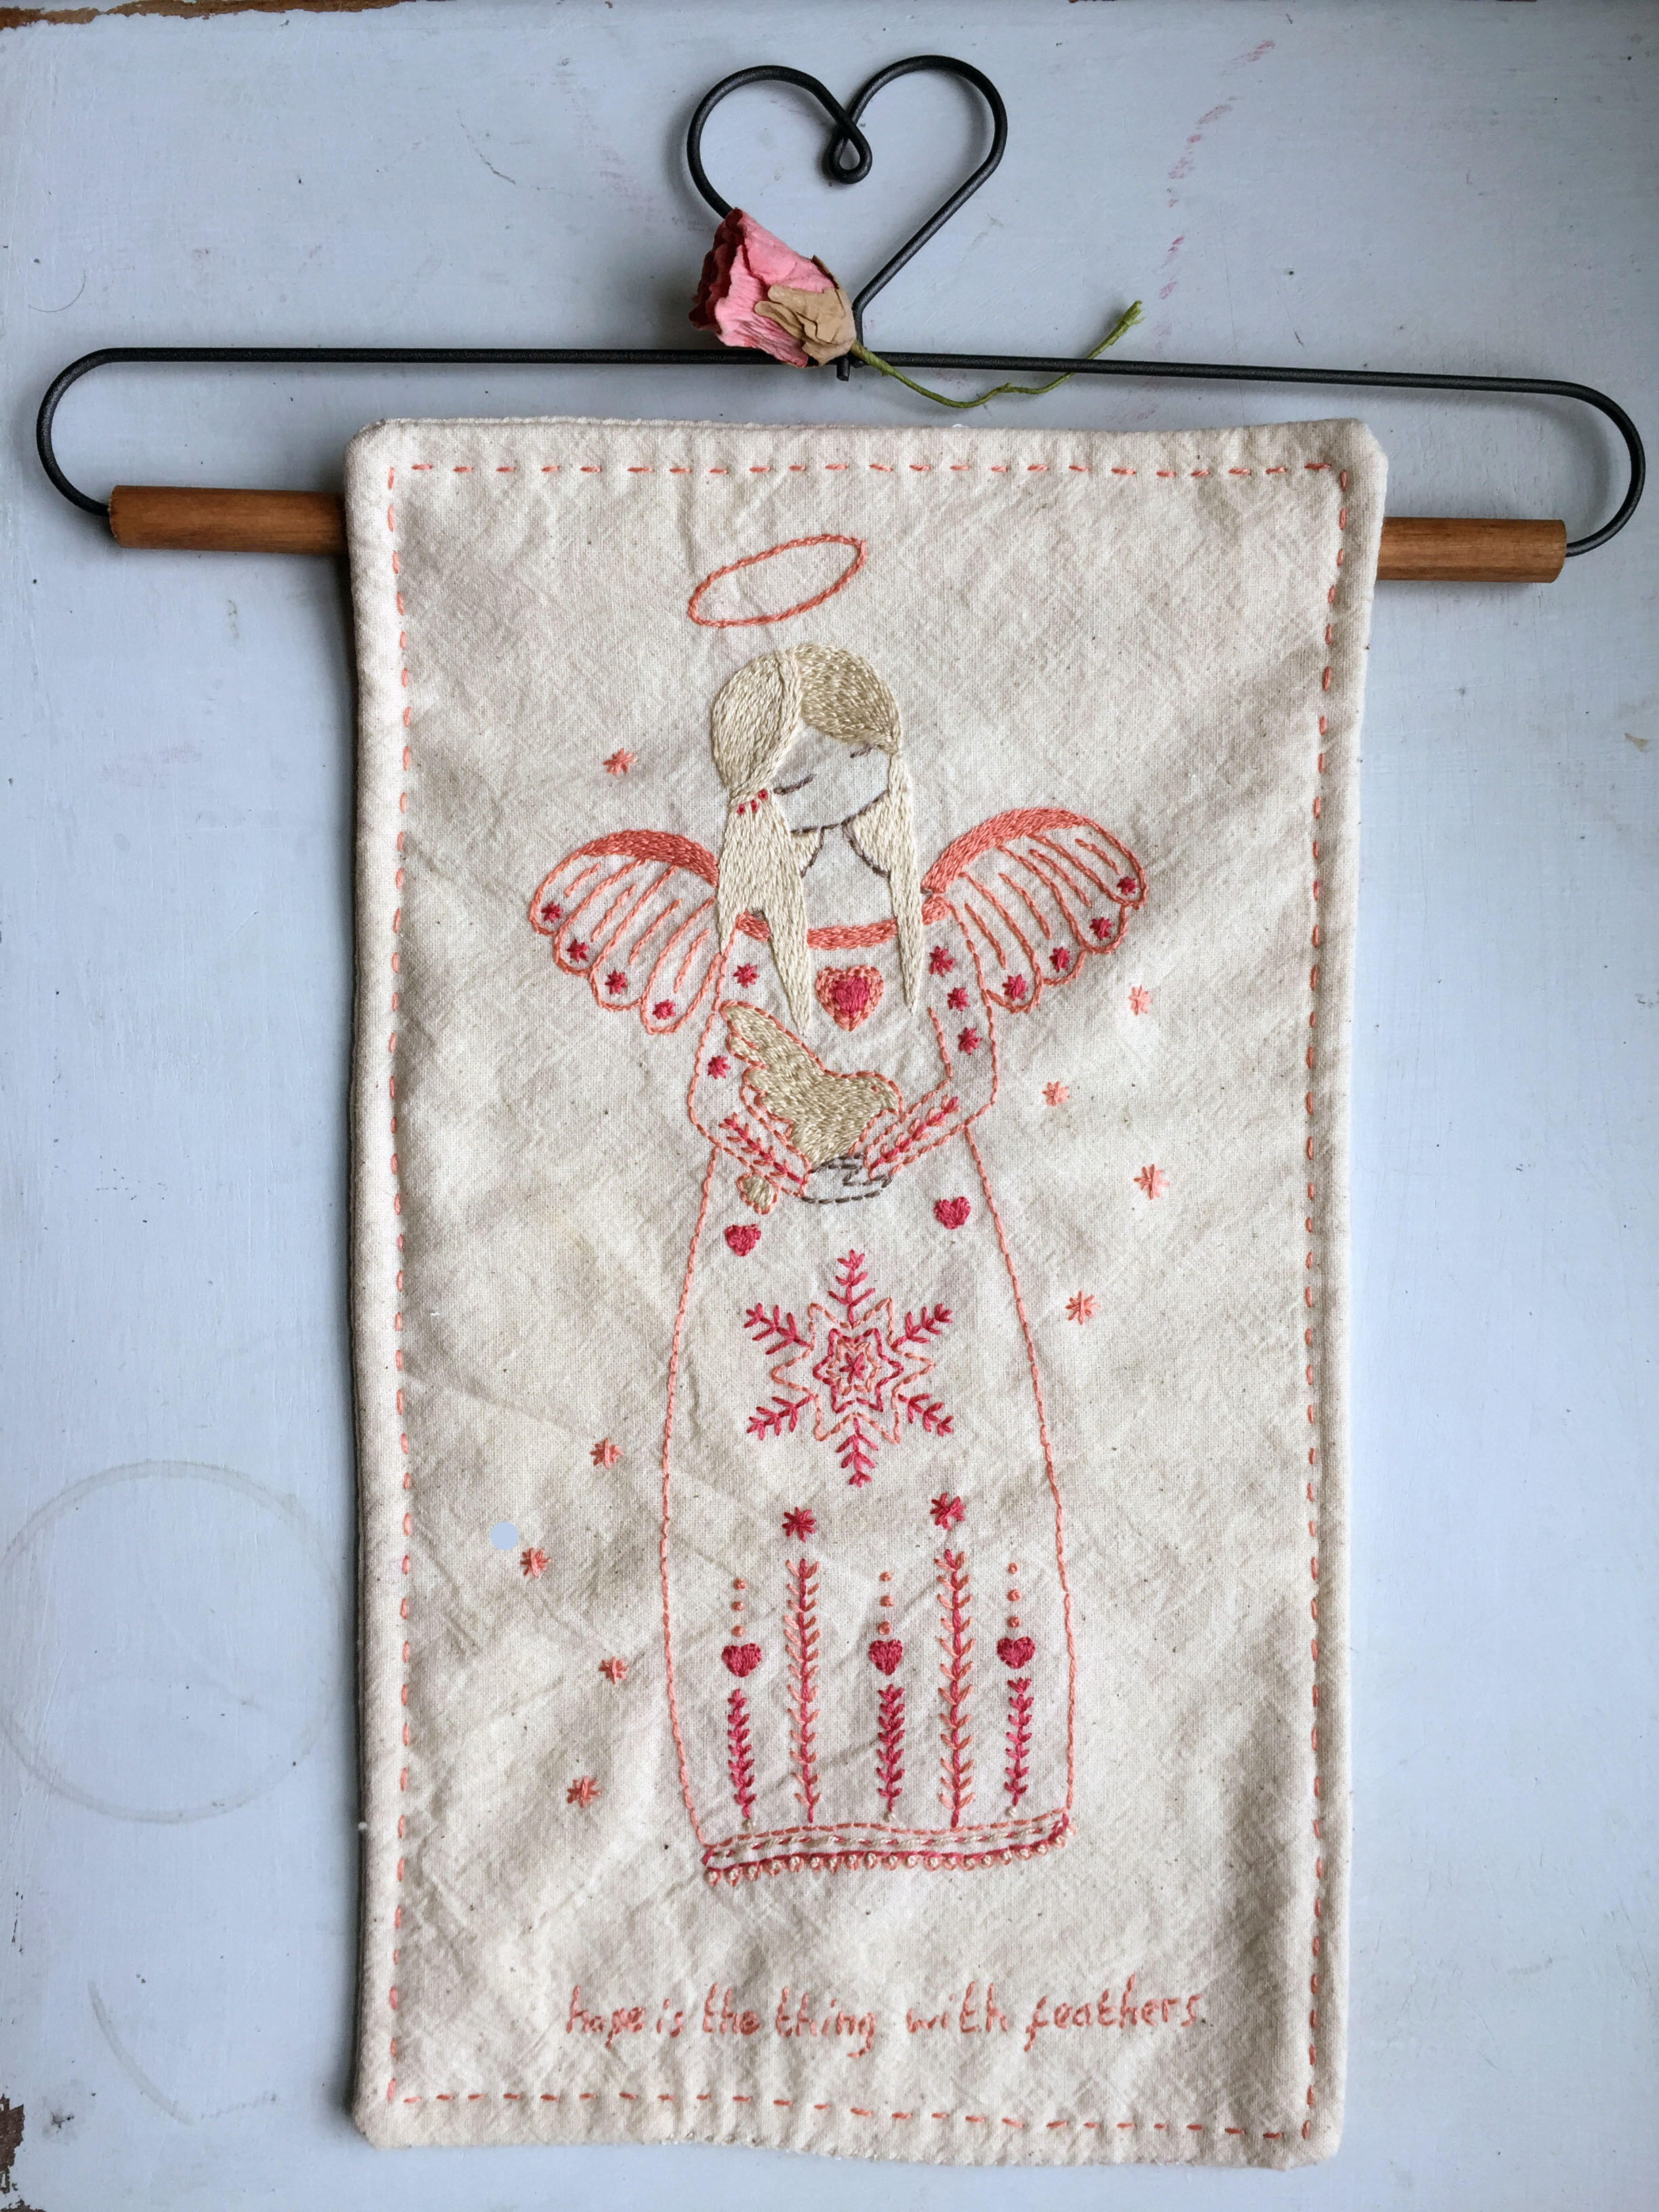
This is the hanging completed, the next steps depend on how you want to hang it.
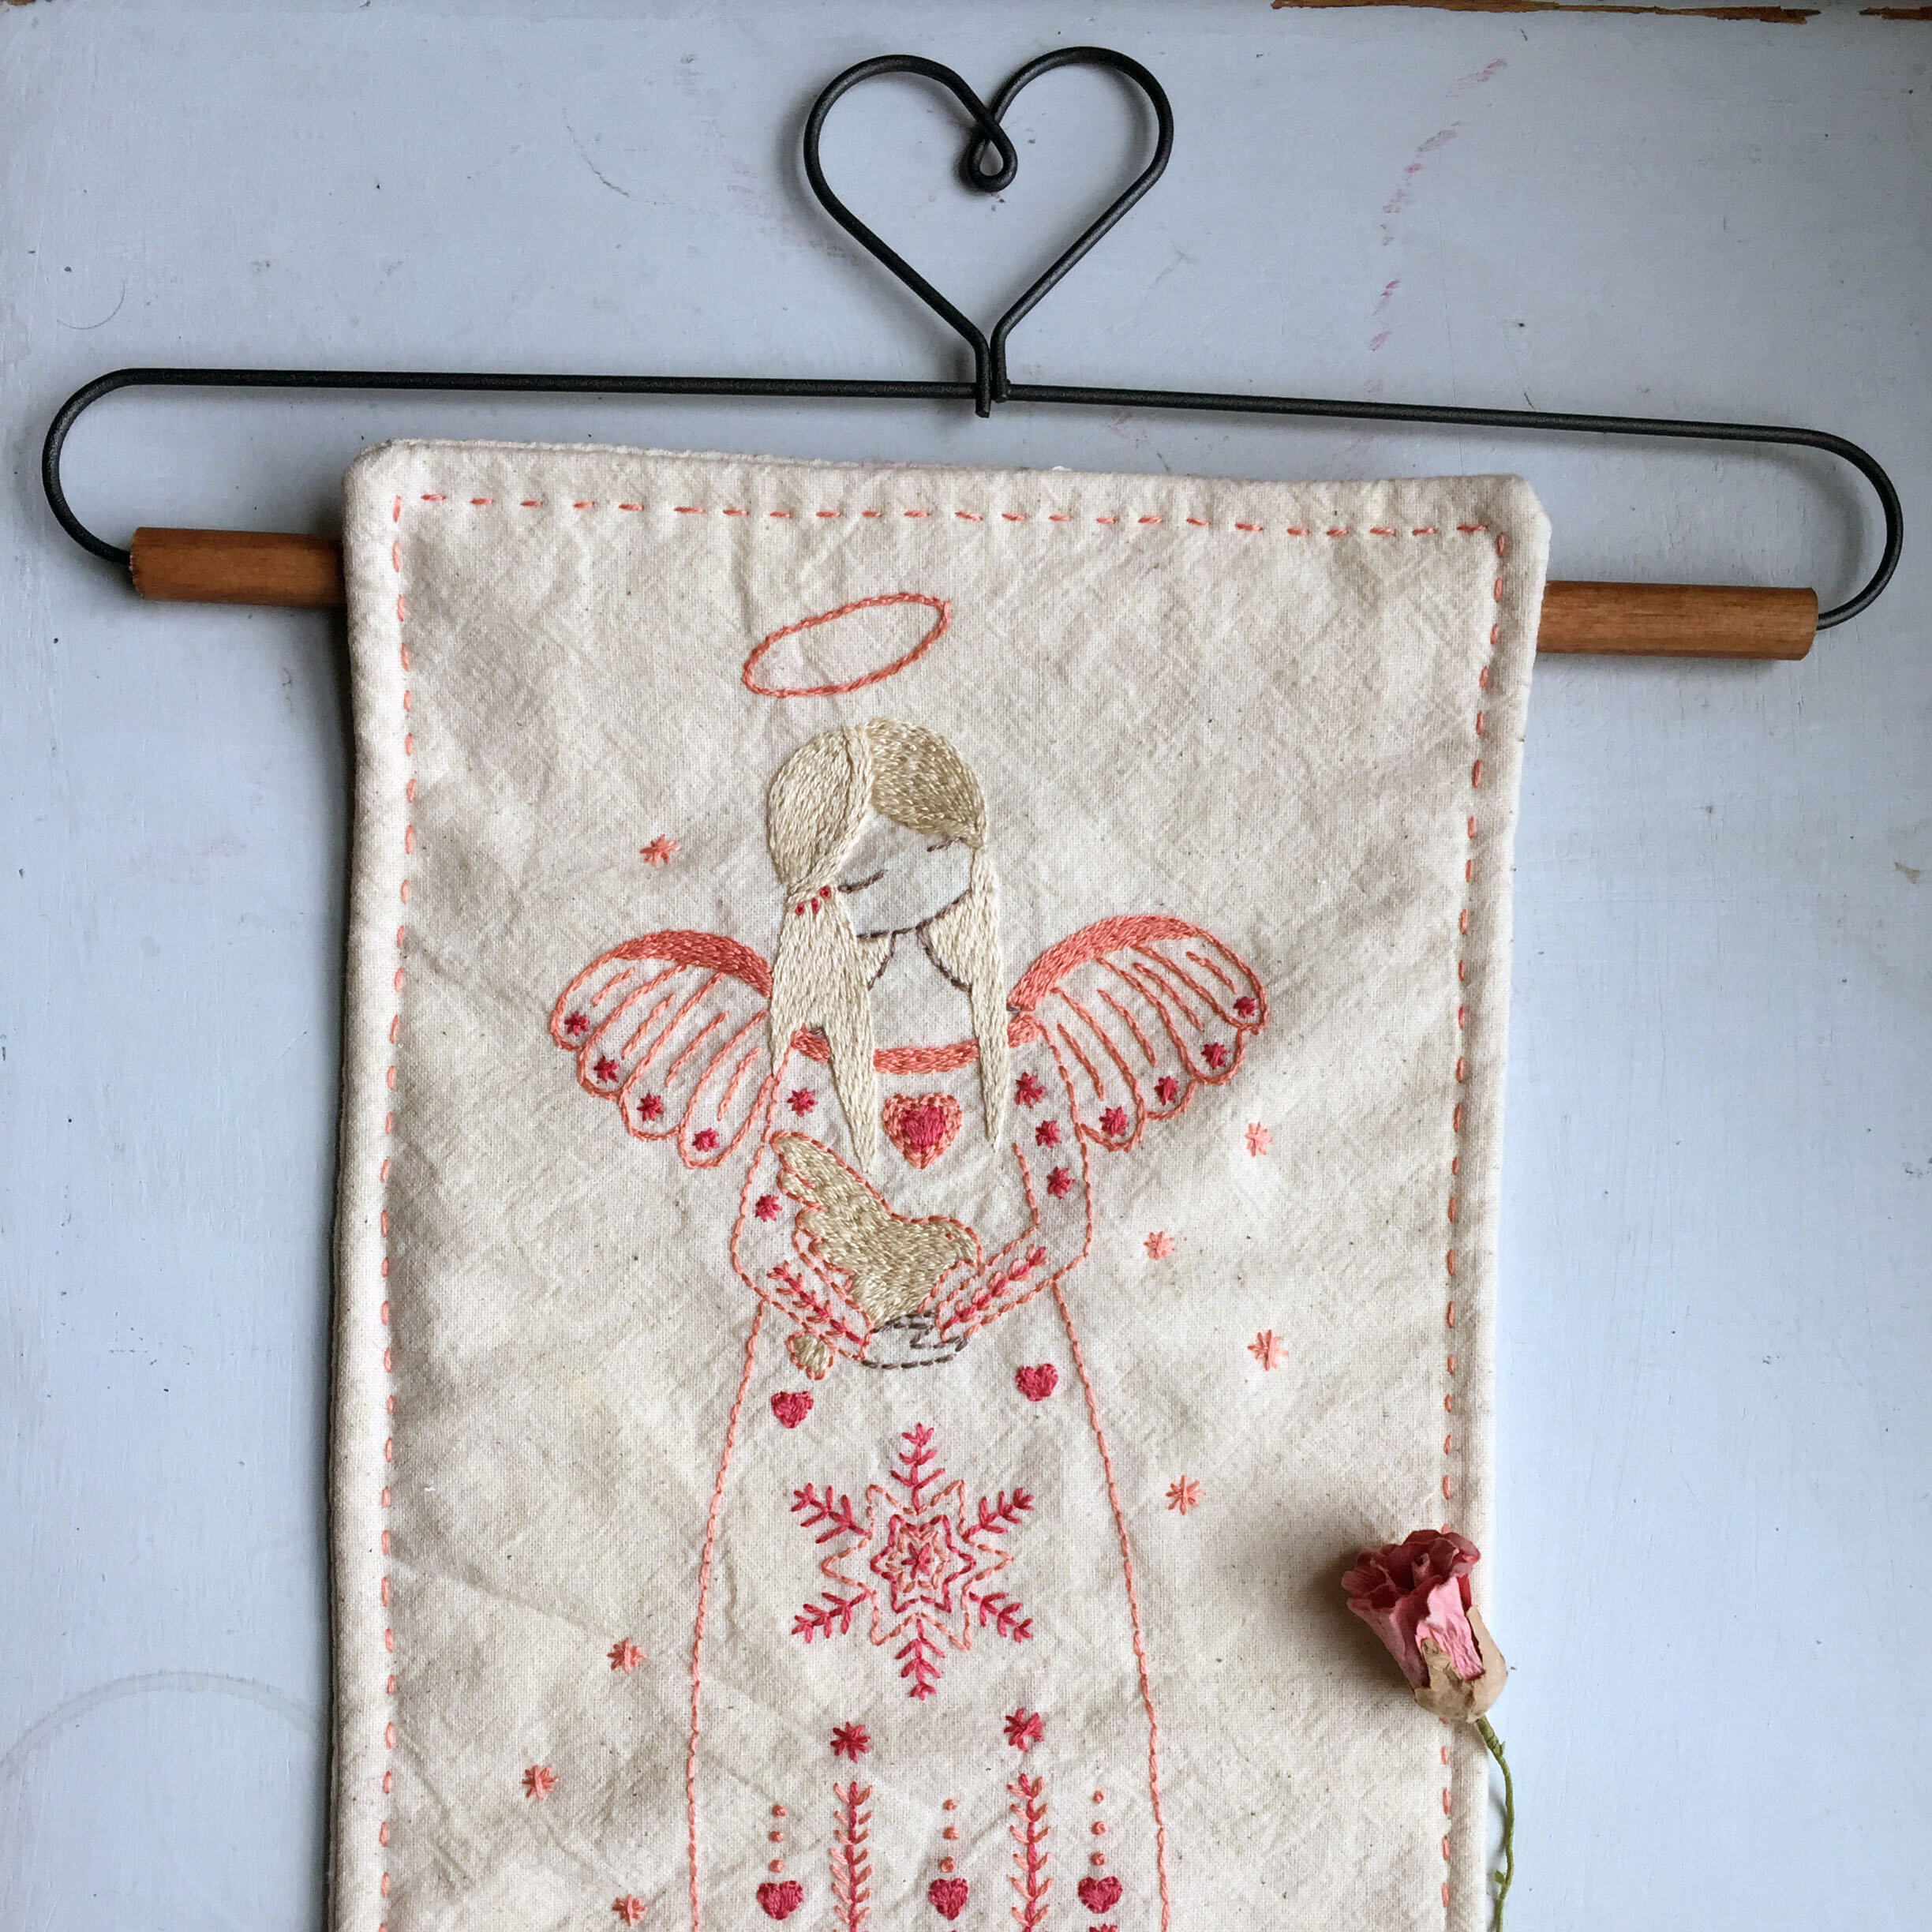
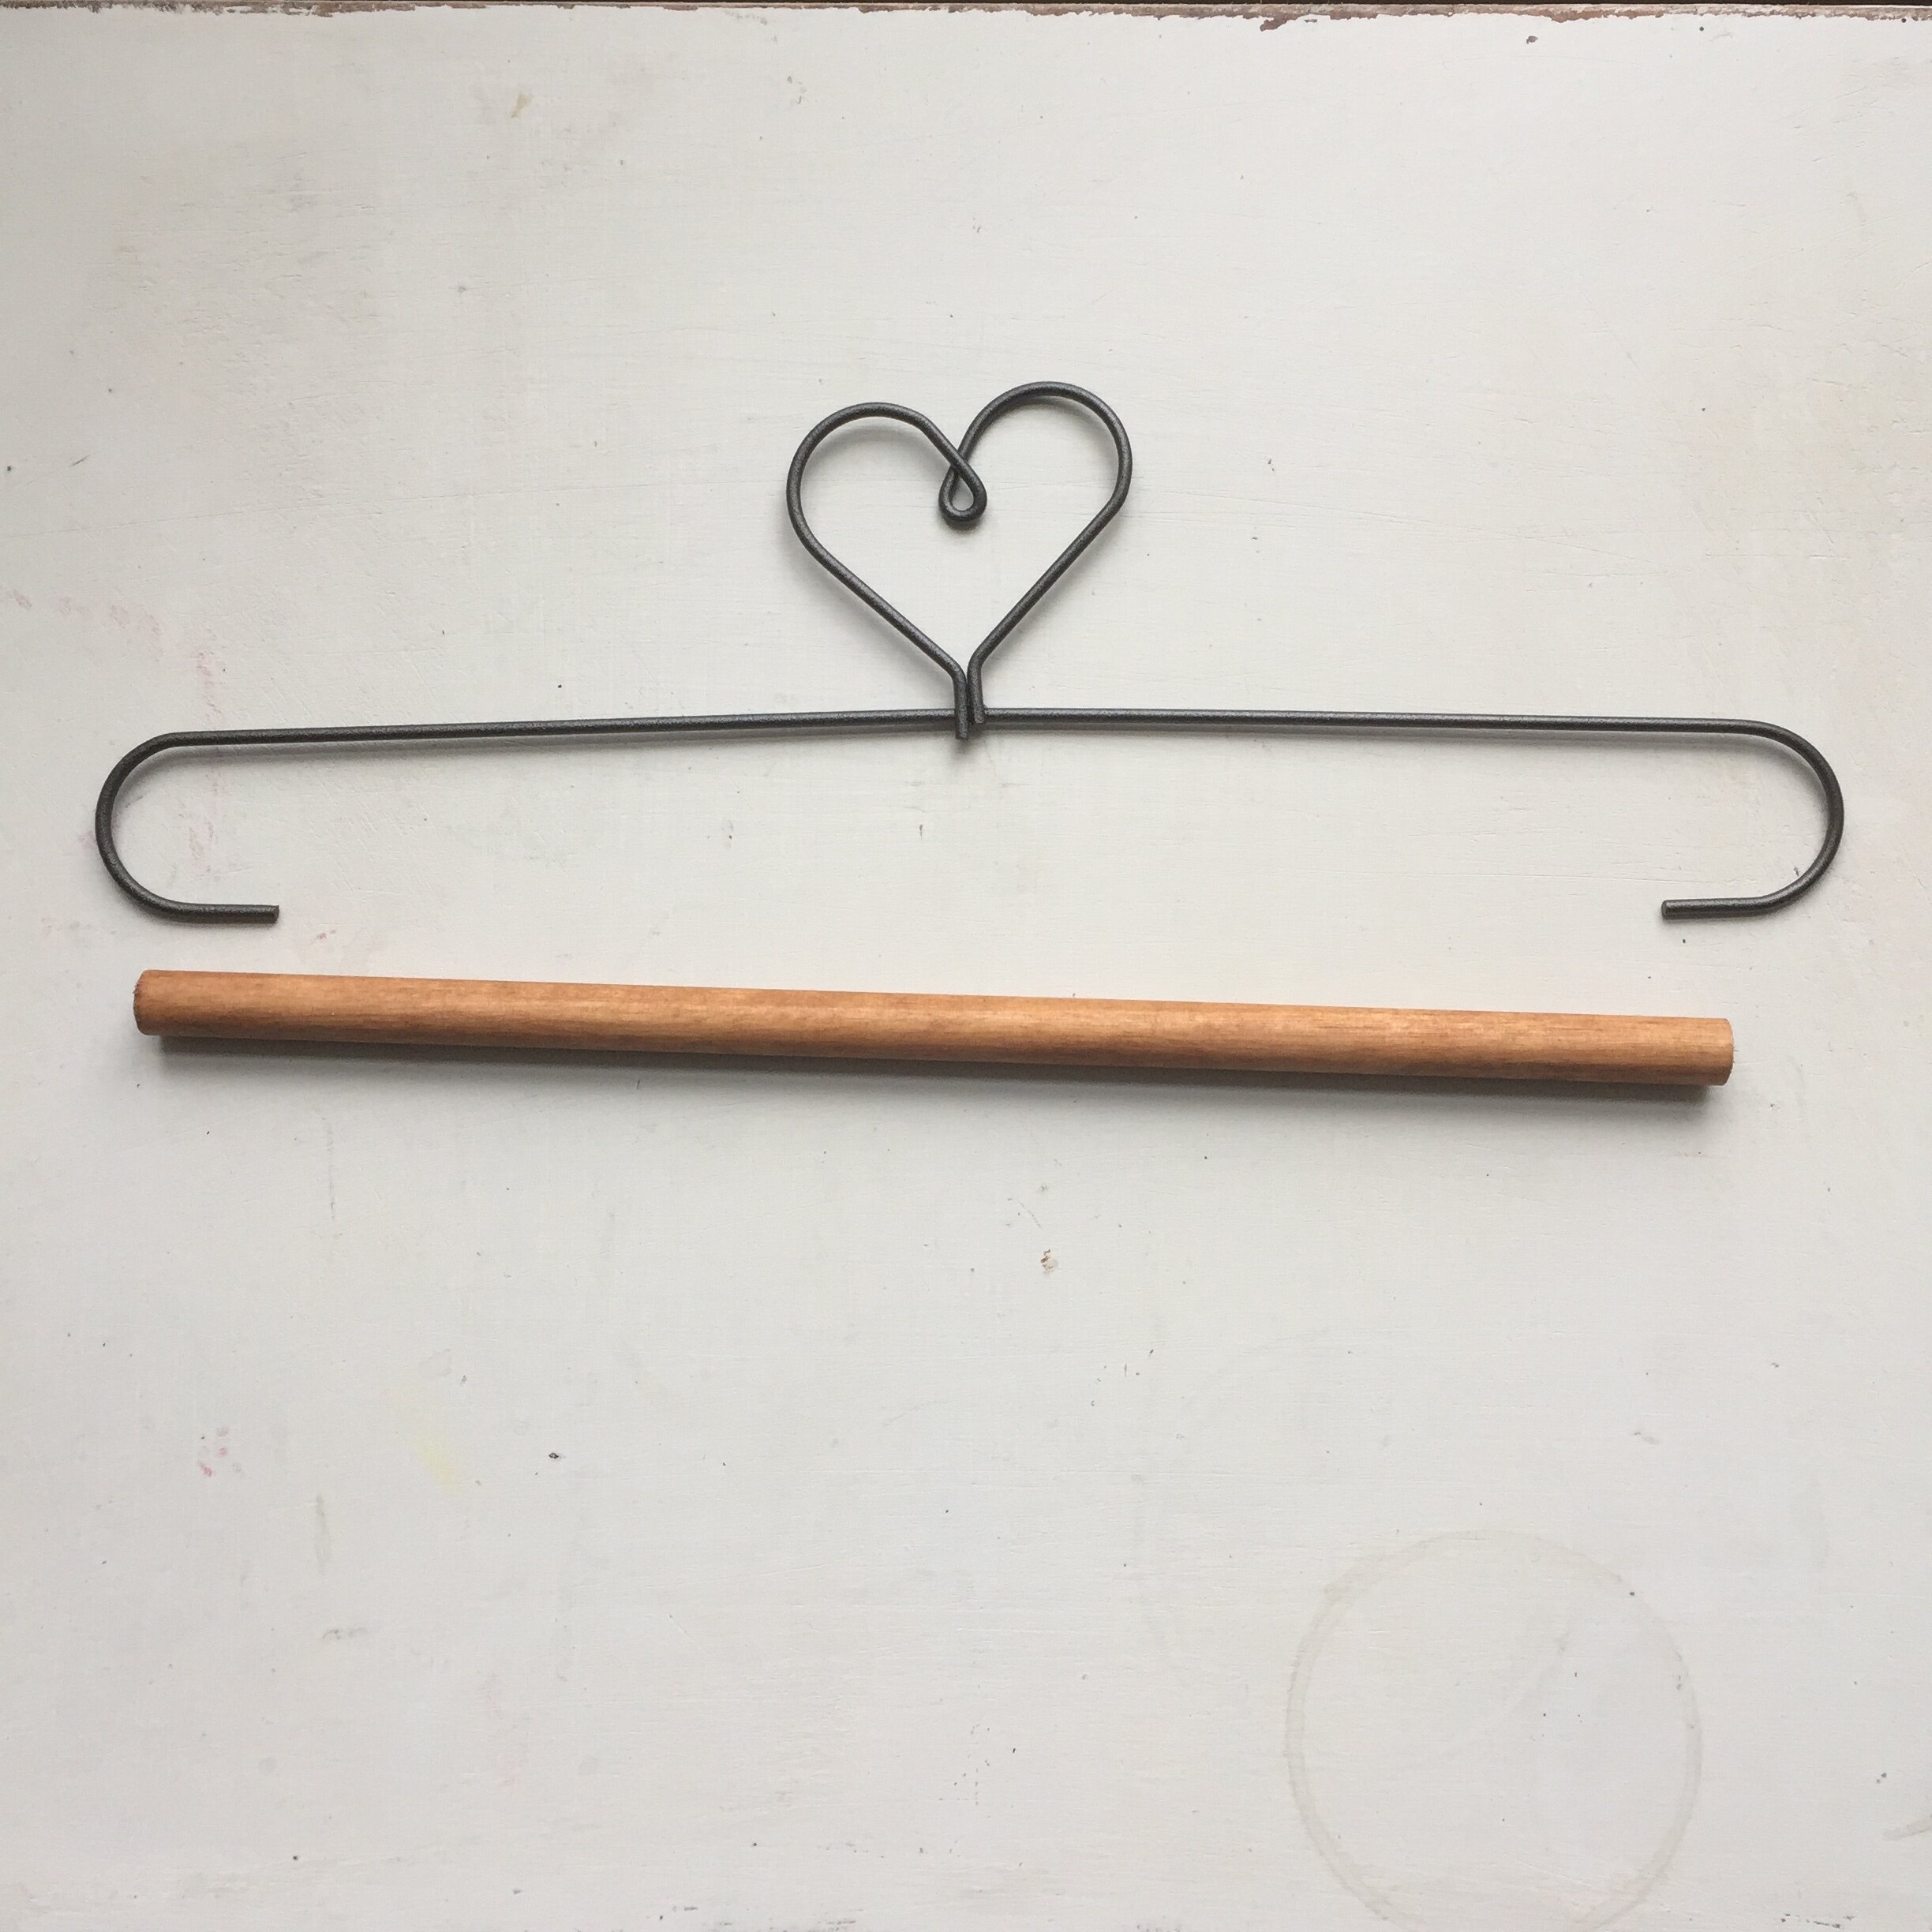
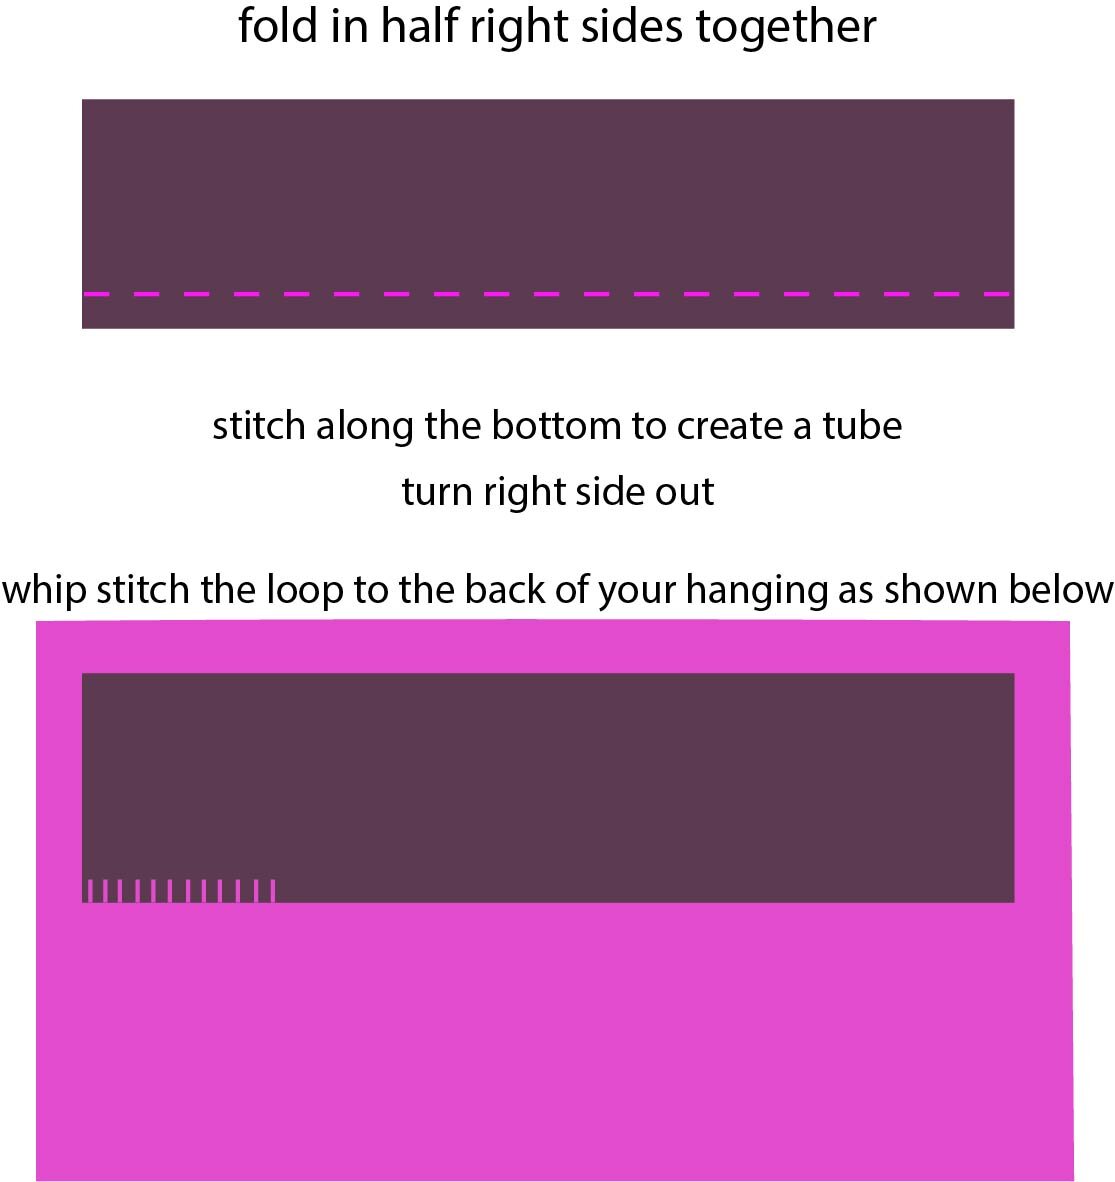
I bought a quilt hanger from cottonpatch this one has no clips so I had to make a tube to attach to the back of the hanging to feed the wooden part of the hanger through. You can also buy hangers that have clips that hold your hanging. This would be a lot simpler. People also make their own hangers using dowelling or cane and string.
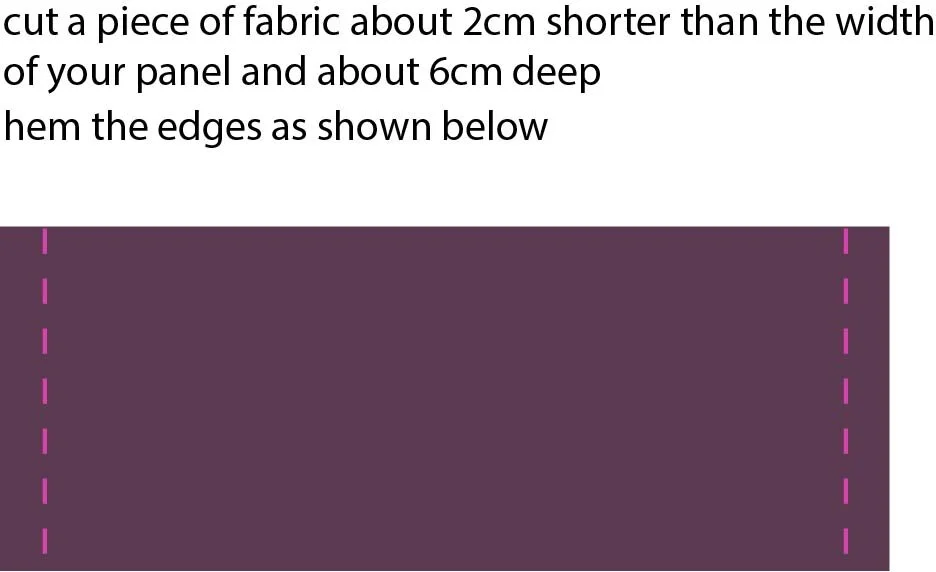
I added a tube of fabric to the back of my hanging near to the top. Here are the simple steps I followed (sorry I forgot to photograph the process!)
Where you choose to place the hoop on the backing will depend on how you want it to hang. You will need to test this with your hanger. This will work with all my patterns not just the ones that won’t fit hoop frames. I hope you have fun turning your embroidery into a hanging and take a look at the different ways that people have hung their hangings on Pinterest.